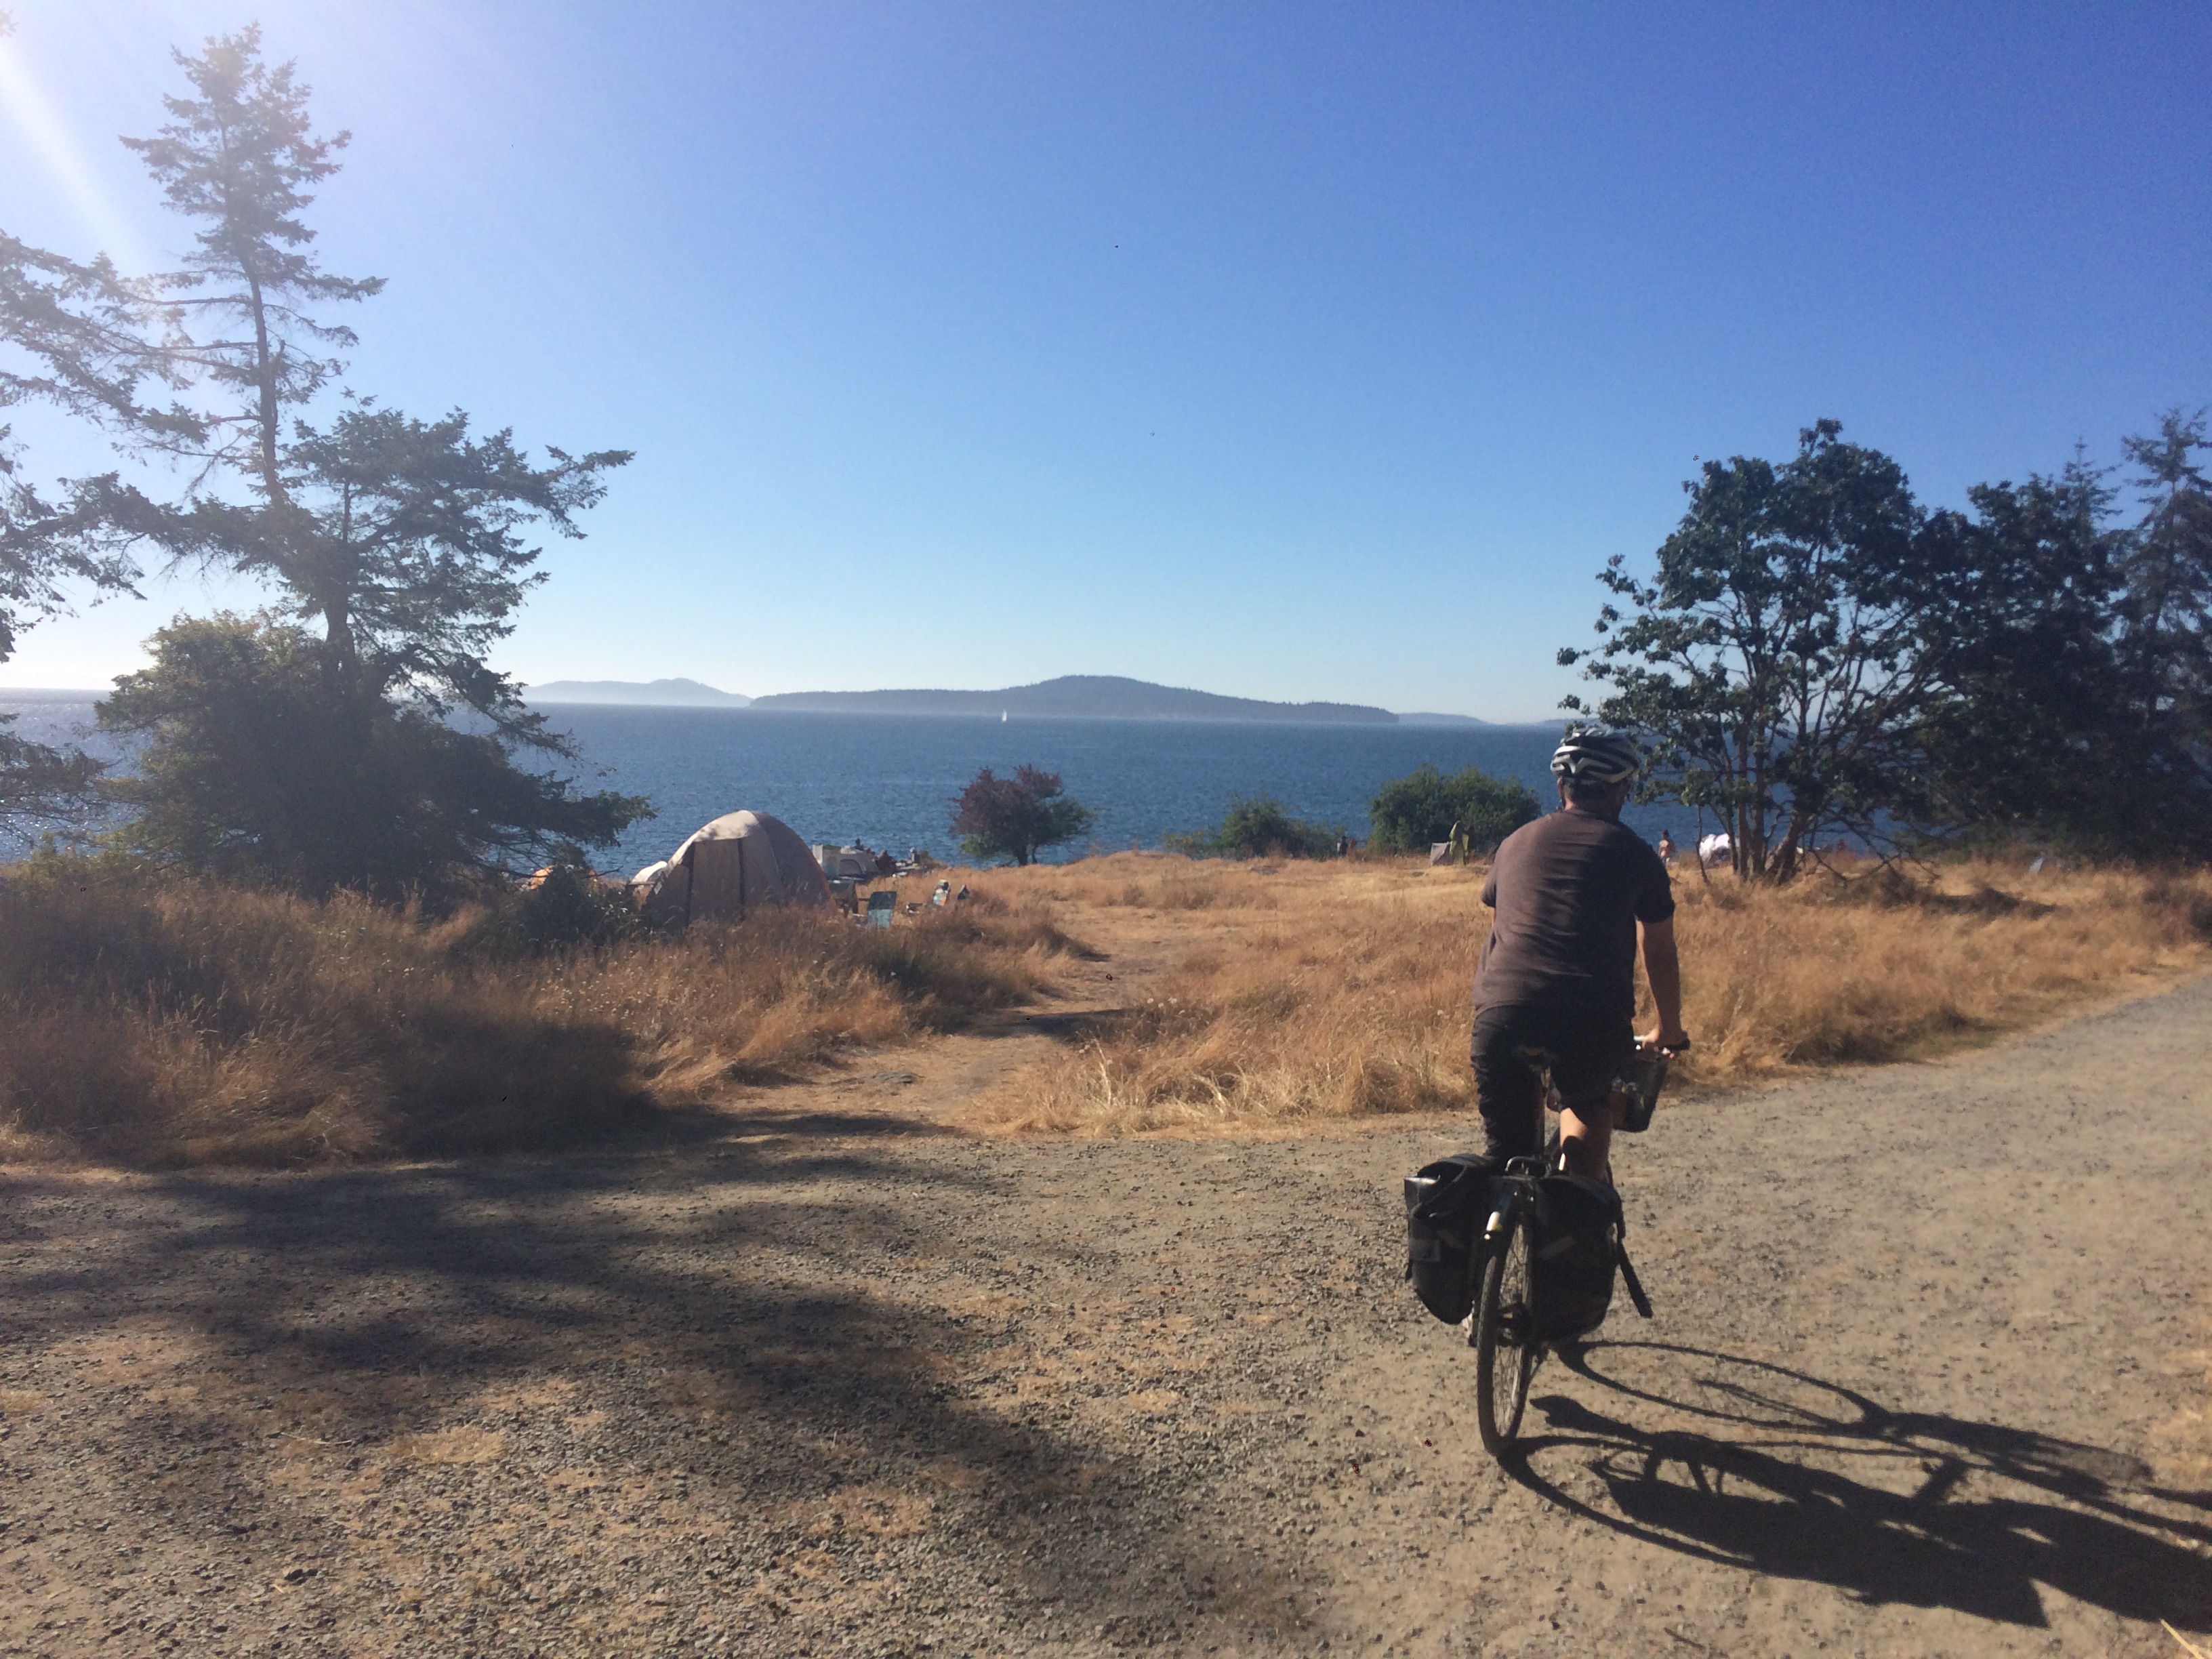
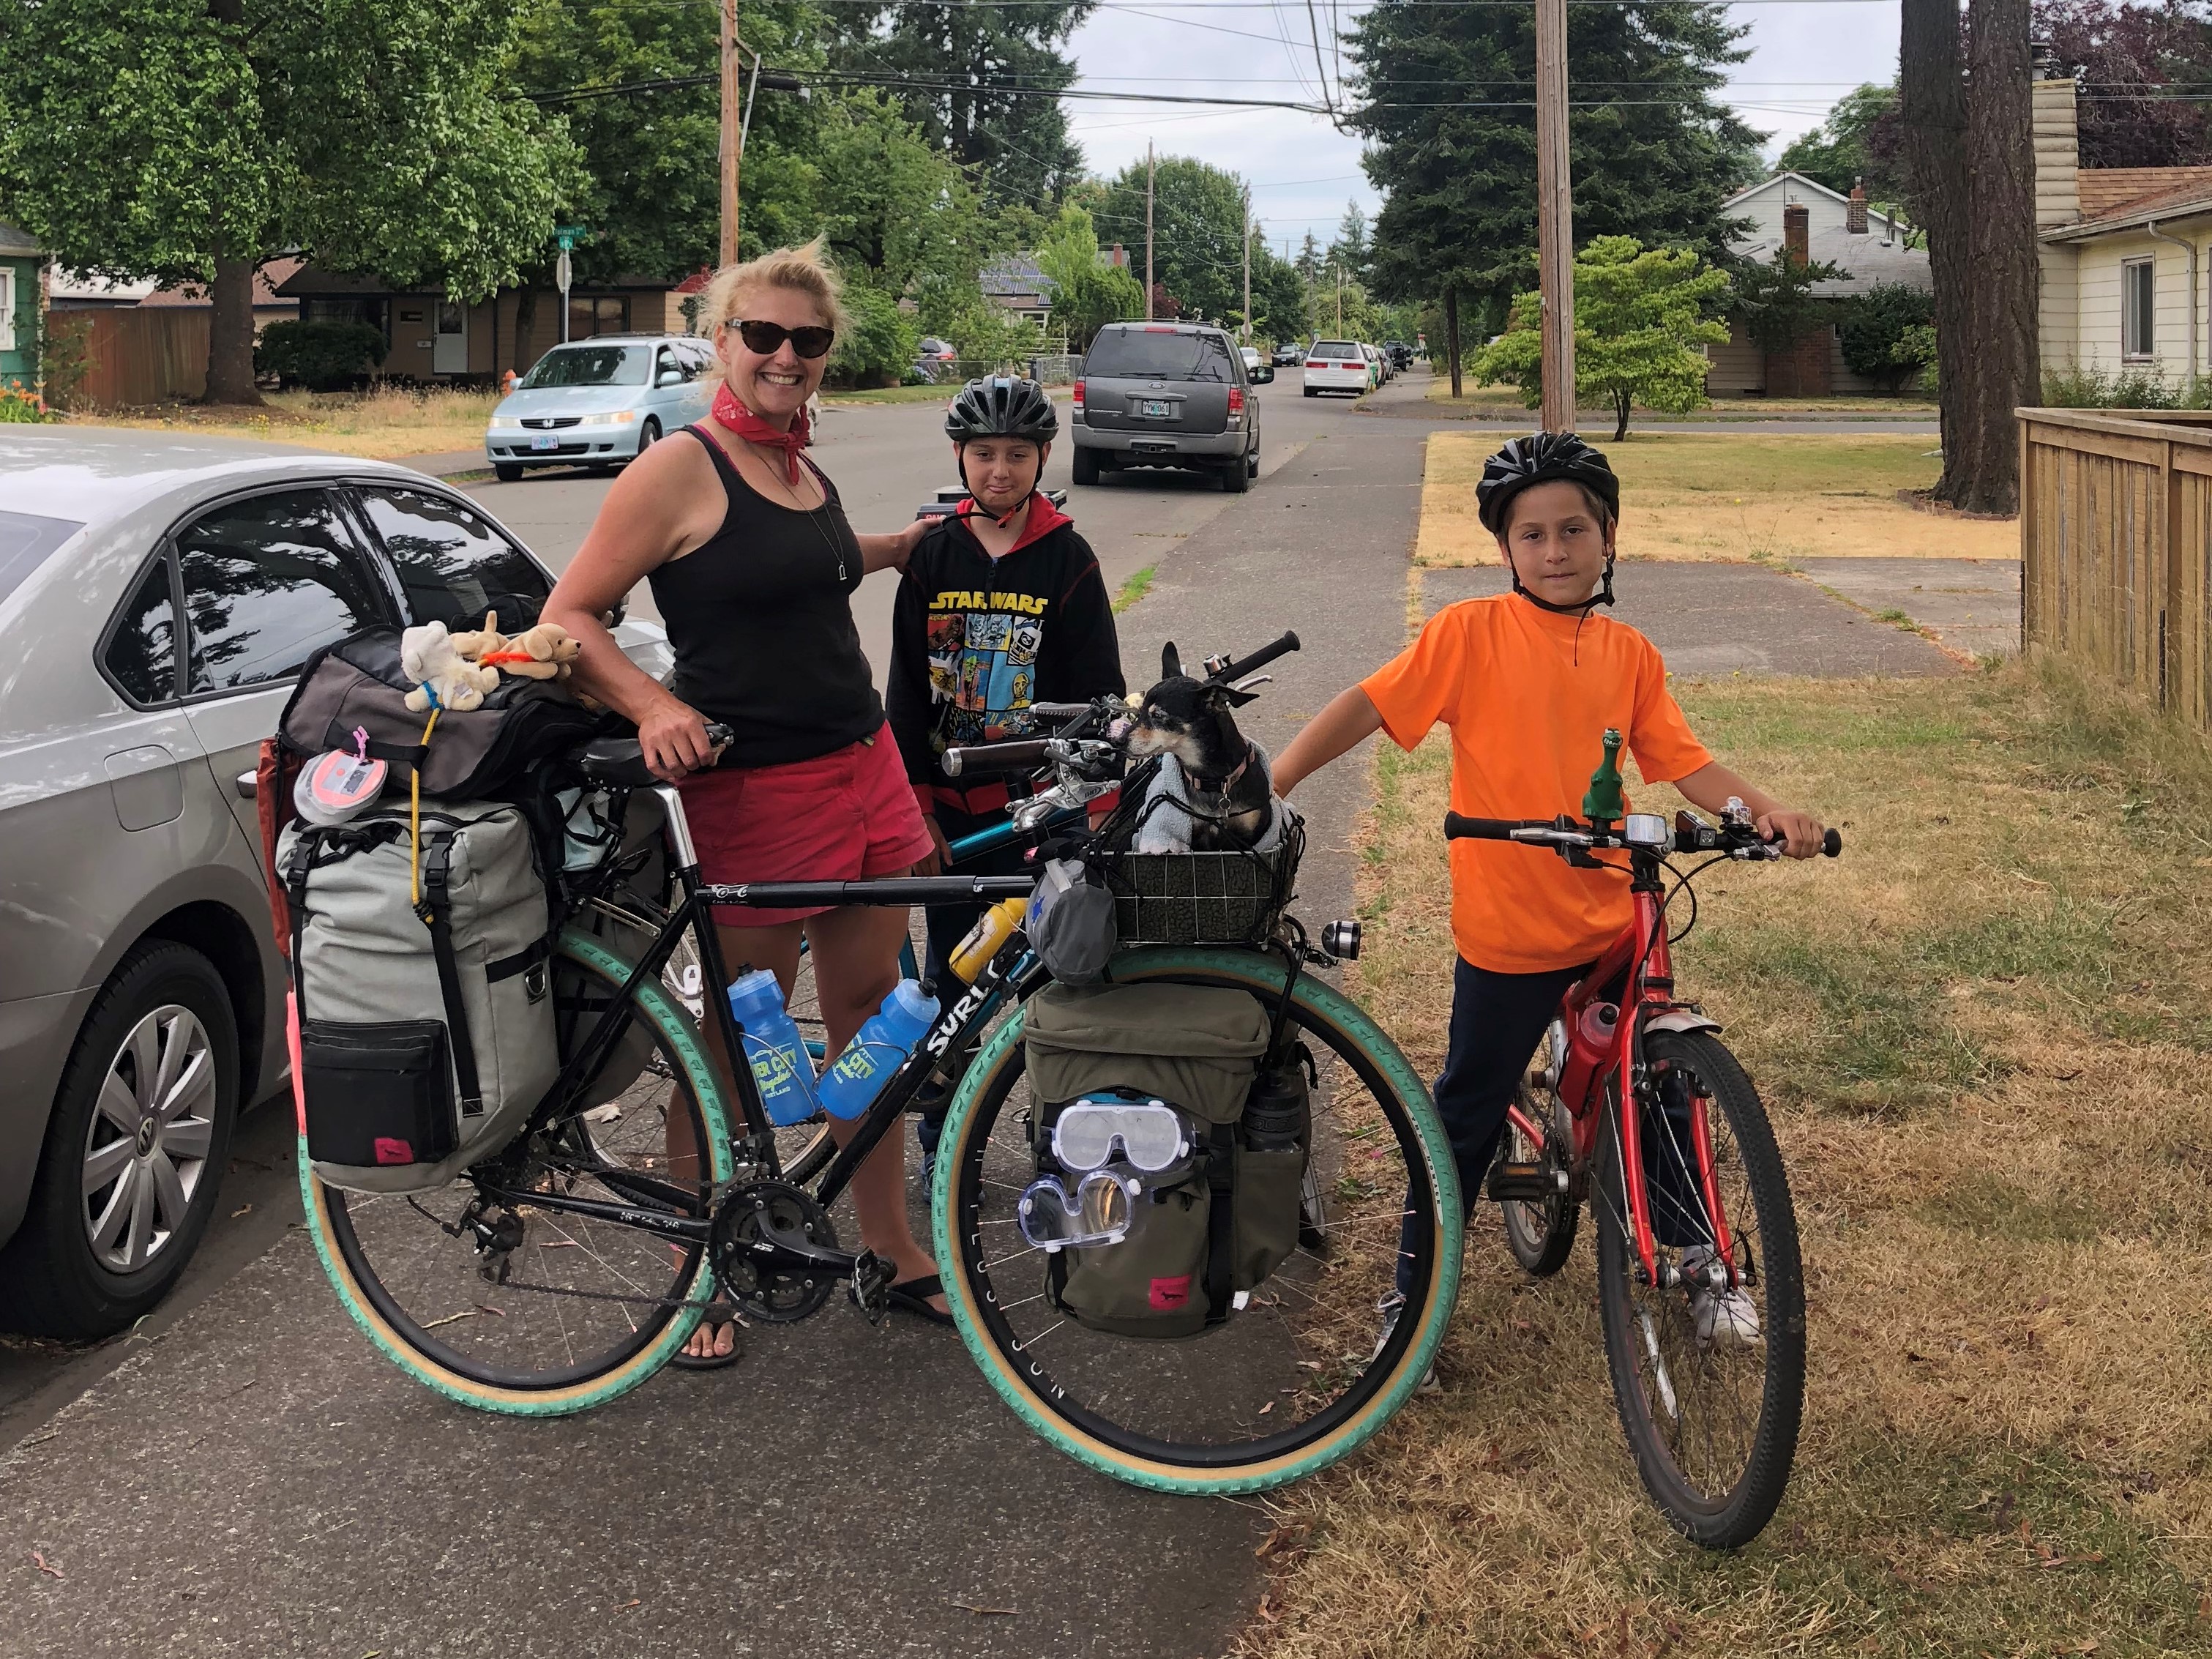
We took our first family bike camping trip from Portland — to LL Stub Stewart State Park — and it was amazing! It’s farther away than we’re used to going for camping, even with taking the MAX light rail train, but at least it was much less hilly than any of the camping in the Seattle area. Also, it was all GORGEOUS!
The nitty gritty:
- Flickr photo album (184 photos)
- Seven hours door to flap
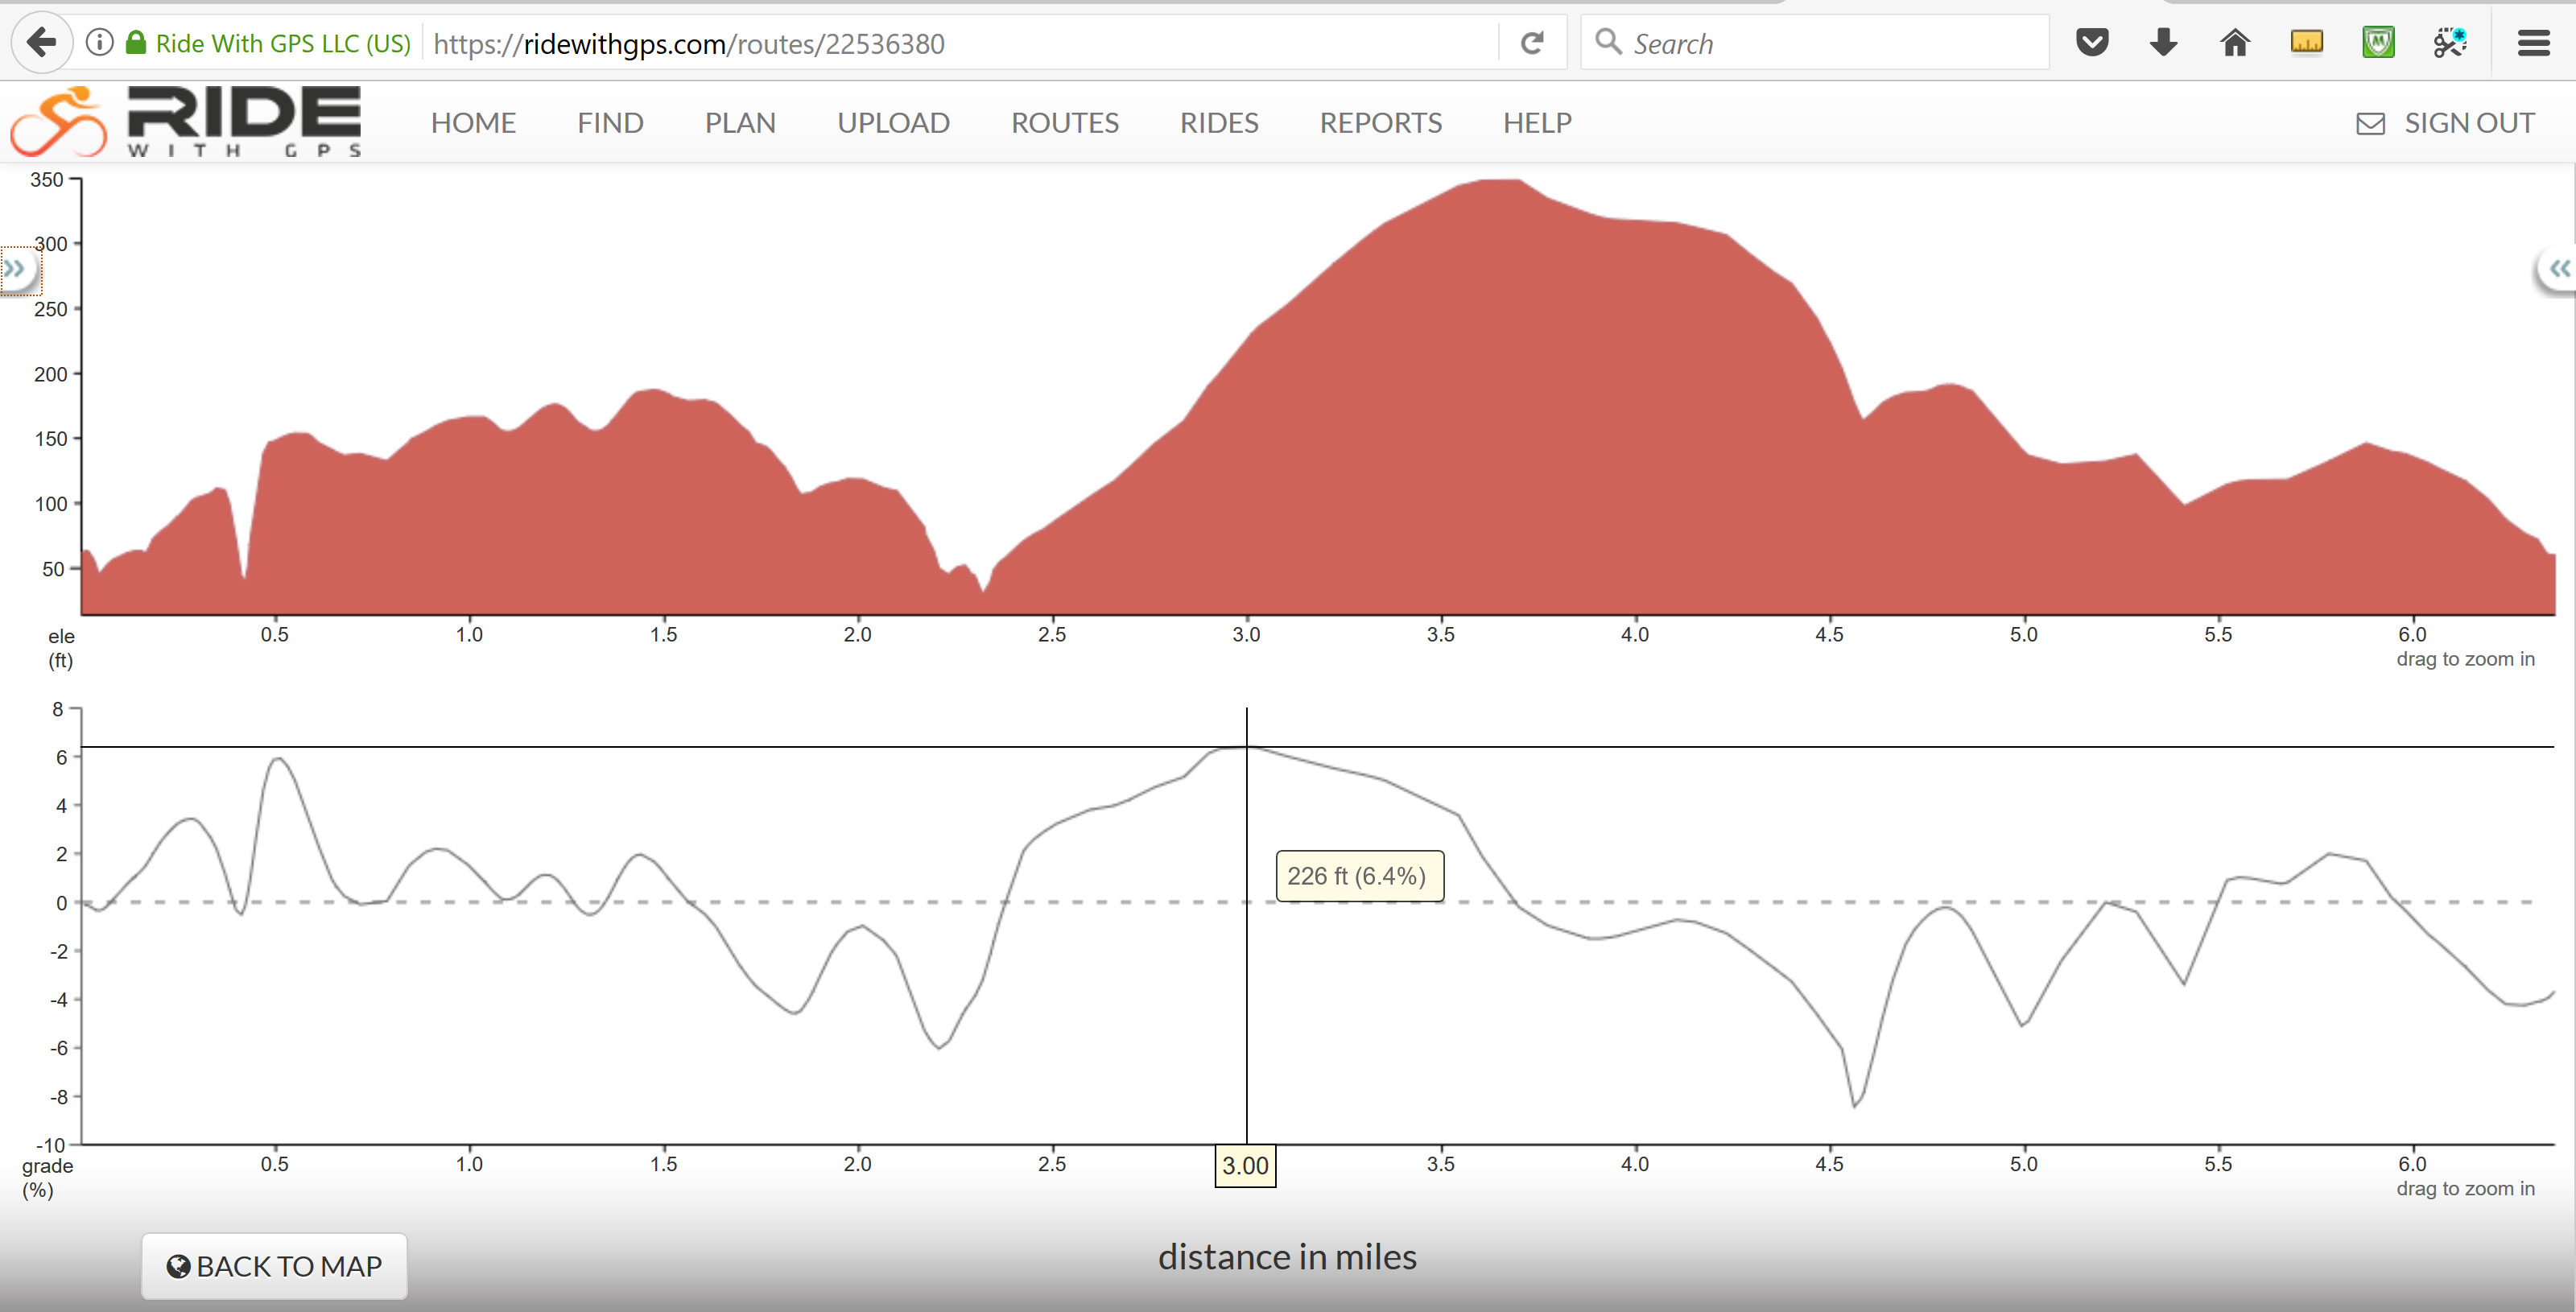
- Ride with GPS Hillsboro to Banks route
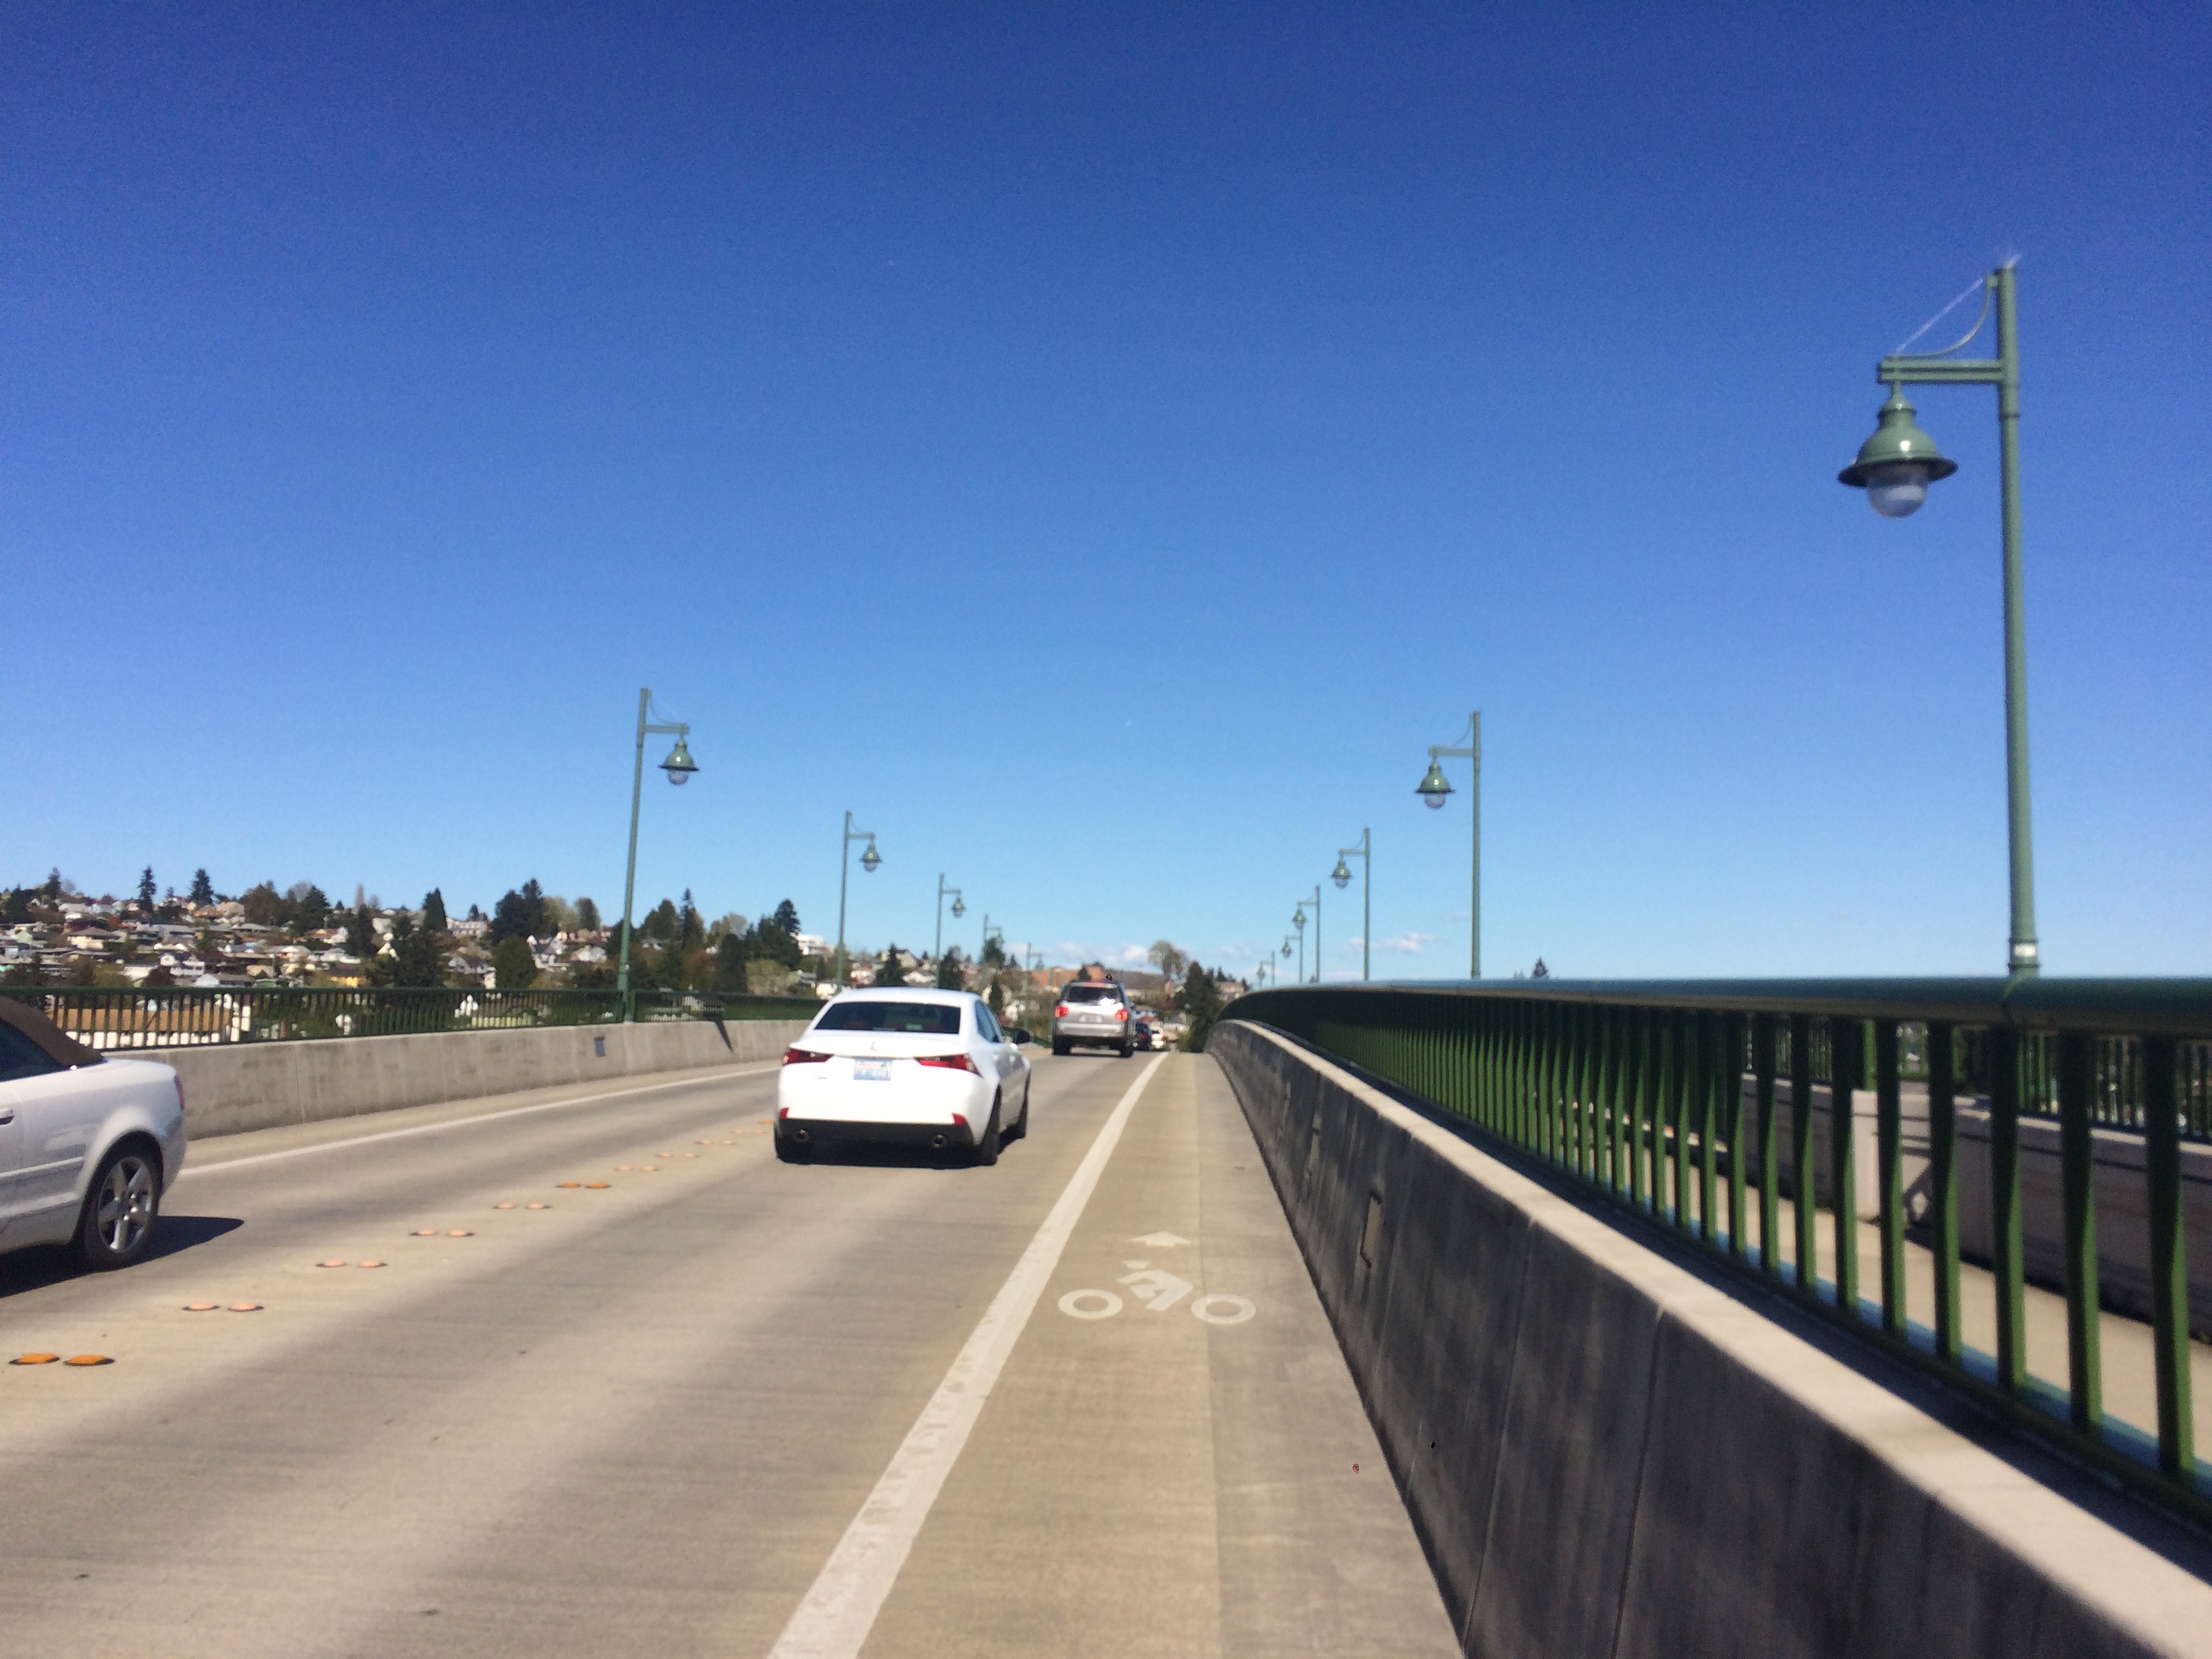
- Only a couple small bits of very busy roads
- Half a mile of gravel in the middle of the route to the trail
- Half a mile of dirt switchbacks on side trail to campsite — I had to push my bike up a few of them
- MOSQUITOES
- The kids’ stellar performance made possible by newly purchasing The Essential “Weird Al” Yankovic double album
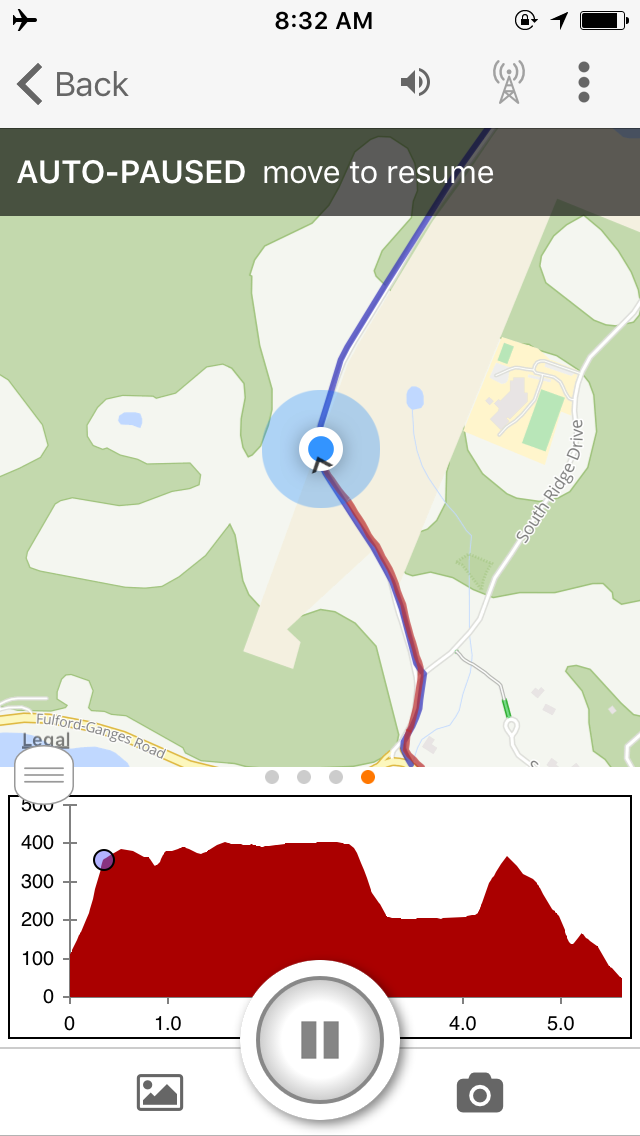
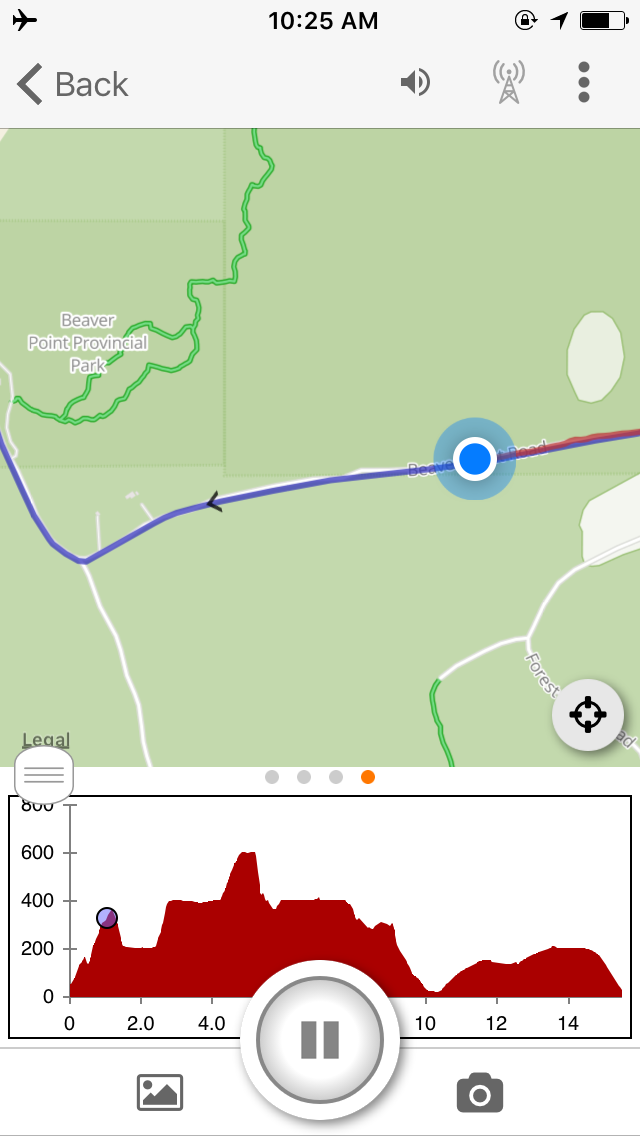
- Strava recording there
- Strava recording back
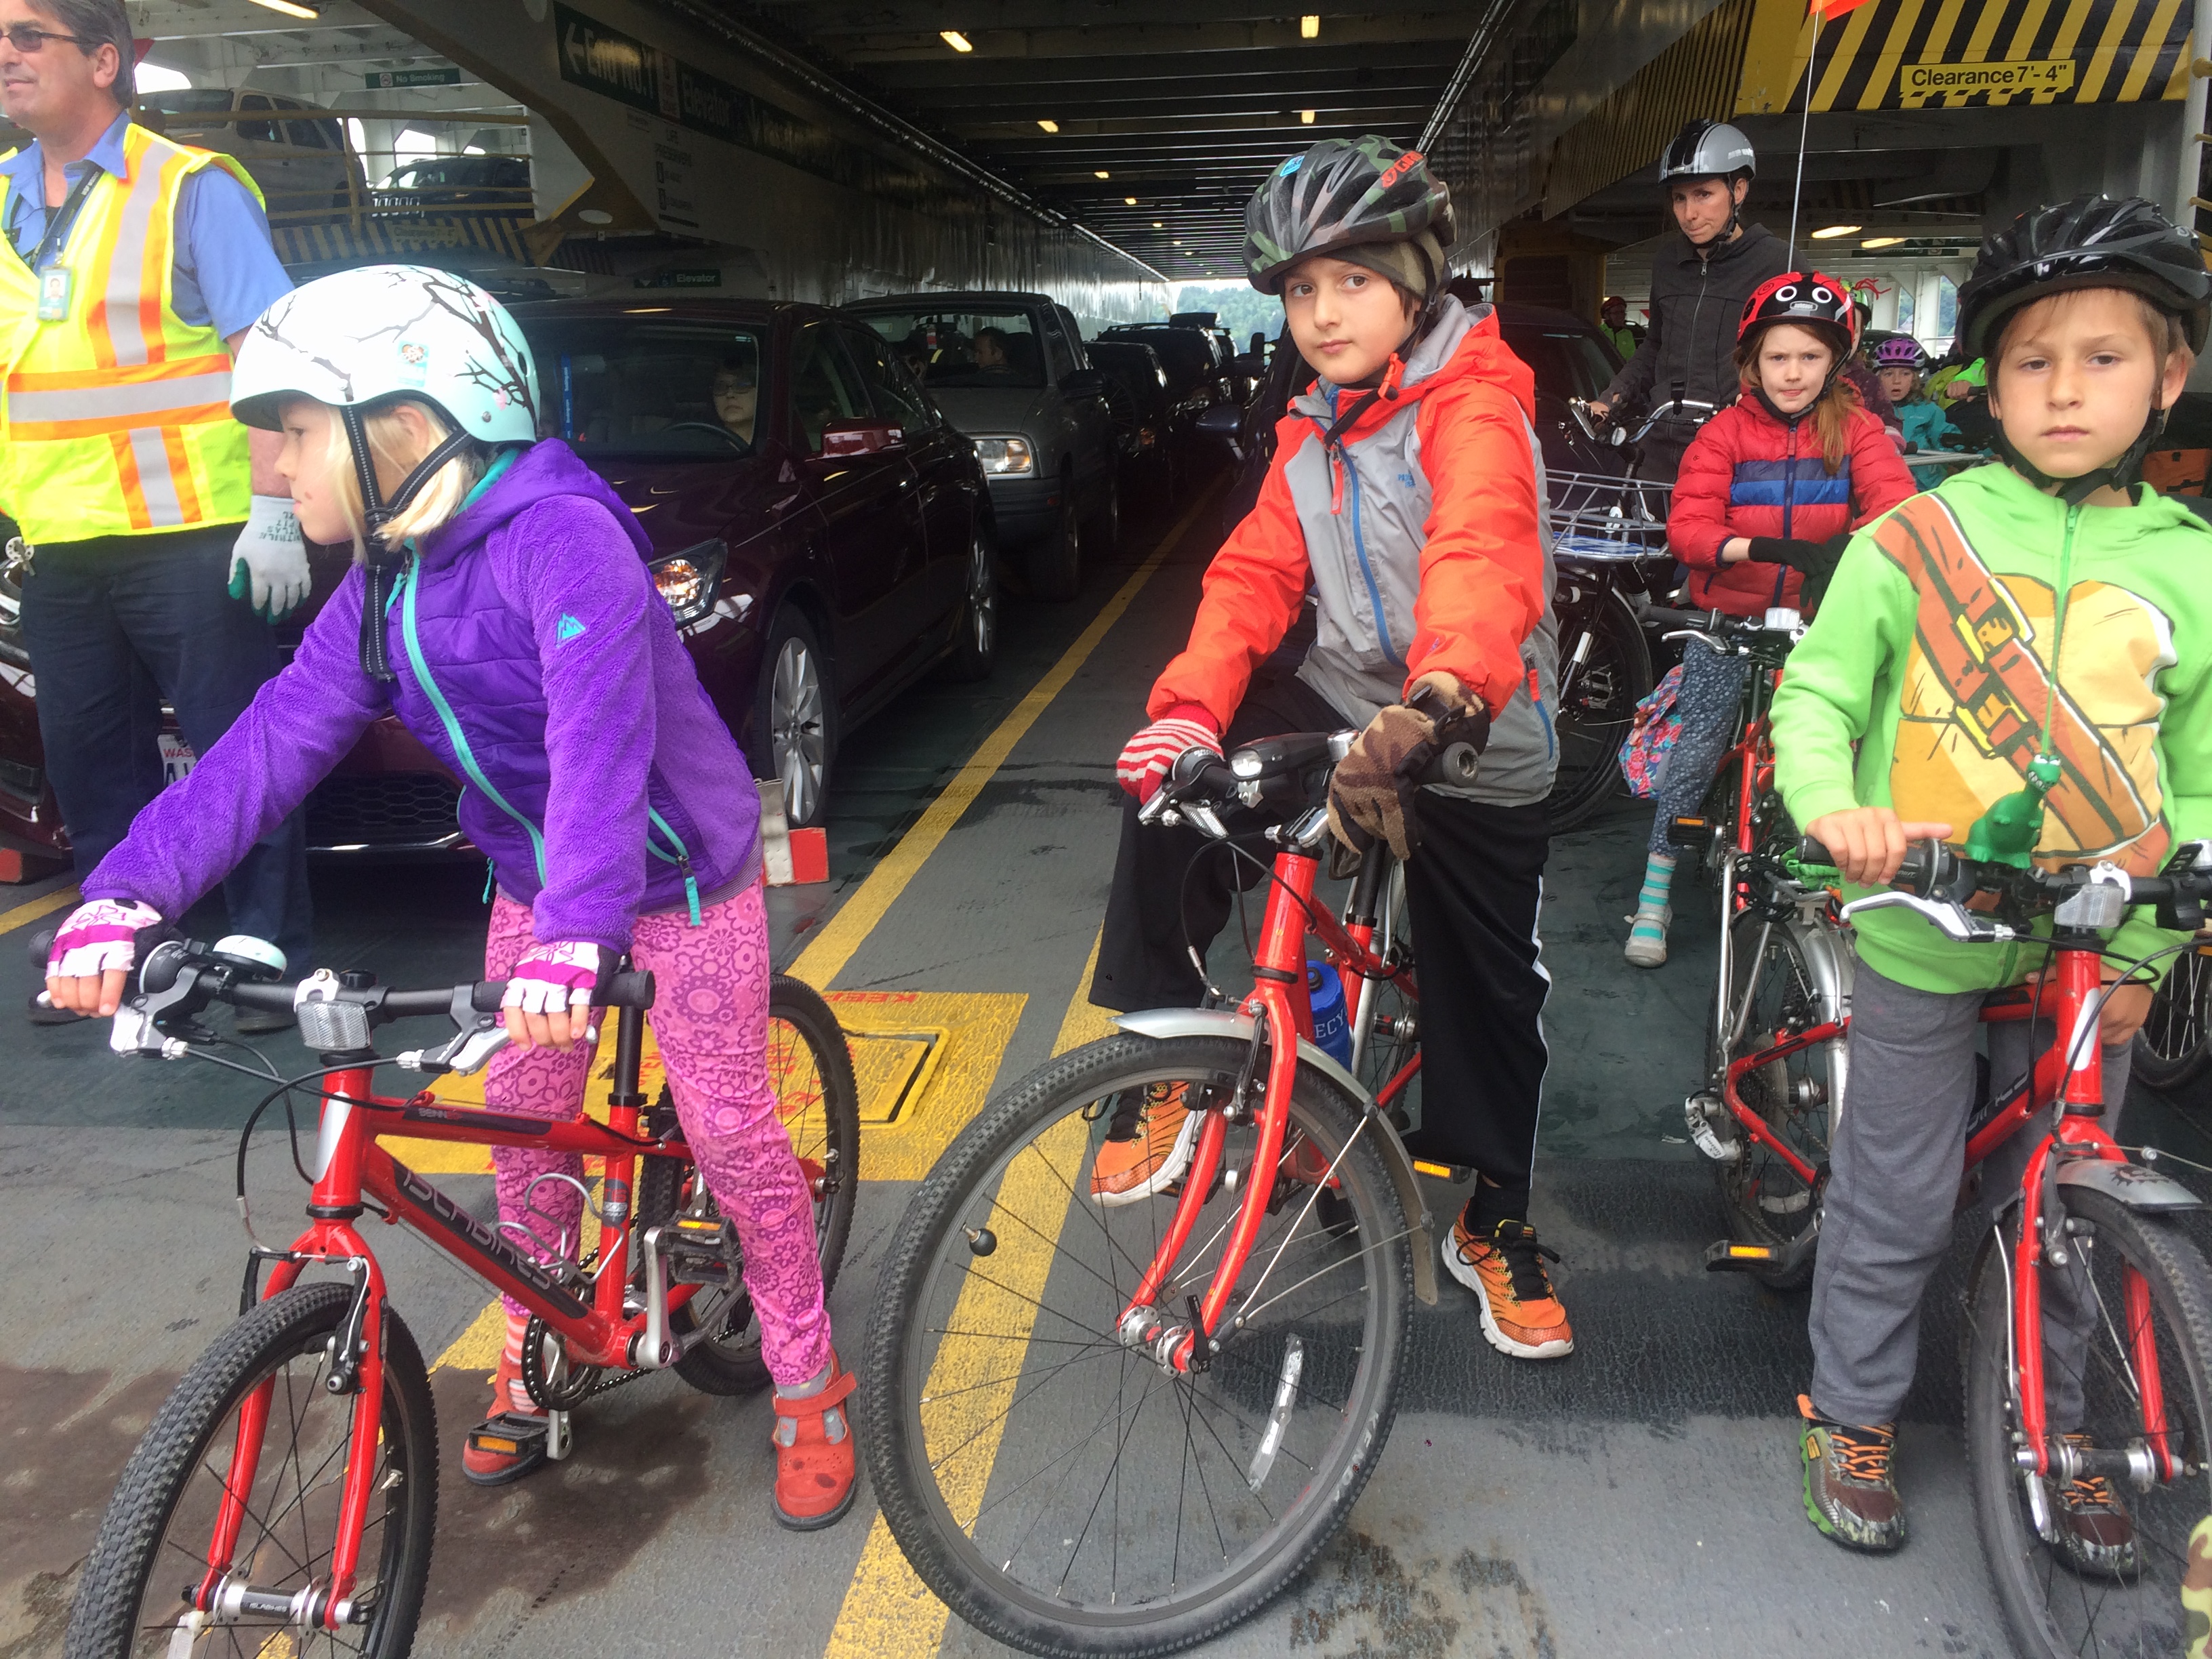
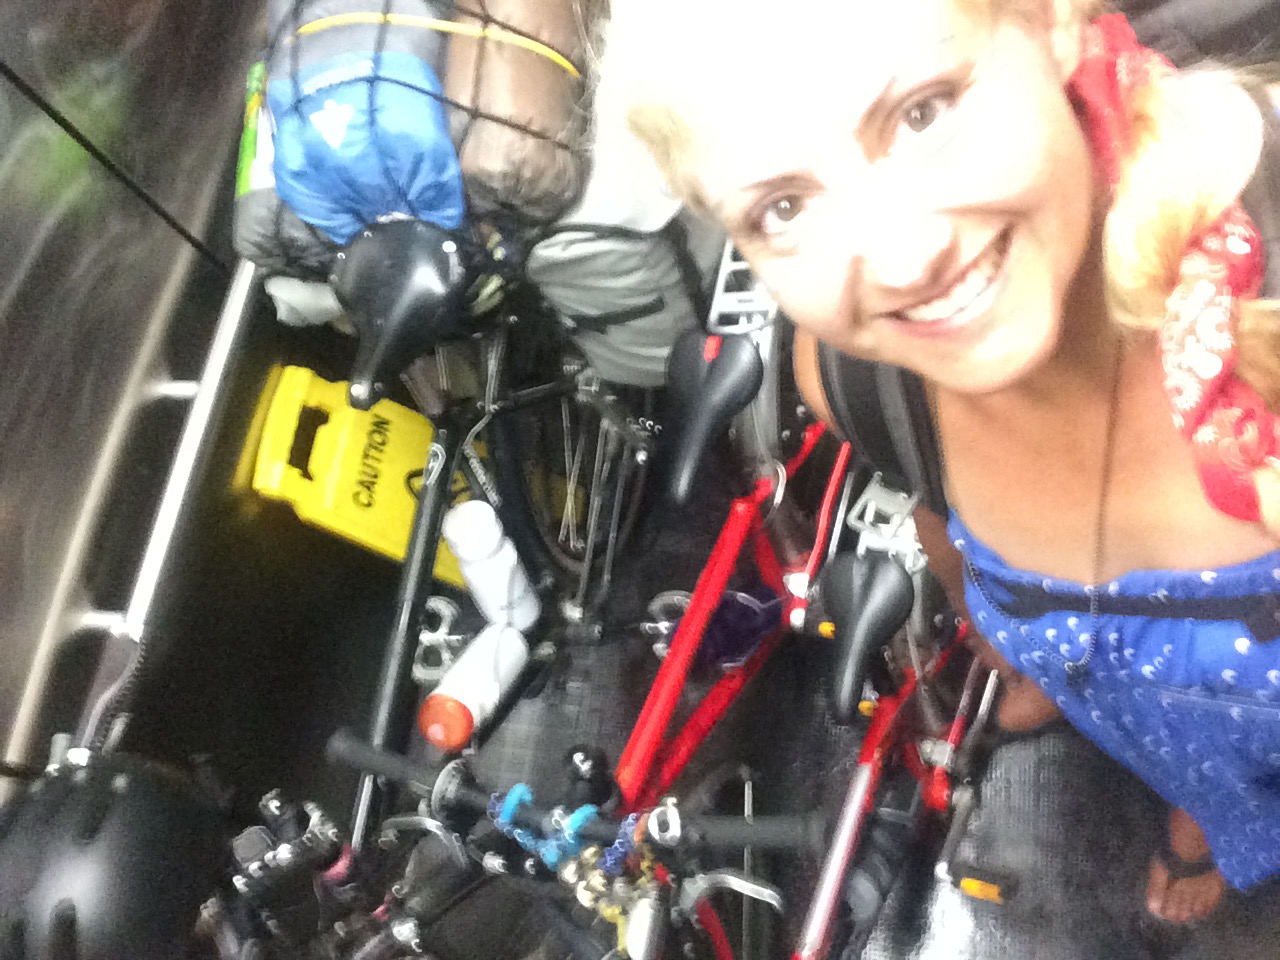
The MAX light rail part of the trip
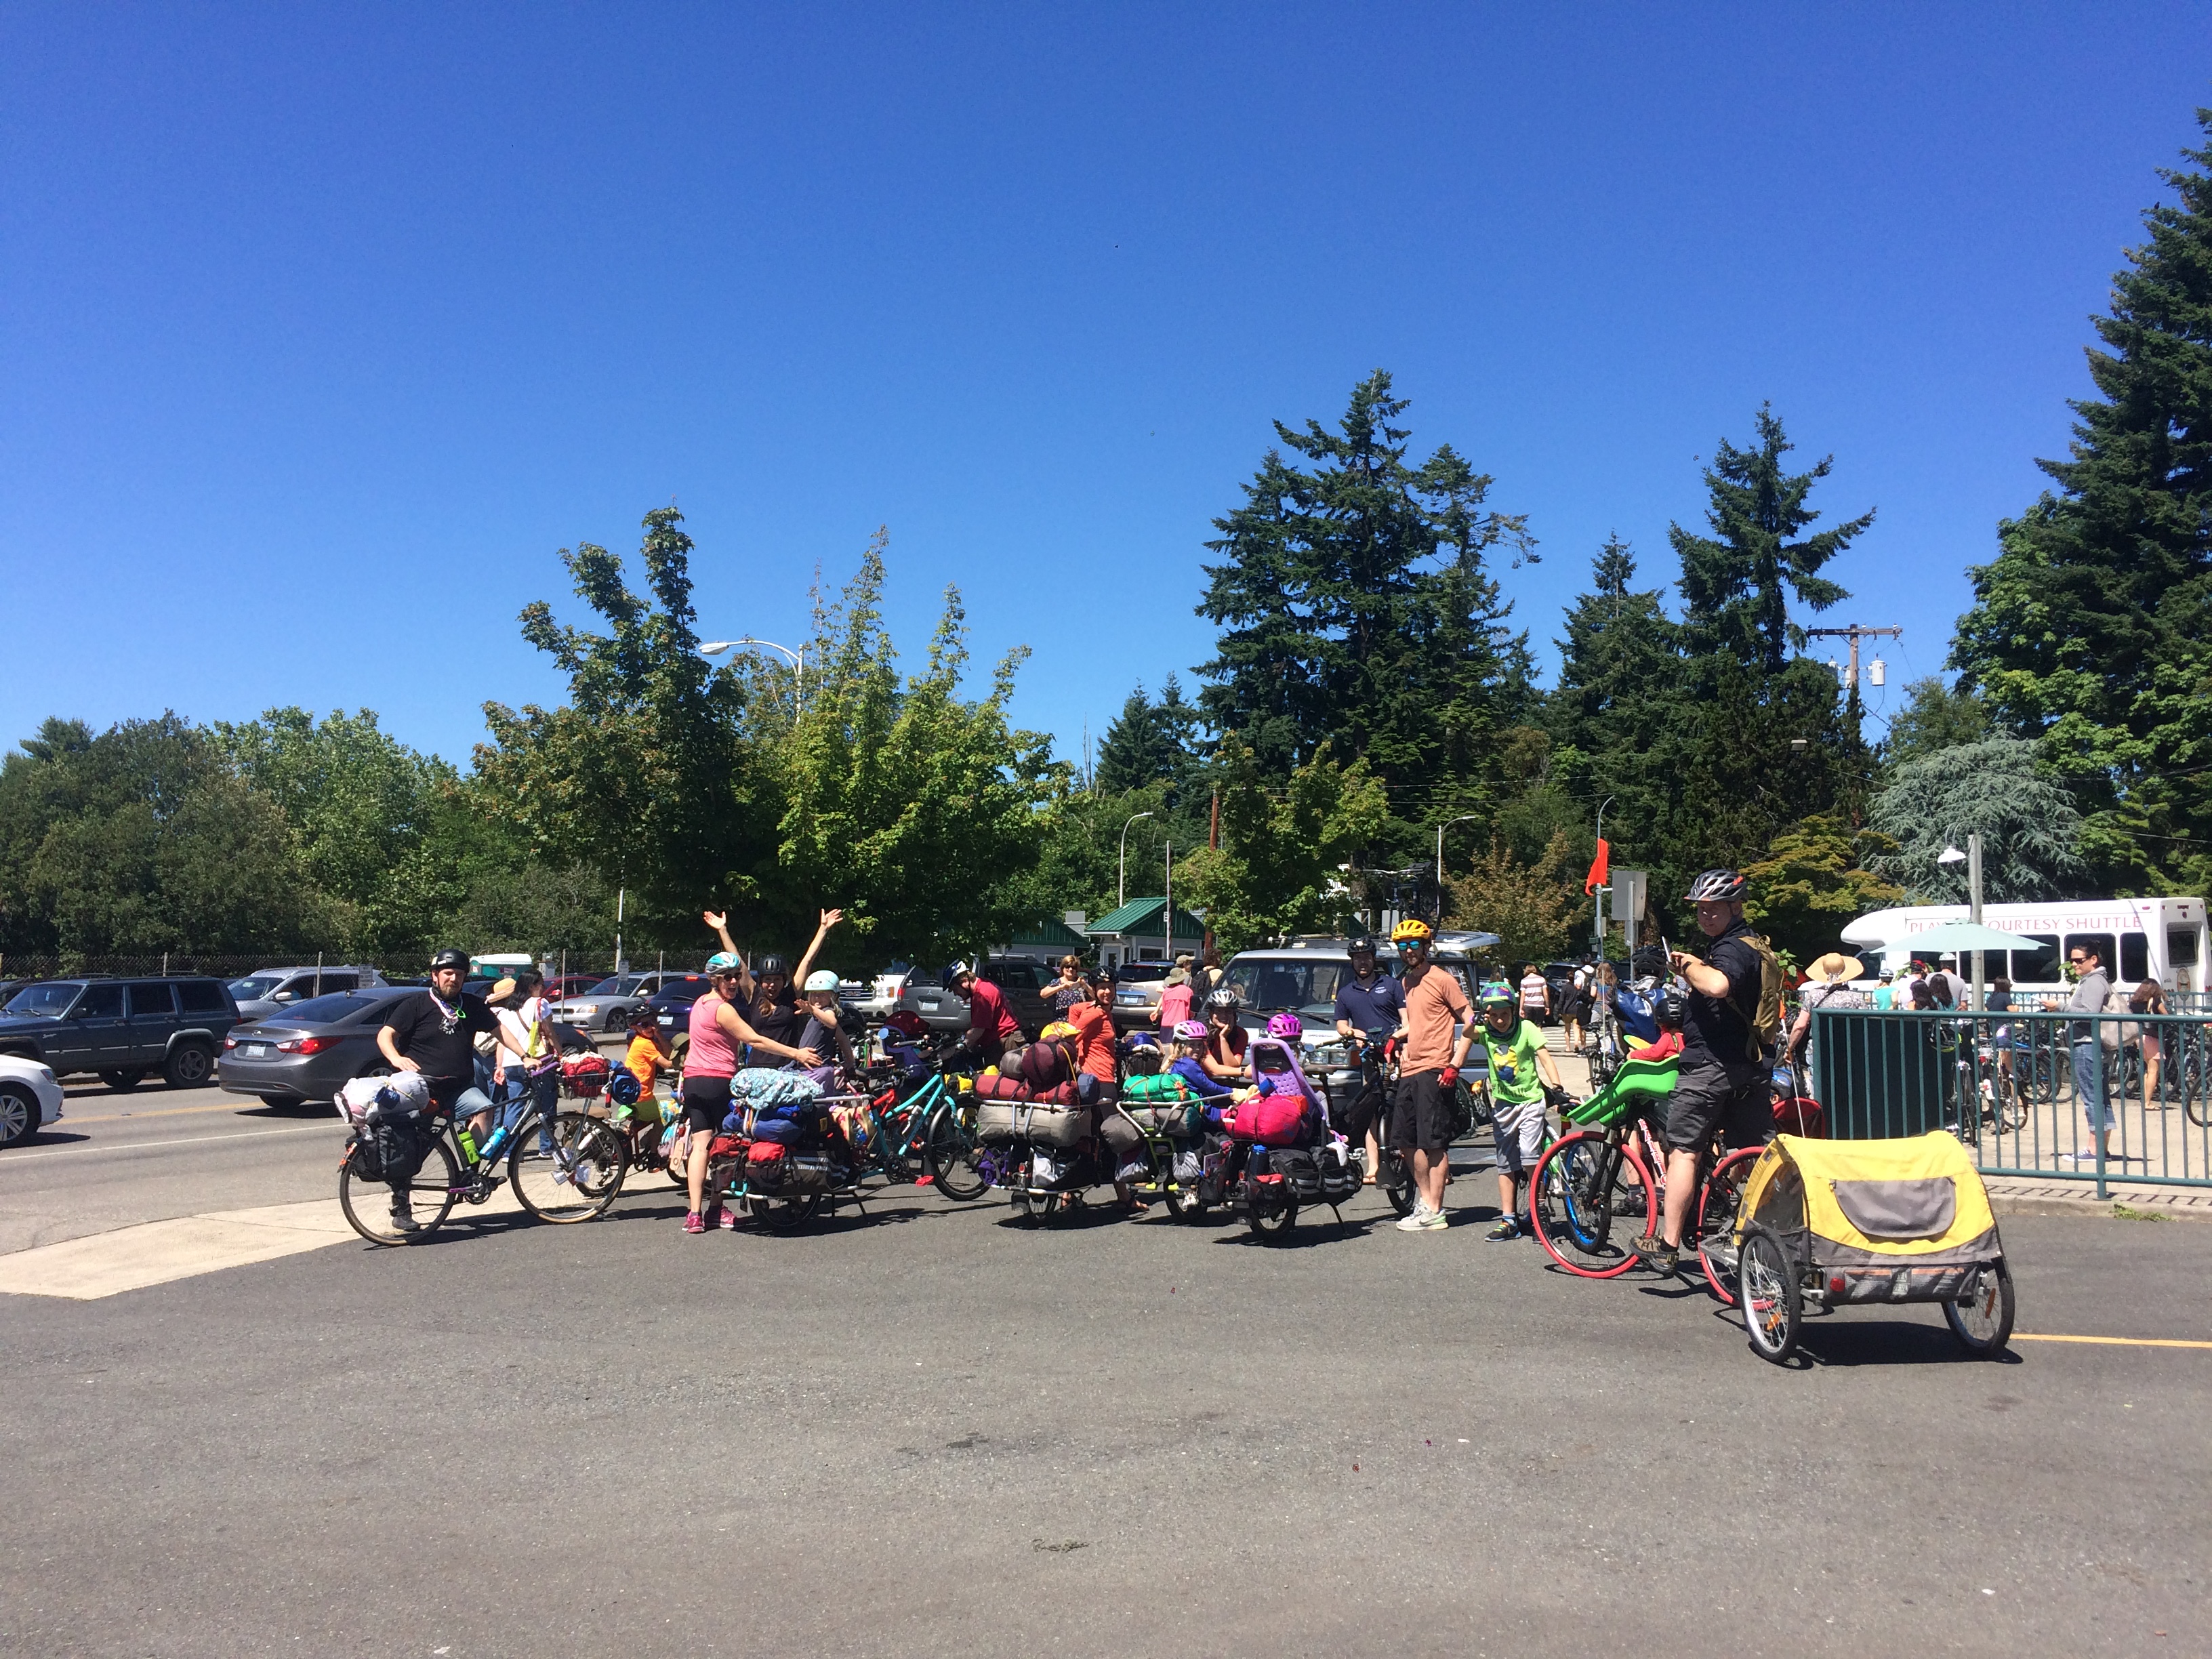
Taking the blue line to the end of the line in Hillsboro allows one to avoid the west hills, lots of not-fit-for-family-biking roads, and saves 25 miles. Initially I wanted to bike to the blue line station closest to us (six miles to Gateway on the I-205 bike path with only minor ups and downs), but in the end I decided less tired kids was worth the hassle of putting bikes on and off two trains. We biked two flat miles to our closest MAX station and caught a train for nine minutes/five stops to Gateway.
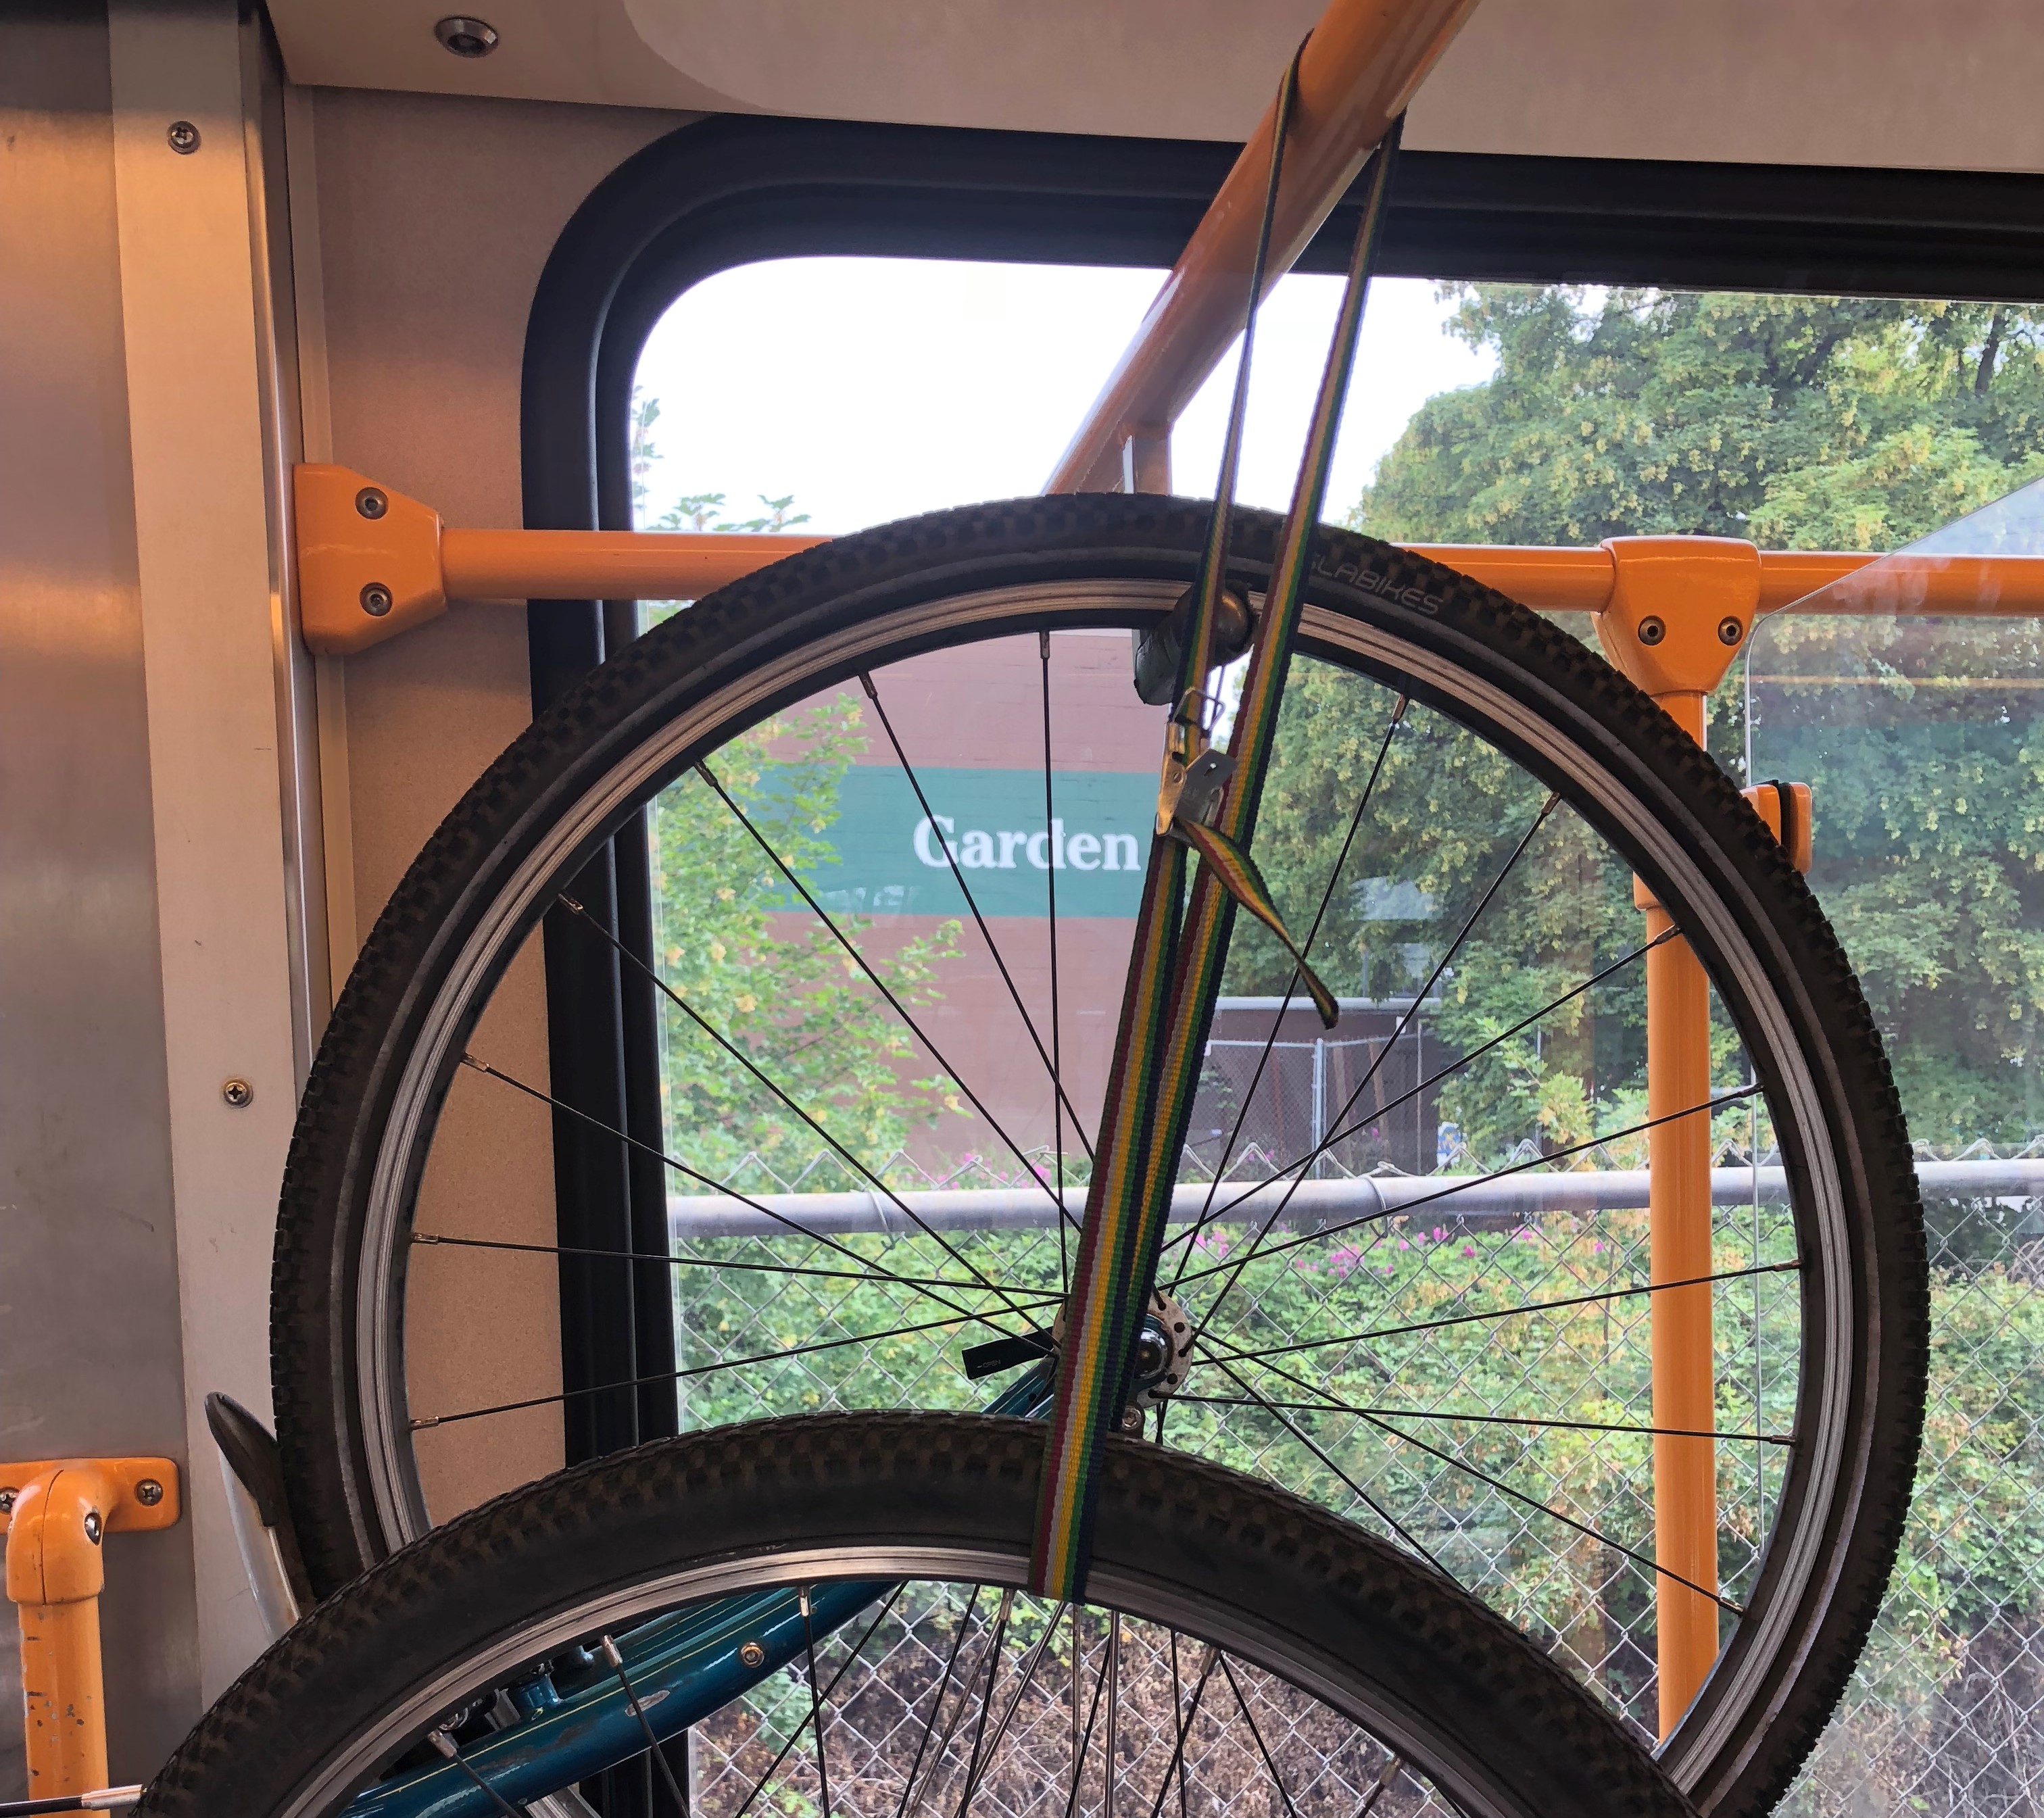
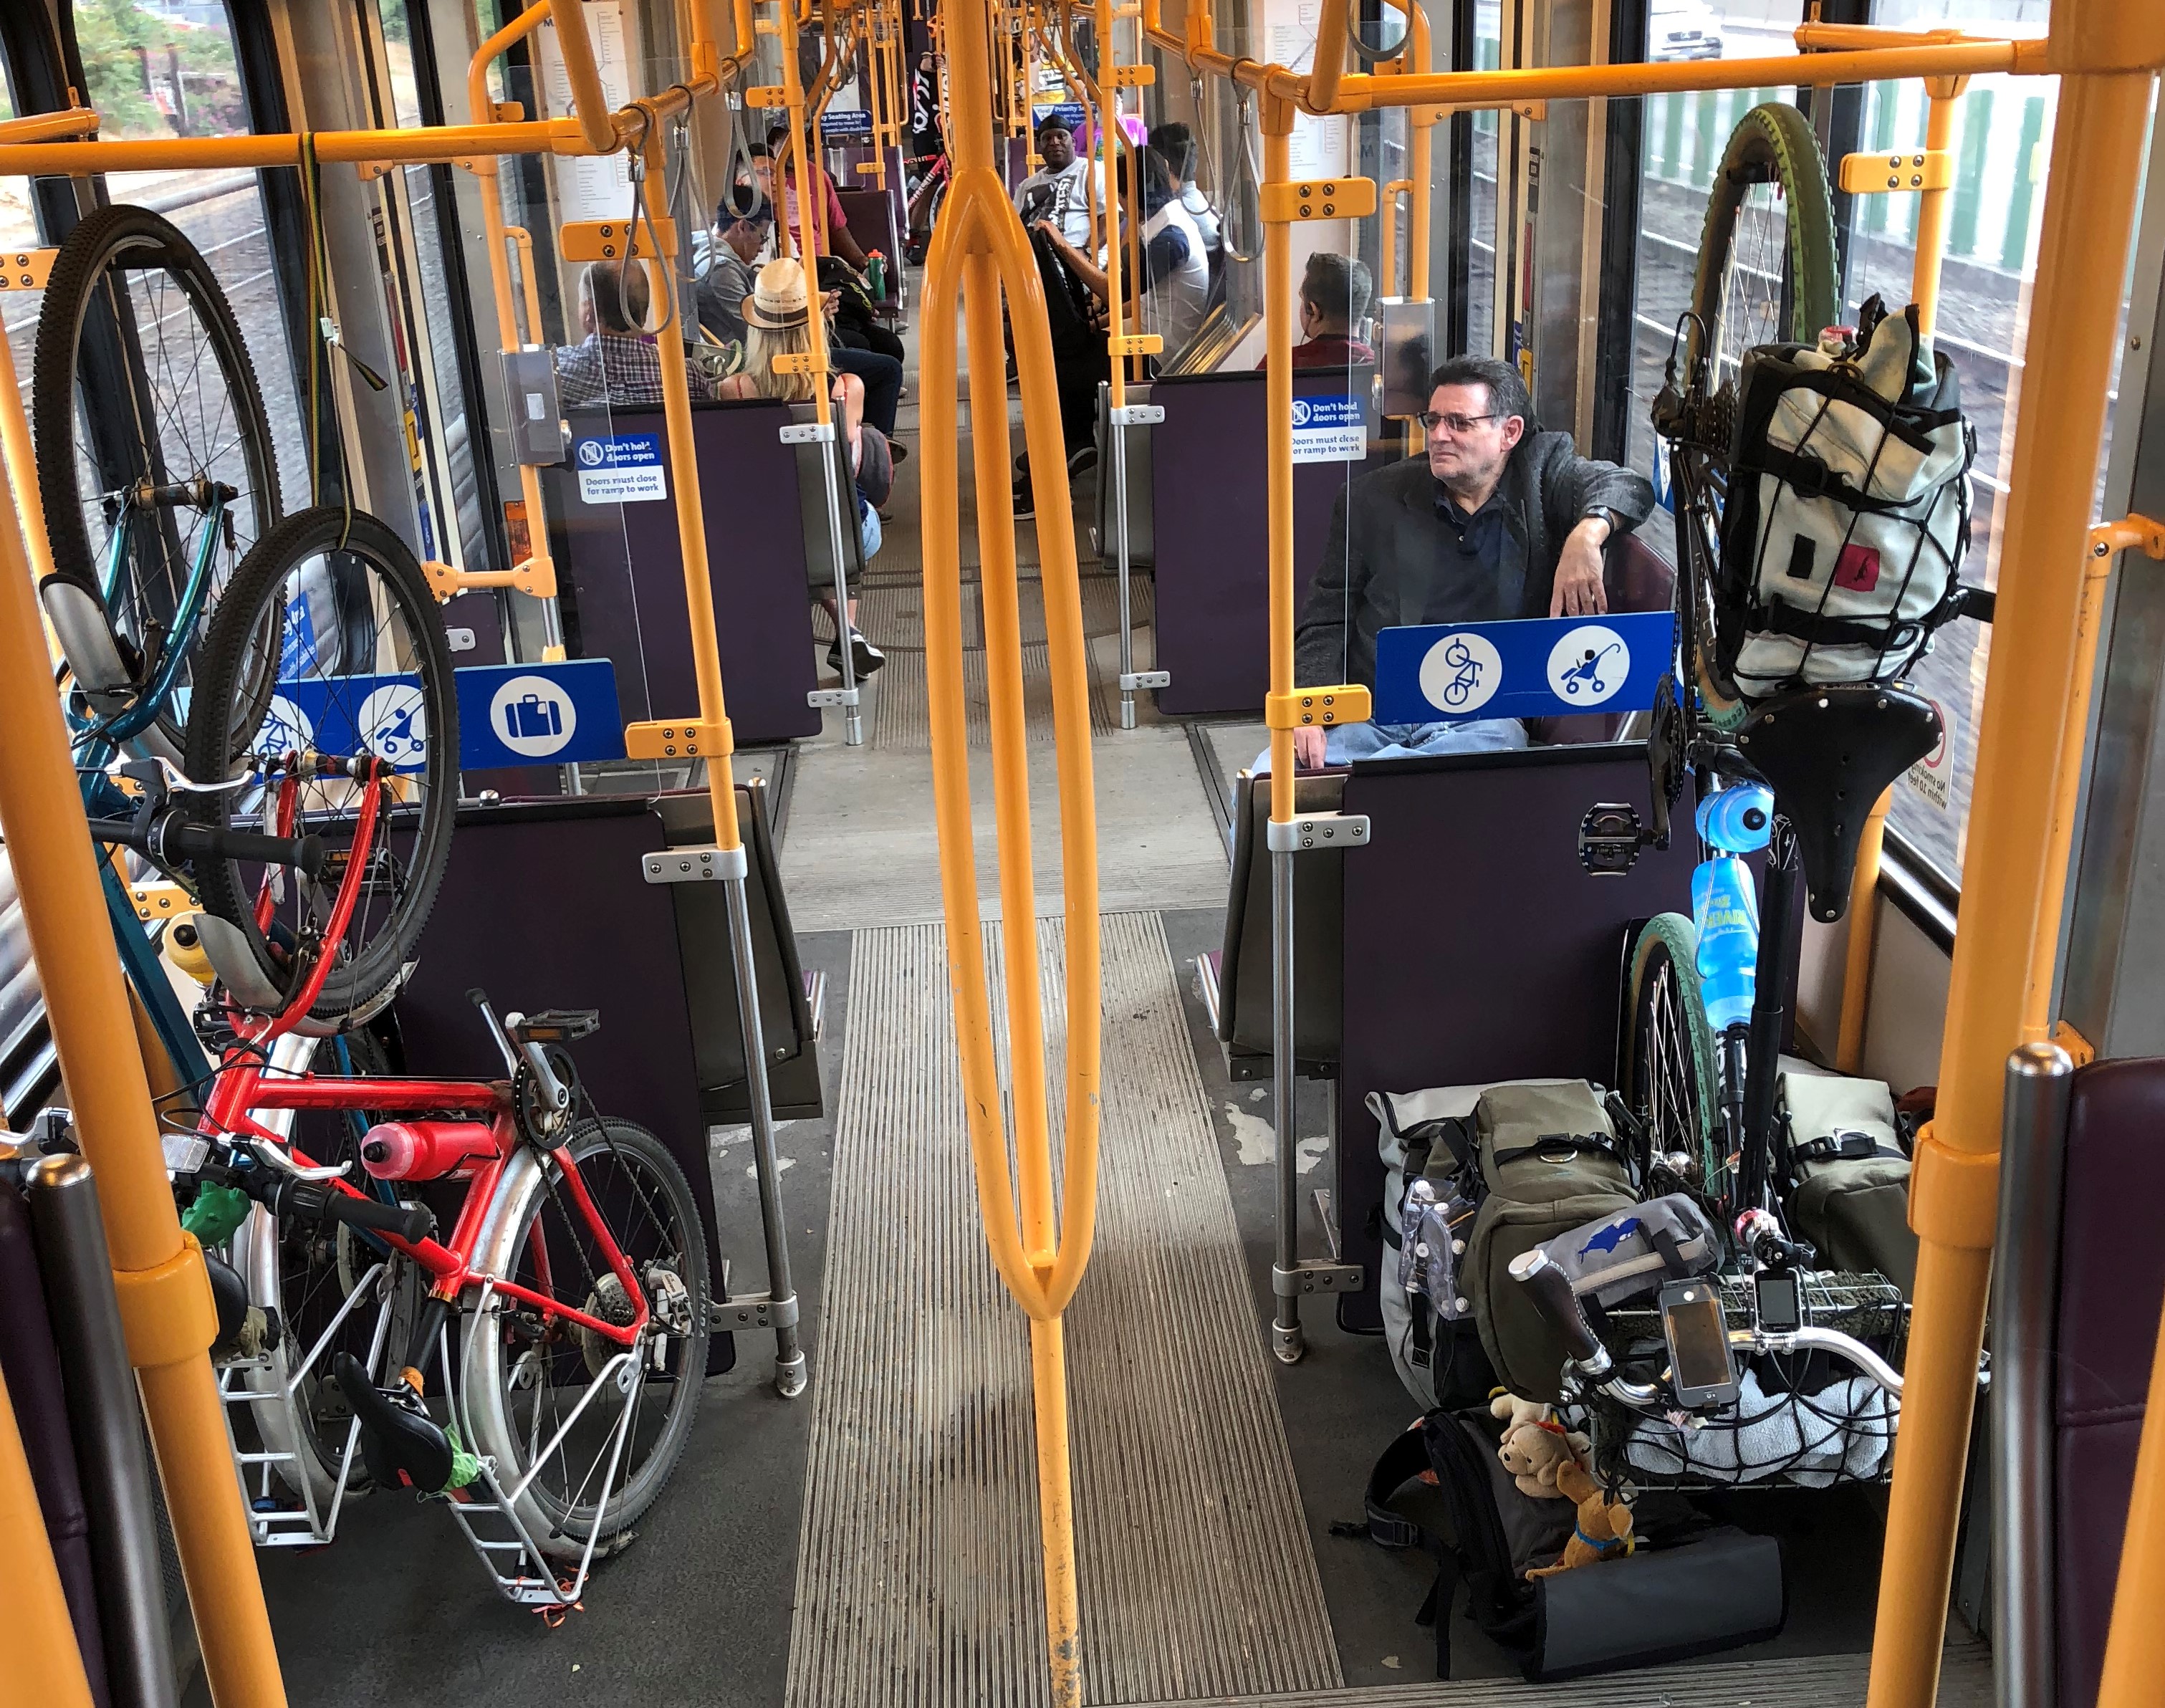
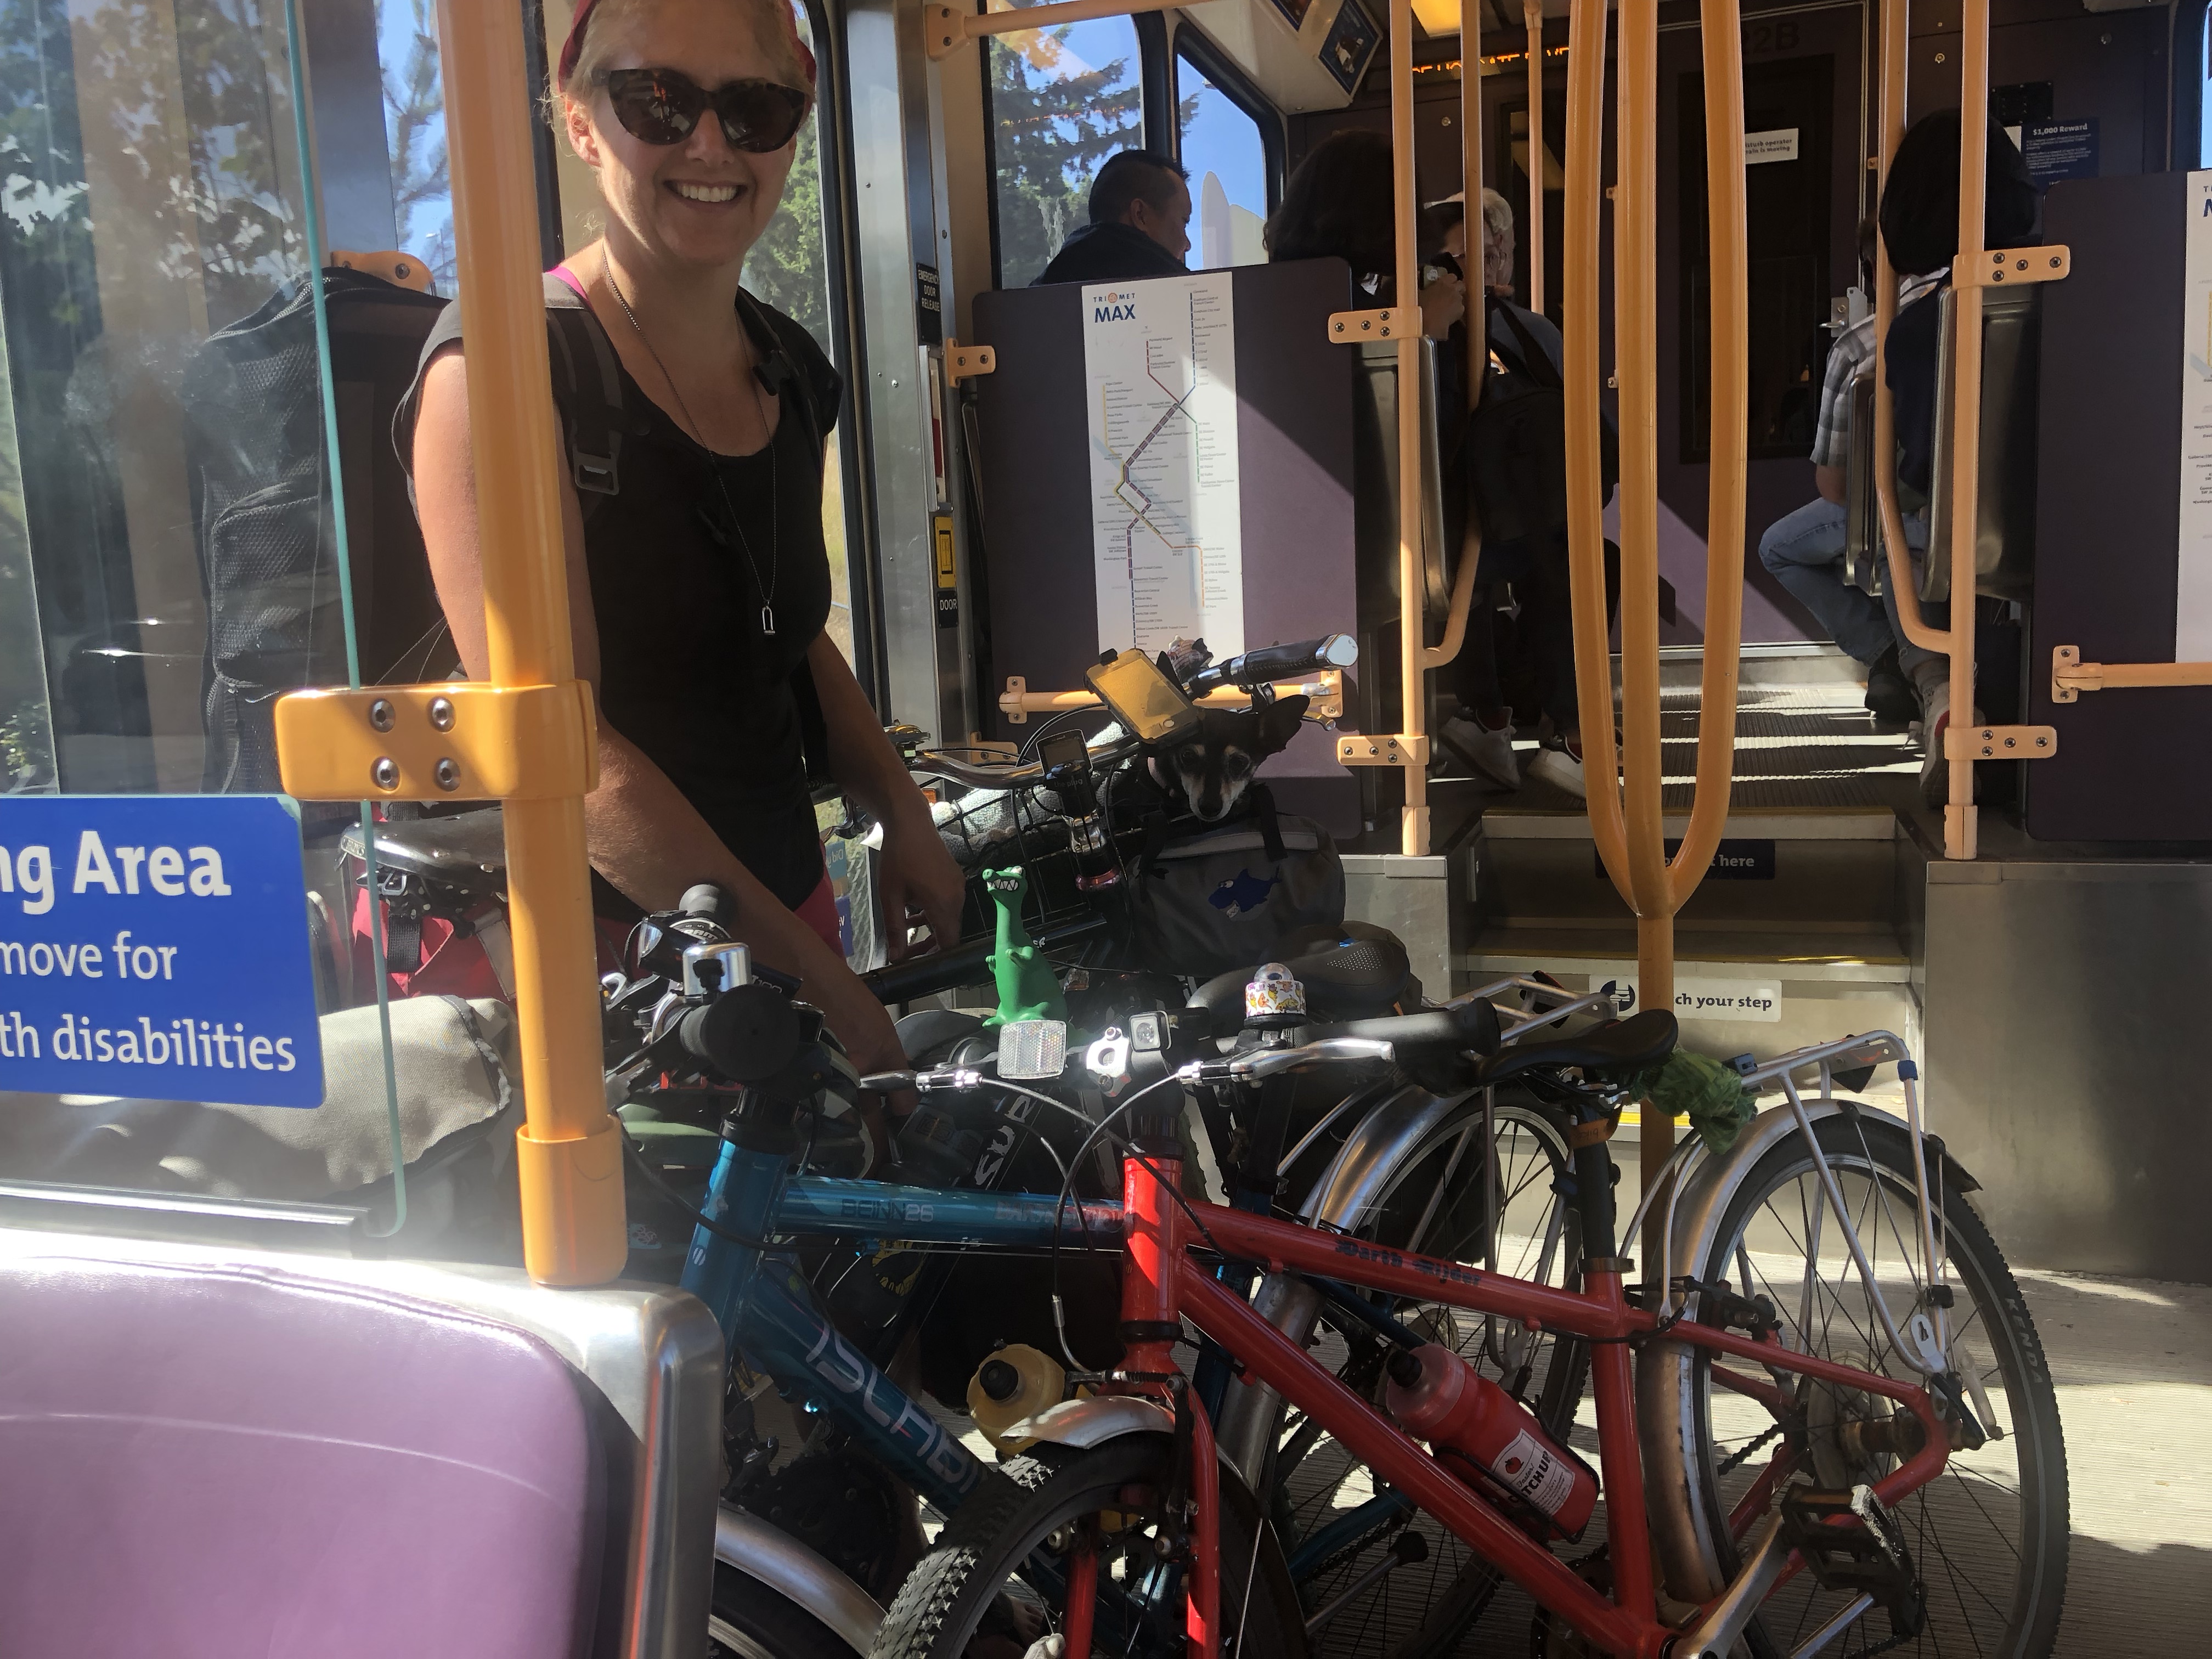
Now I know we can get off the left-facing doors and not even need to cross the tracks to catch the blue line, which we rode for 1:14/34 stops. We haven’t taken such a long MAX trip before and it was nice to have time to settle in and hang up all the bikes. I learned from the comments of my Family Biking: Taking kids and bikes on MAX light rail article on BikePortland that people bring big S-hooks along with them to hang extra bikes. Our local hardware store didn’t have one large enough, but a cargo strap did the trick! I hung the kids’ bikes on one side and mine on the other.
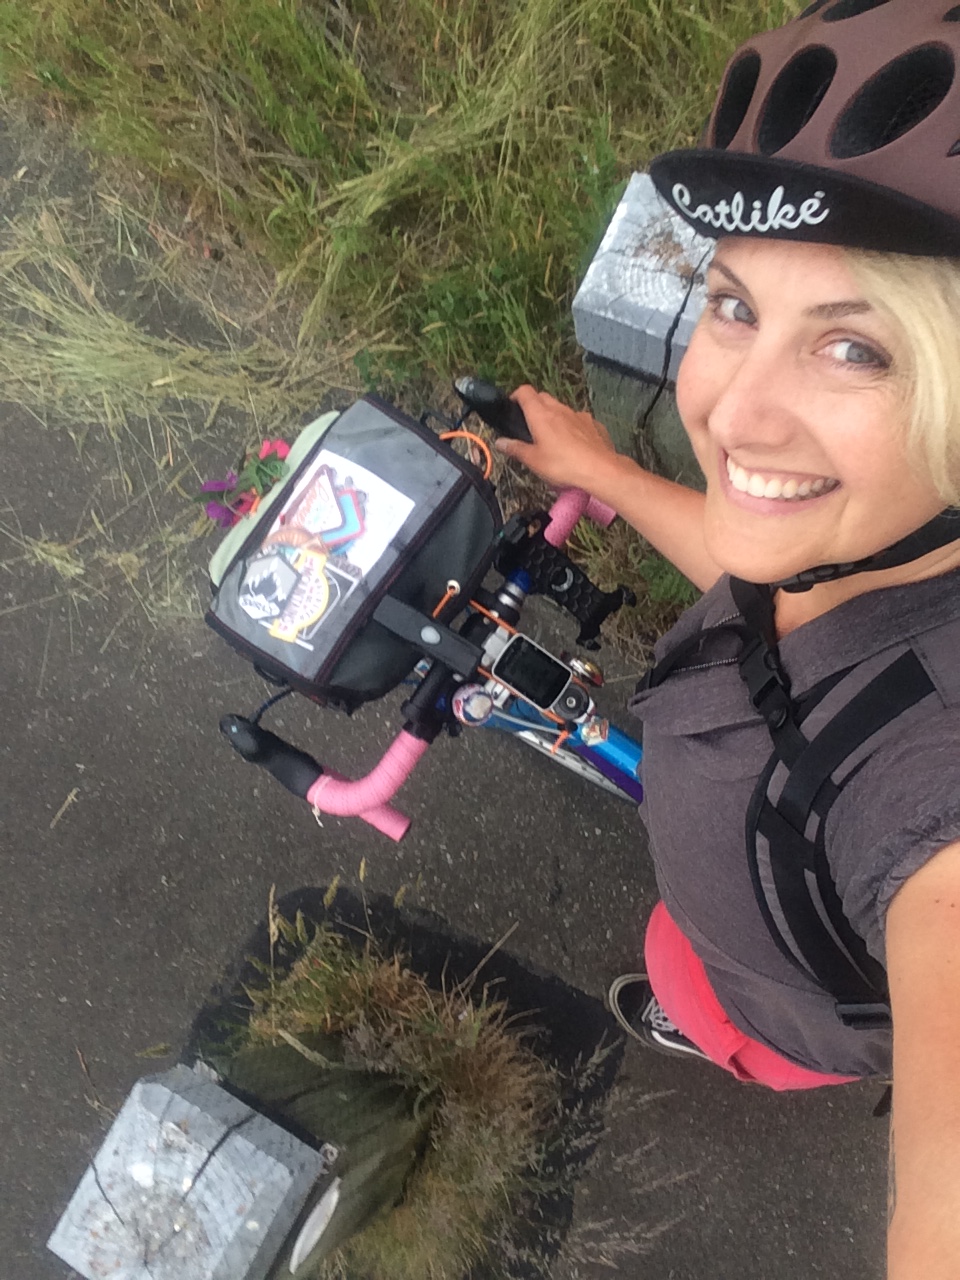
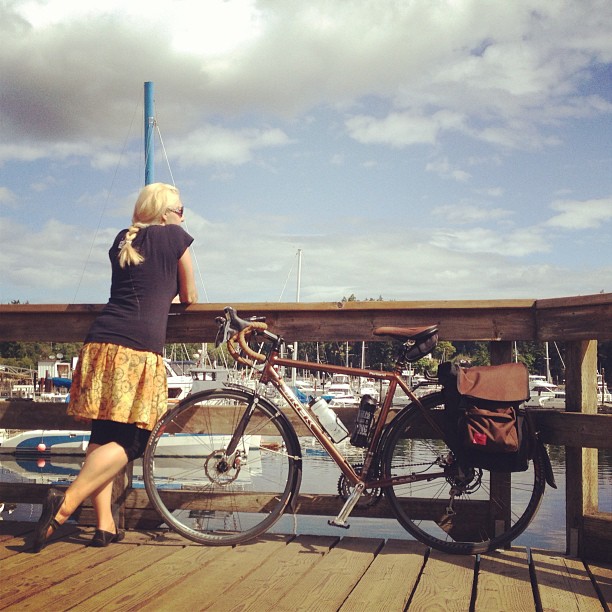
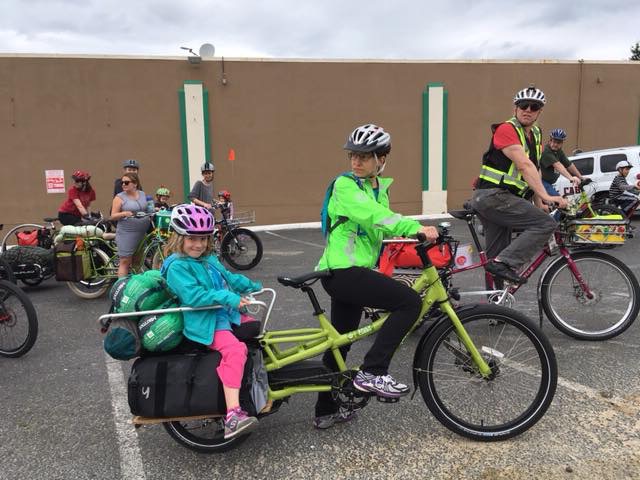
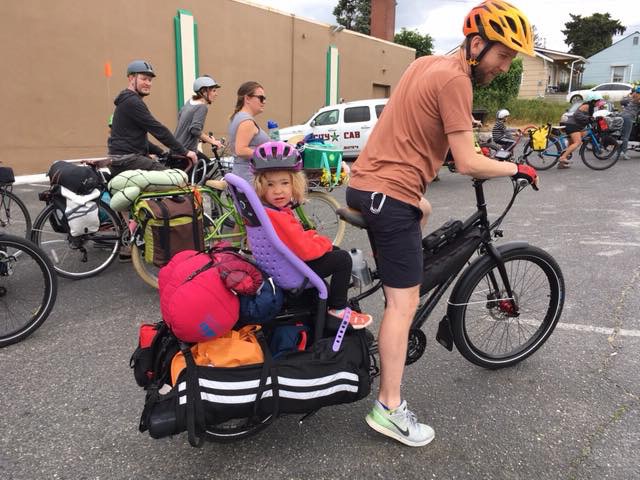
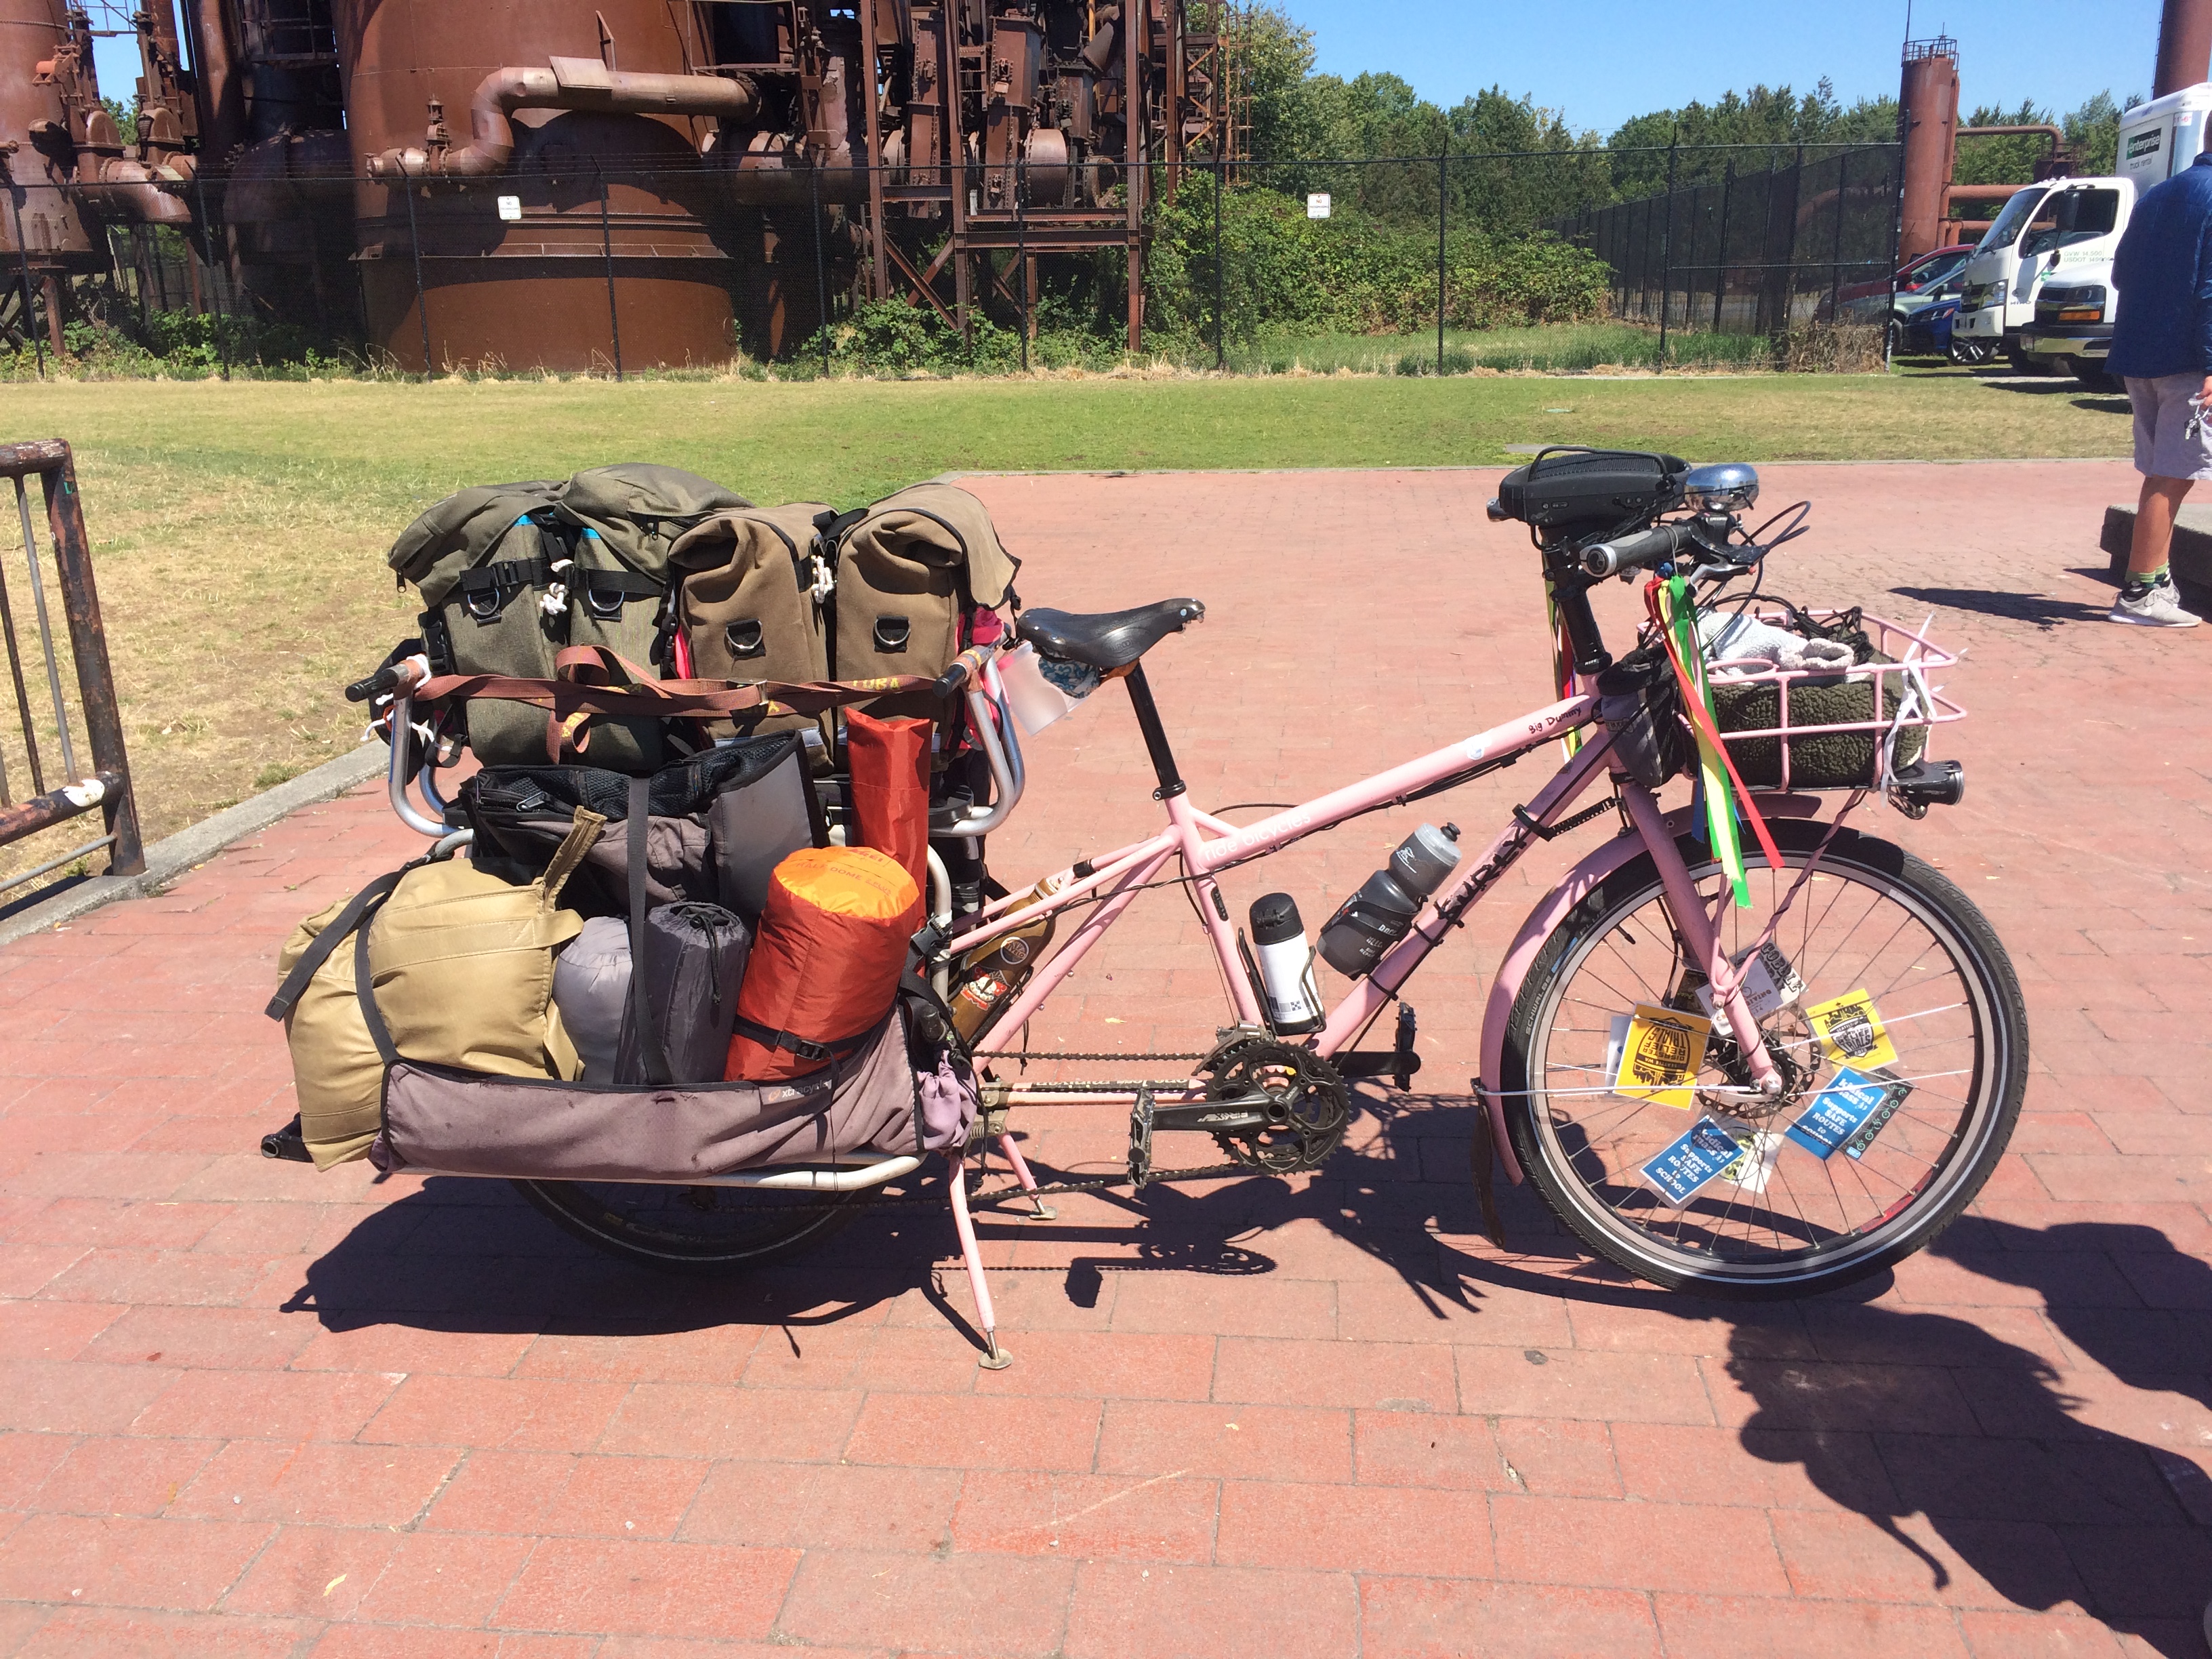
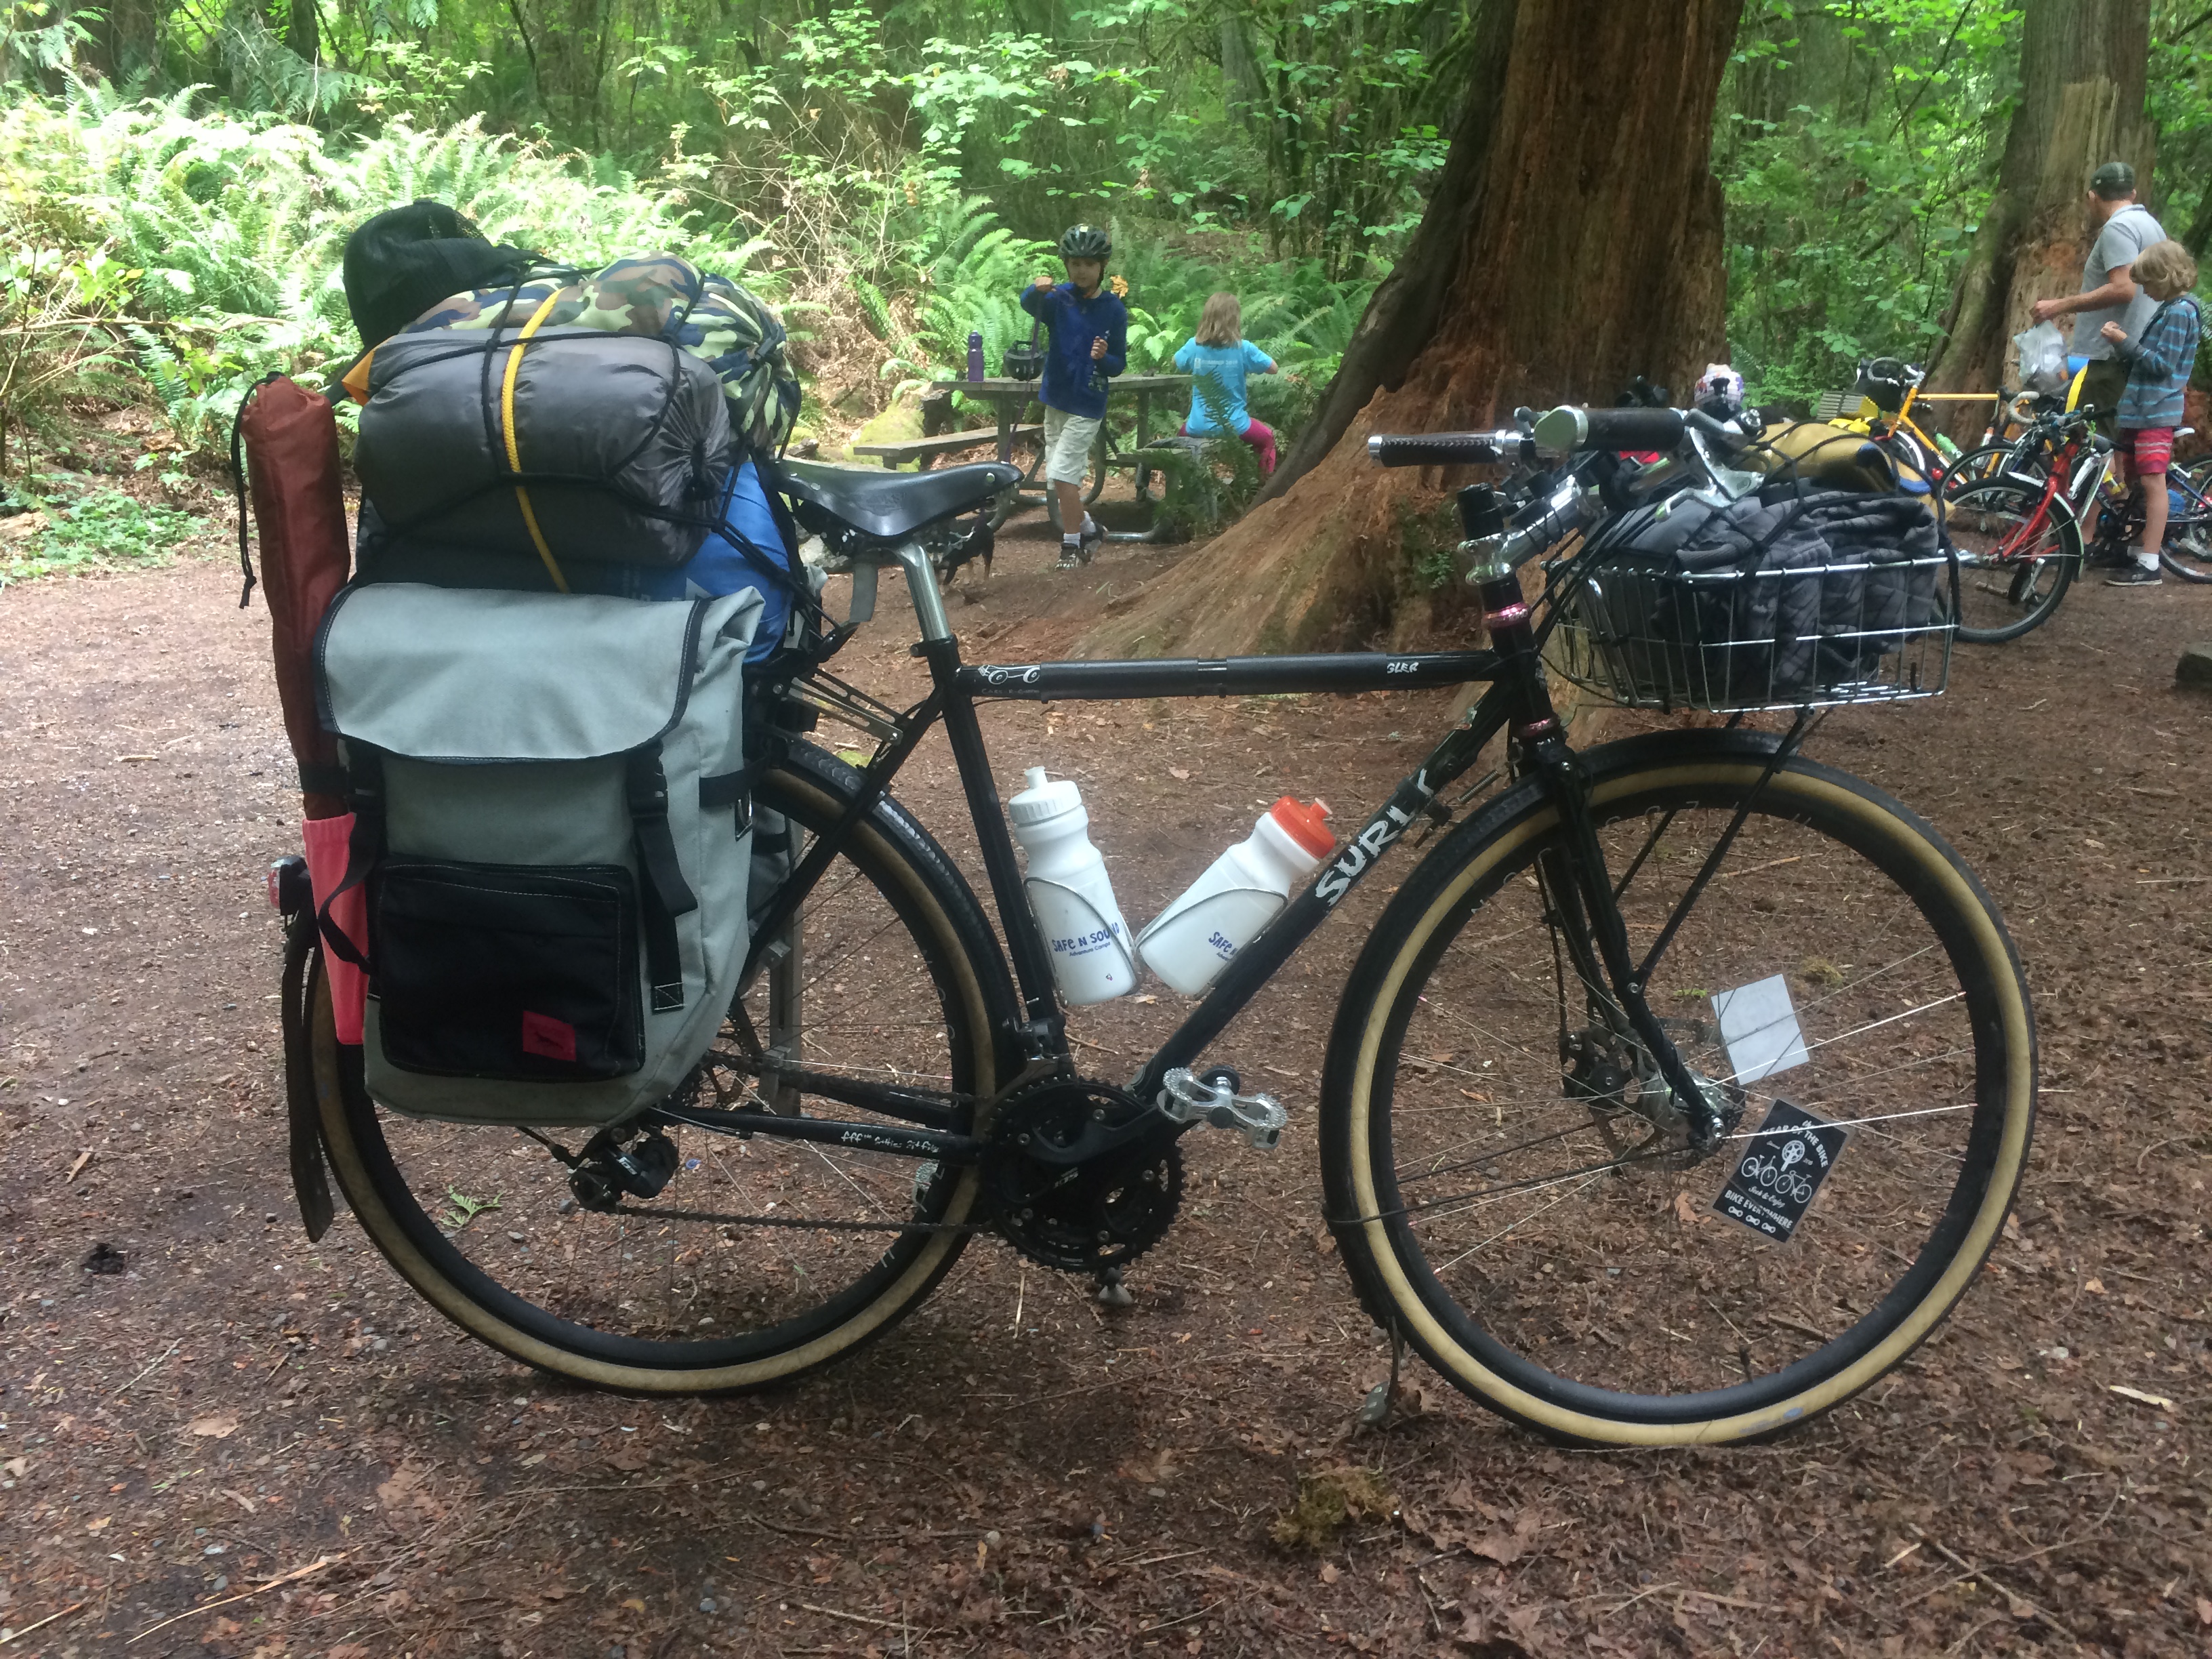
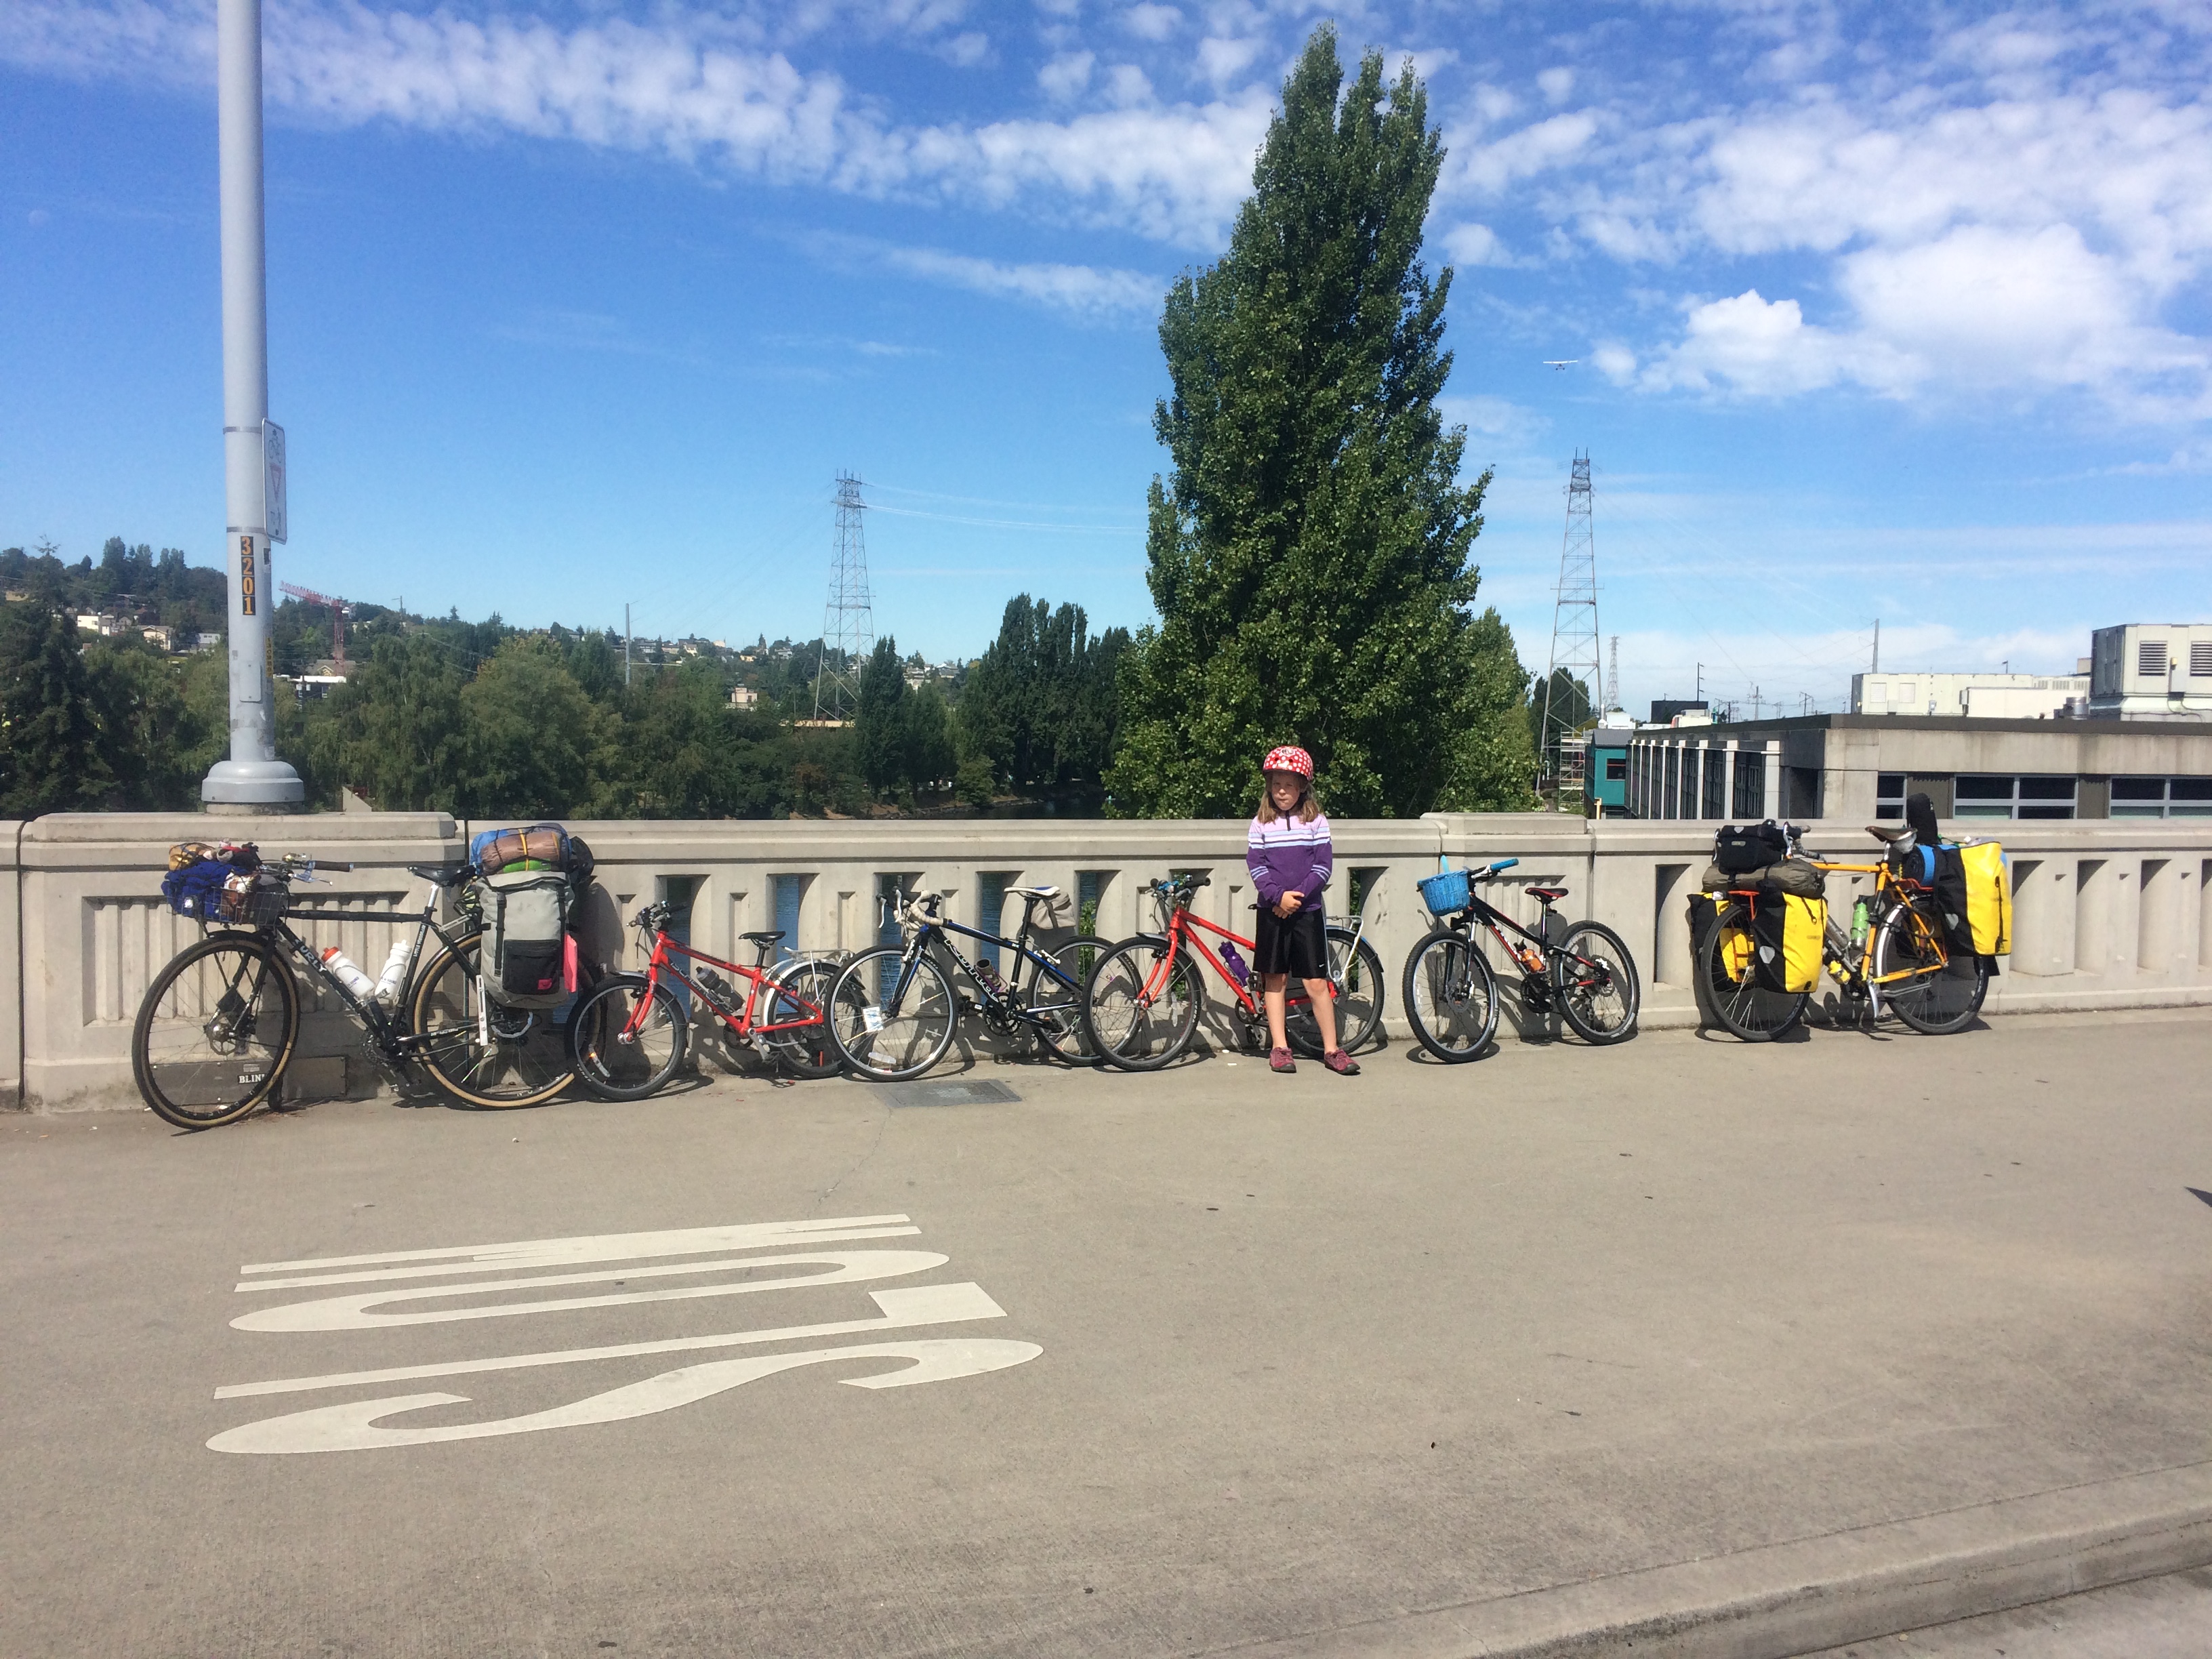
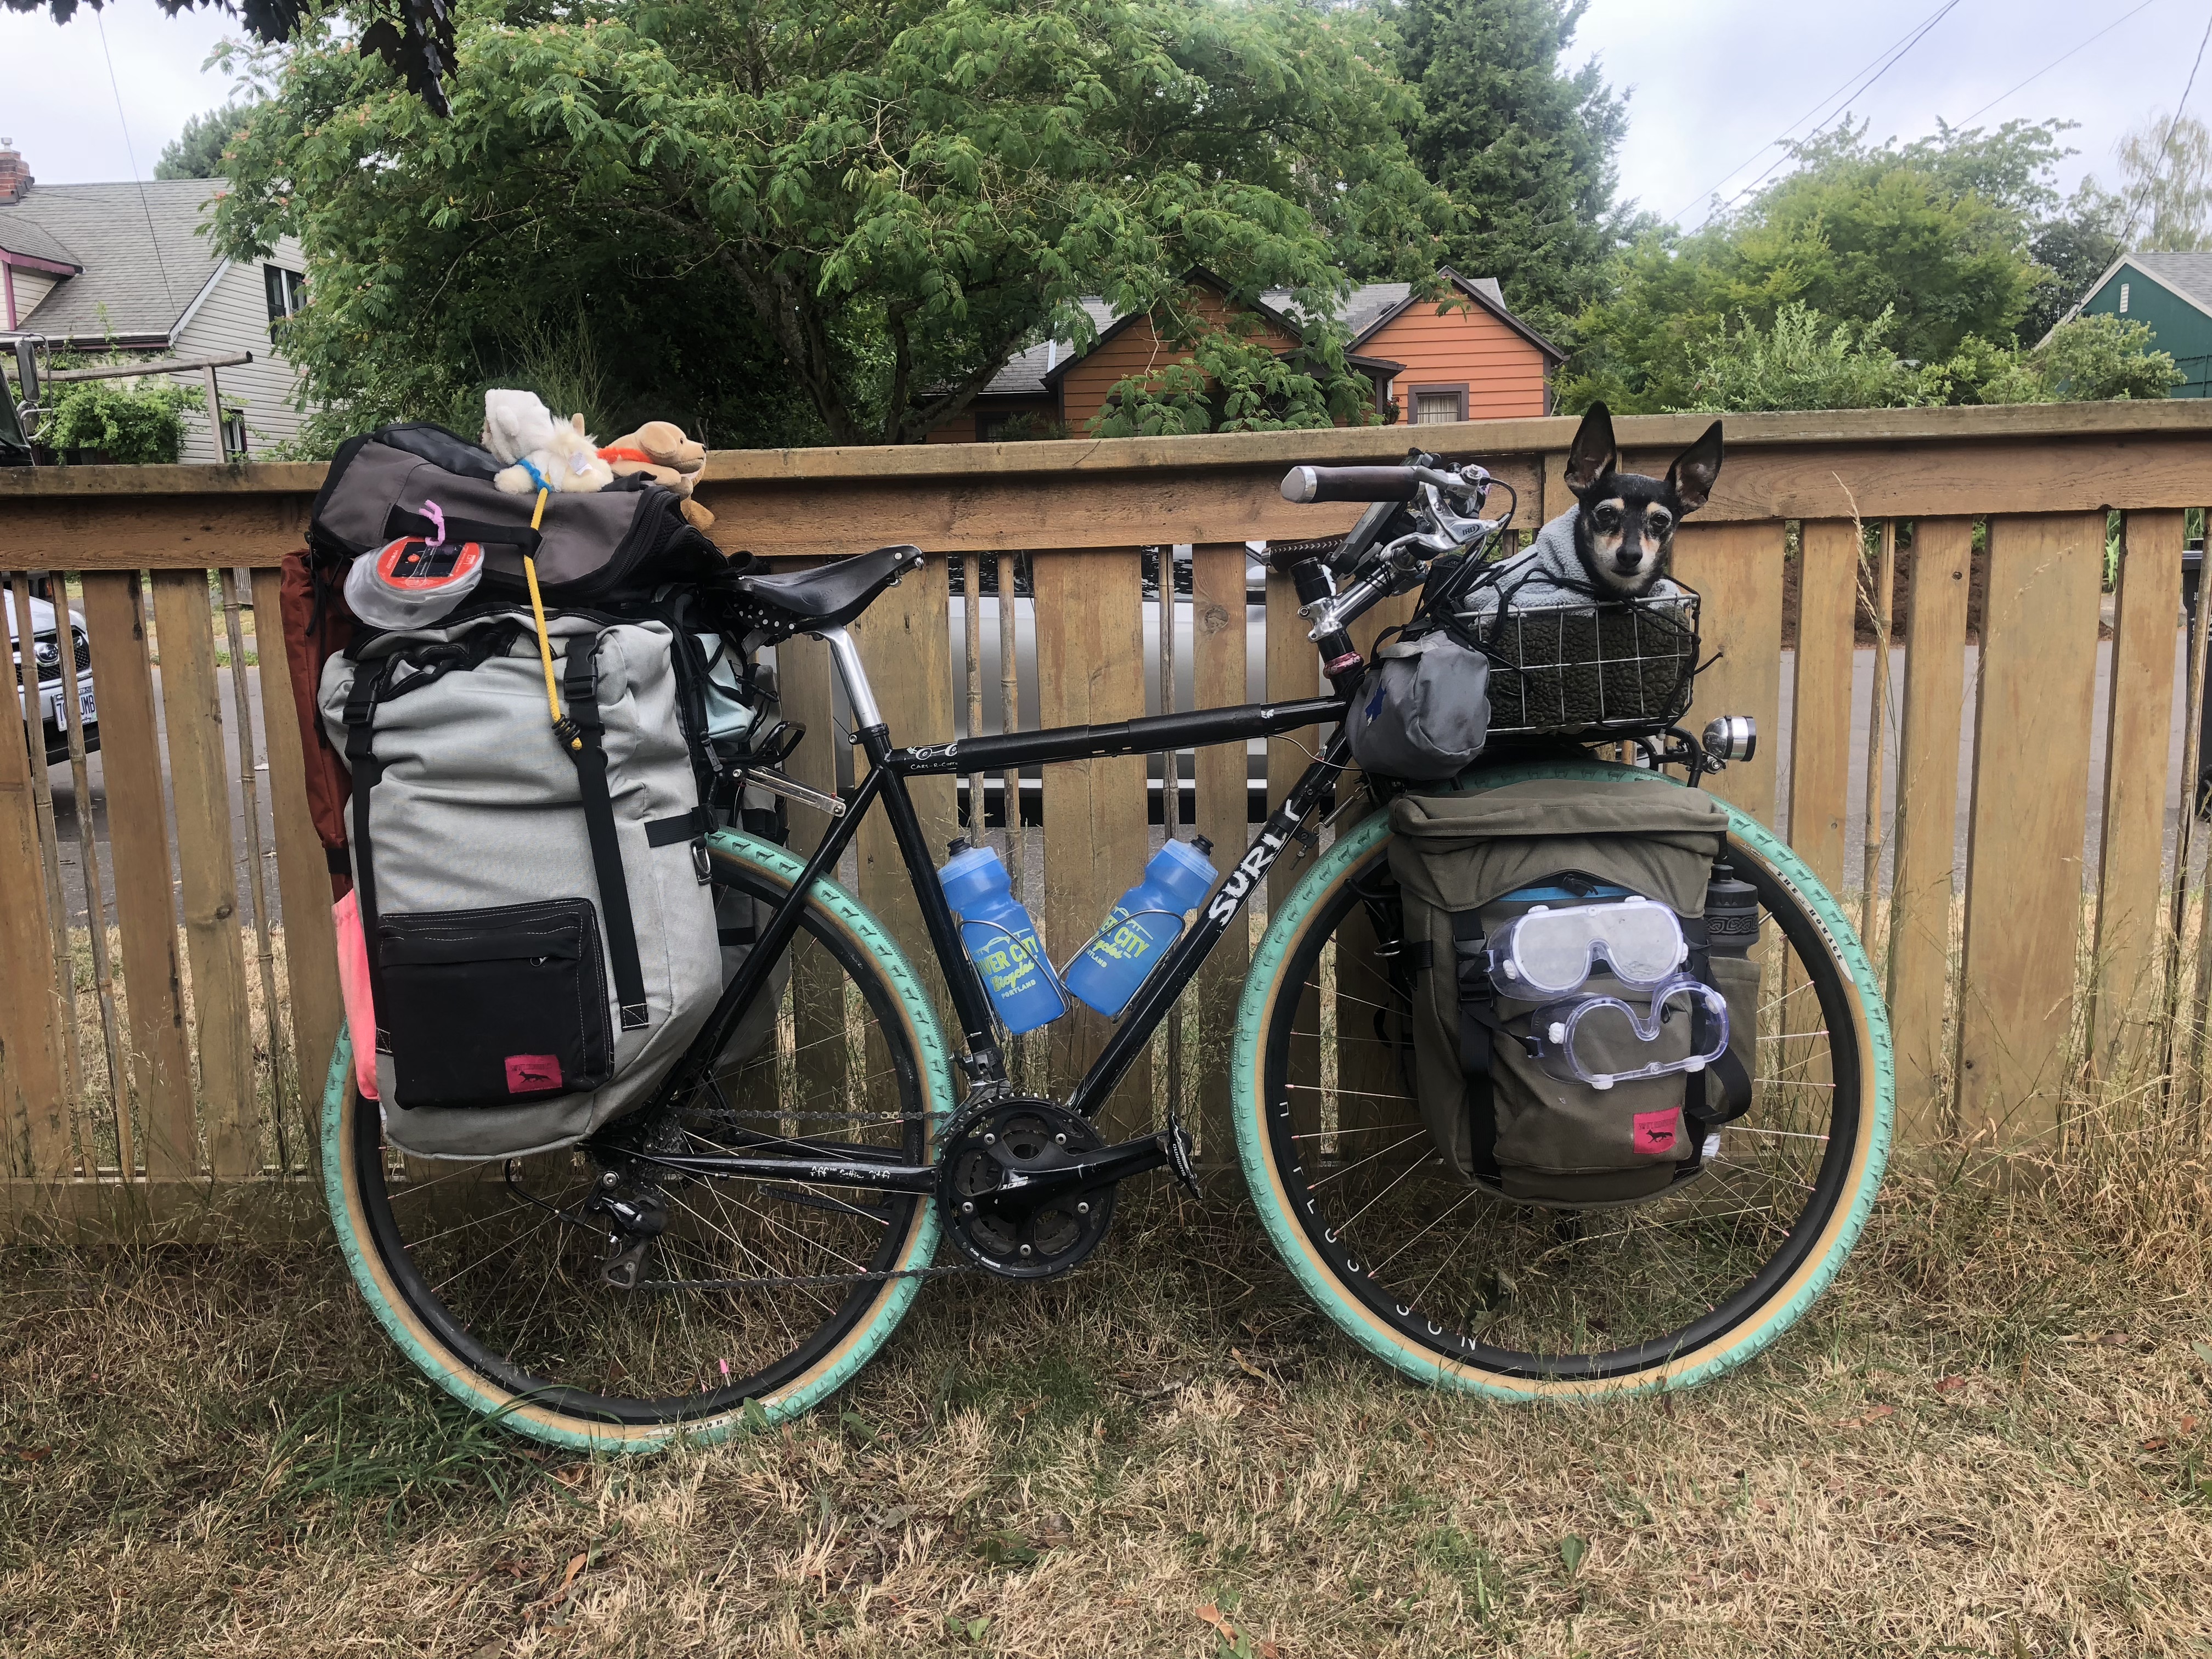
My regular bike
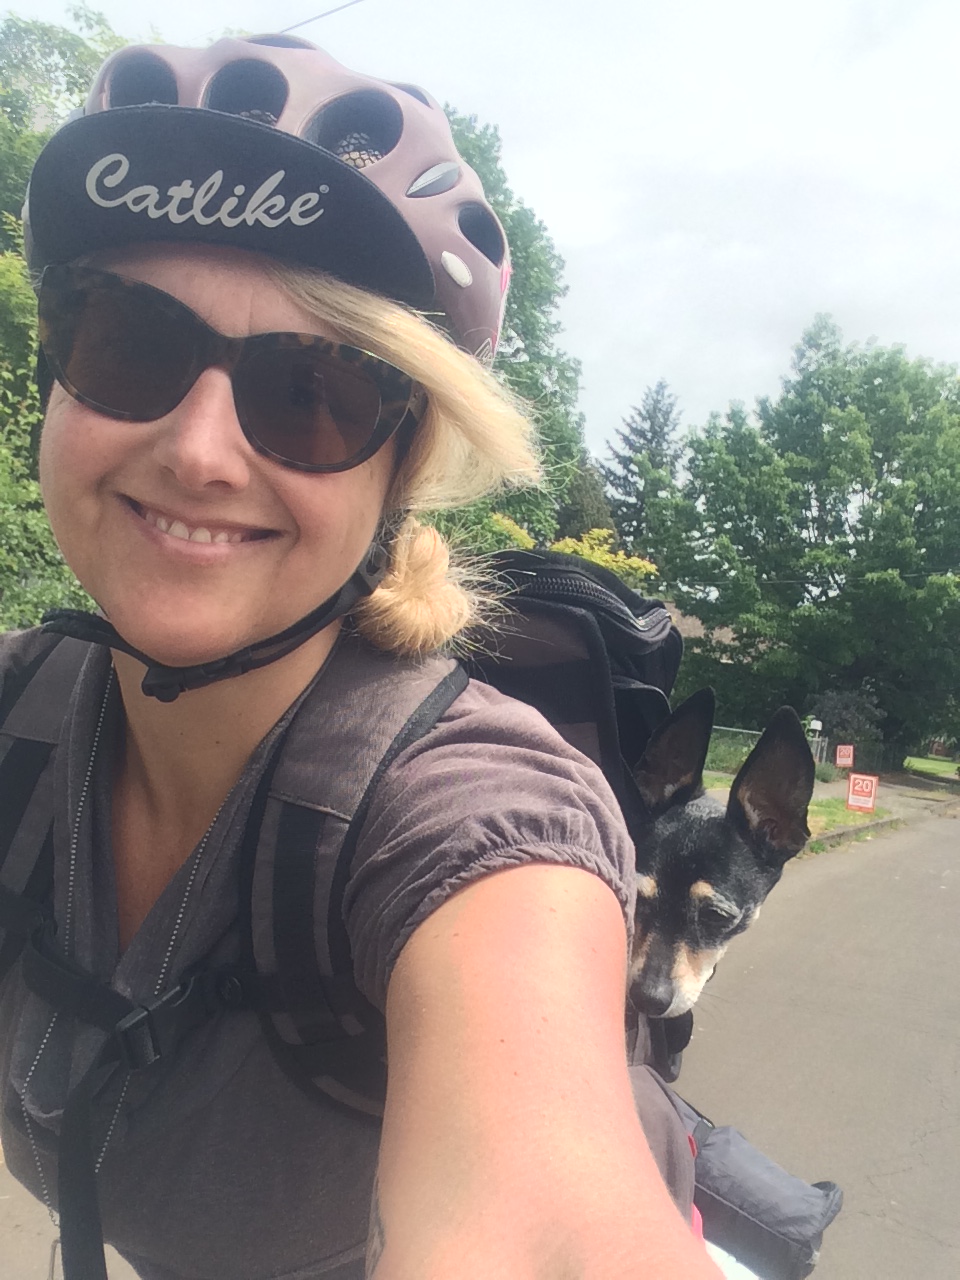
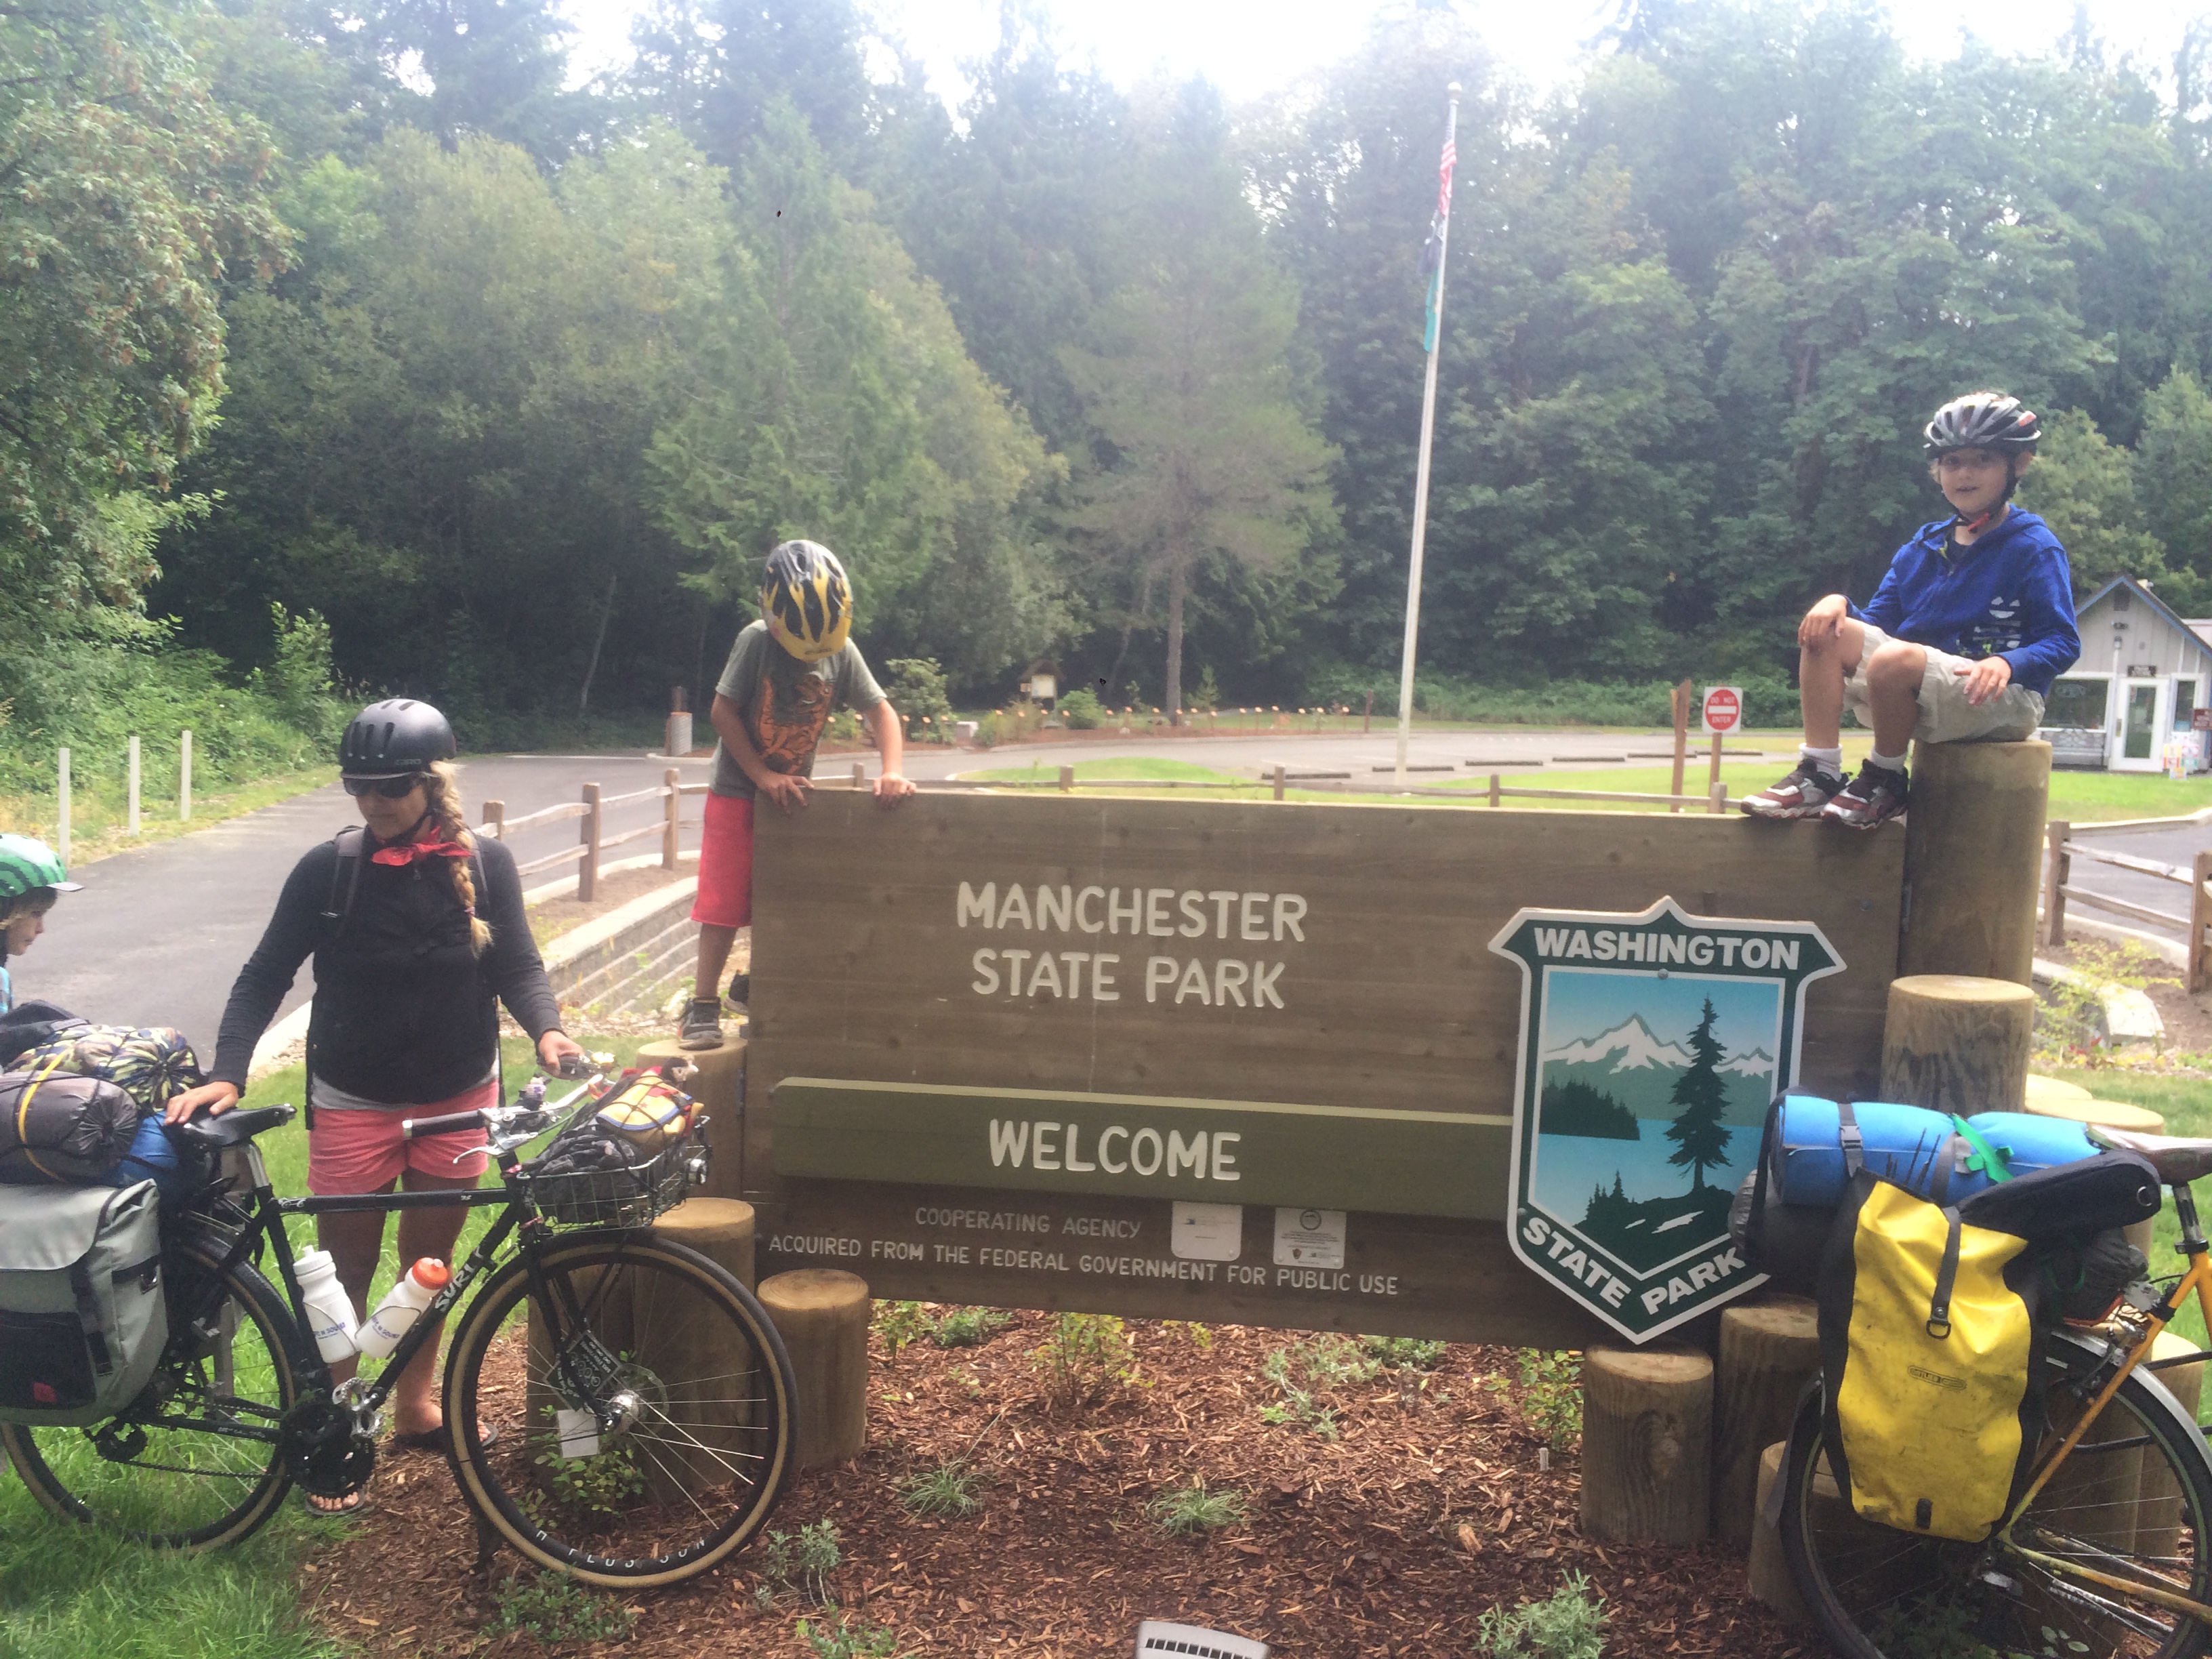
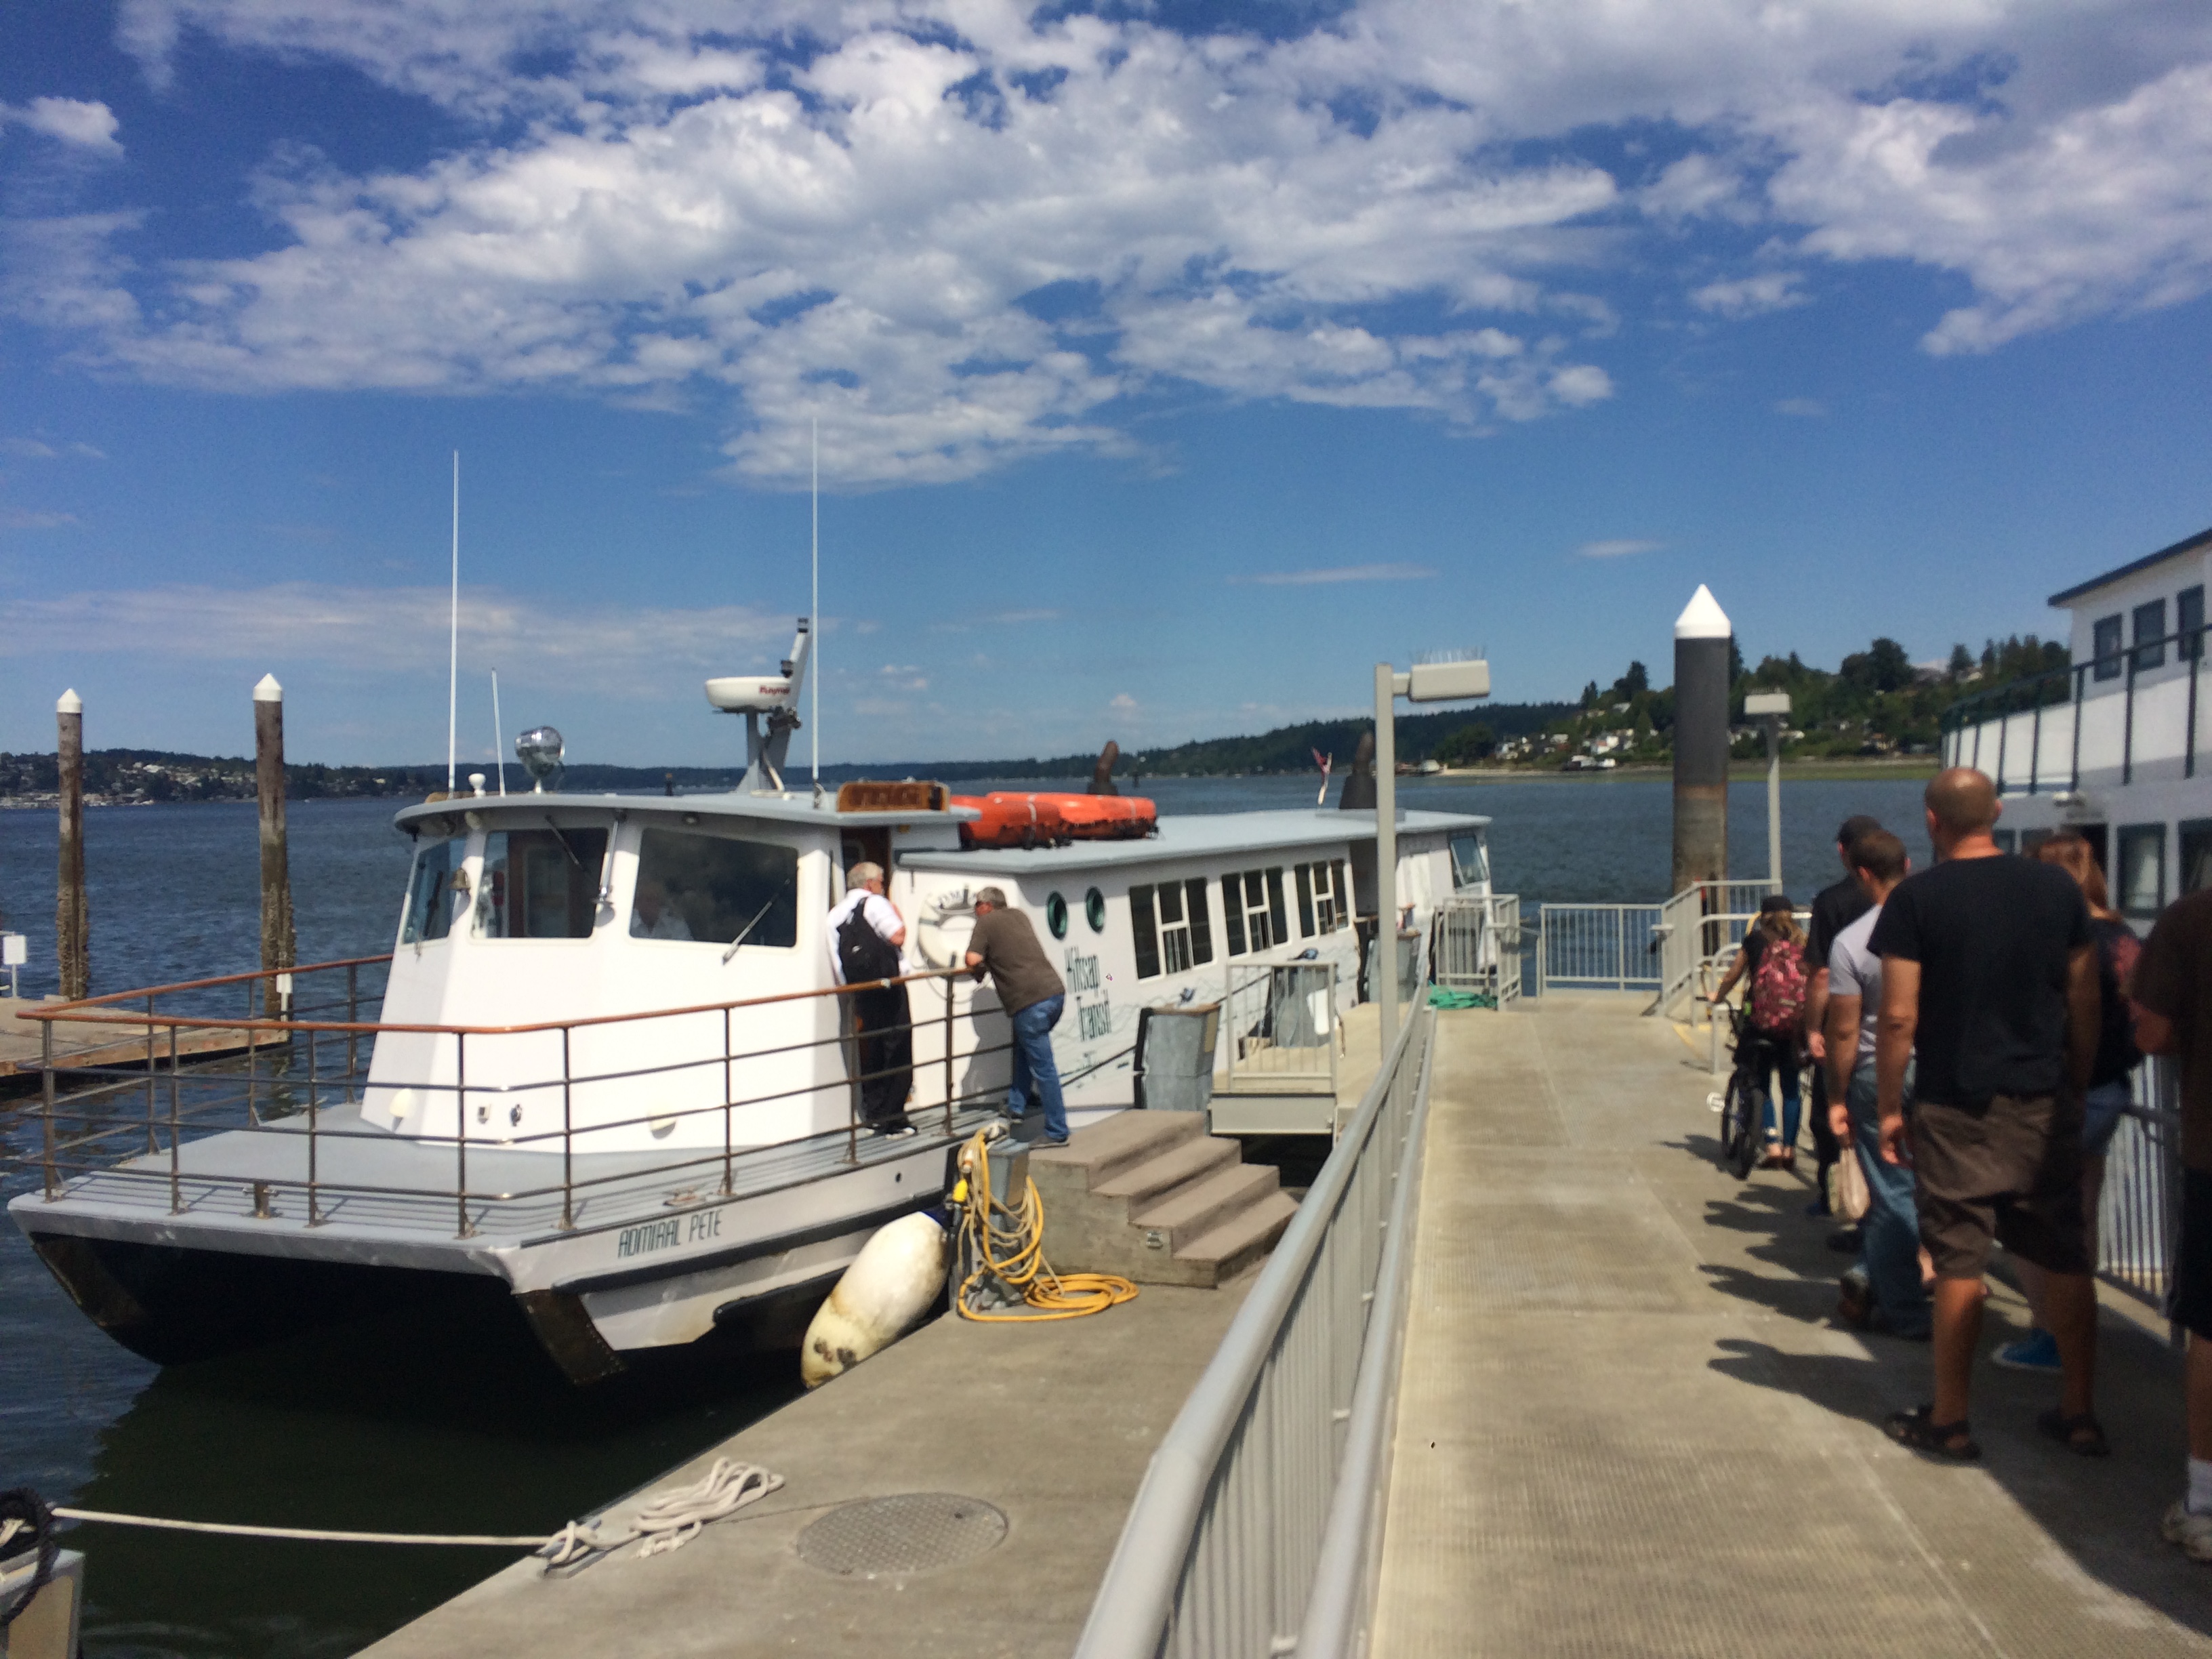
Cargo bikes aren’t allowed on the MAX so I had to take a regular bike. As luck would have it, I recently made some changes to my “me” bike, a Surly Straggler. (Me in quotes because its rear rack is a Burley Moose Rack to which I can attach a Burley Piccolo trailer bike. I don’t do this often, though, since that only carries one kid and they tend to both want to be carried or neither be carried.) I swapped out the slick tires and fenders for knobbier gravel-friendly tires (the old tires were gravel friendly, too, but these ones are more gravel friendly) and I added a front rack so now I can carry two panniers in the front in addition to the two panniers in the back. I’ve taken this bike camping once before, the second time we went to Manchester State Park so I could more easily fit in the elevator between the big ferry and the foot ferry, but that was before the front rack so I had to wear Pixie in her backpack and use the front basket for gear. This time I was able to leave Pixie in the basket and put all our gear into the four panniers. I added a fifth bag wedged in between the rear panniers full of our snacks, and rested Pixie’s backpack atop that. We didn’t end up needing to use the backpack for Pixie at all, but it worked well to discard our layers into and to put the speaker inside, facing the kids behind me through the mesh so they could hear their music more loudly than I had to.
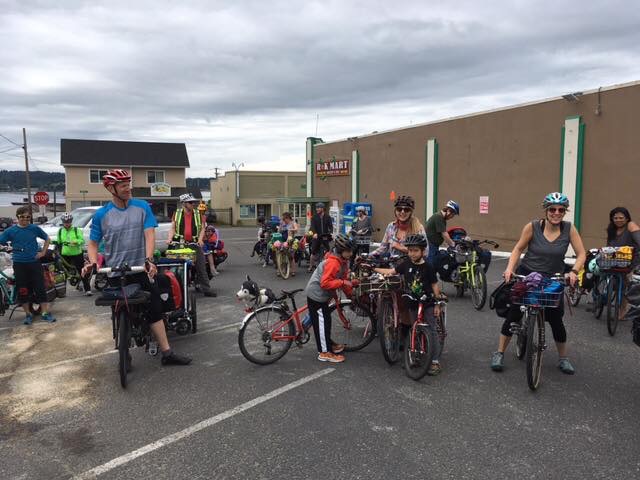
Riding through Hillsboro
My family biking friend (my first family biking friend!), Andy, gave me the route to take from the MAX station to the trailhead, 12 miles of the most family-friendly route from Hillsboro to Banks. Here’s my Ride with GPS Hillsboro to Banks route with some added notes and points of interest. Our trip was on the 4th of July and we noticed the tail end of a parade through the windows of the MAX as we approached the end of the line. That made for busier-than-normal streets in town, but everyone was driving slowly. It also meant free hot dogs and cookies thanks to the American Legion a block from the MAX station!
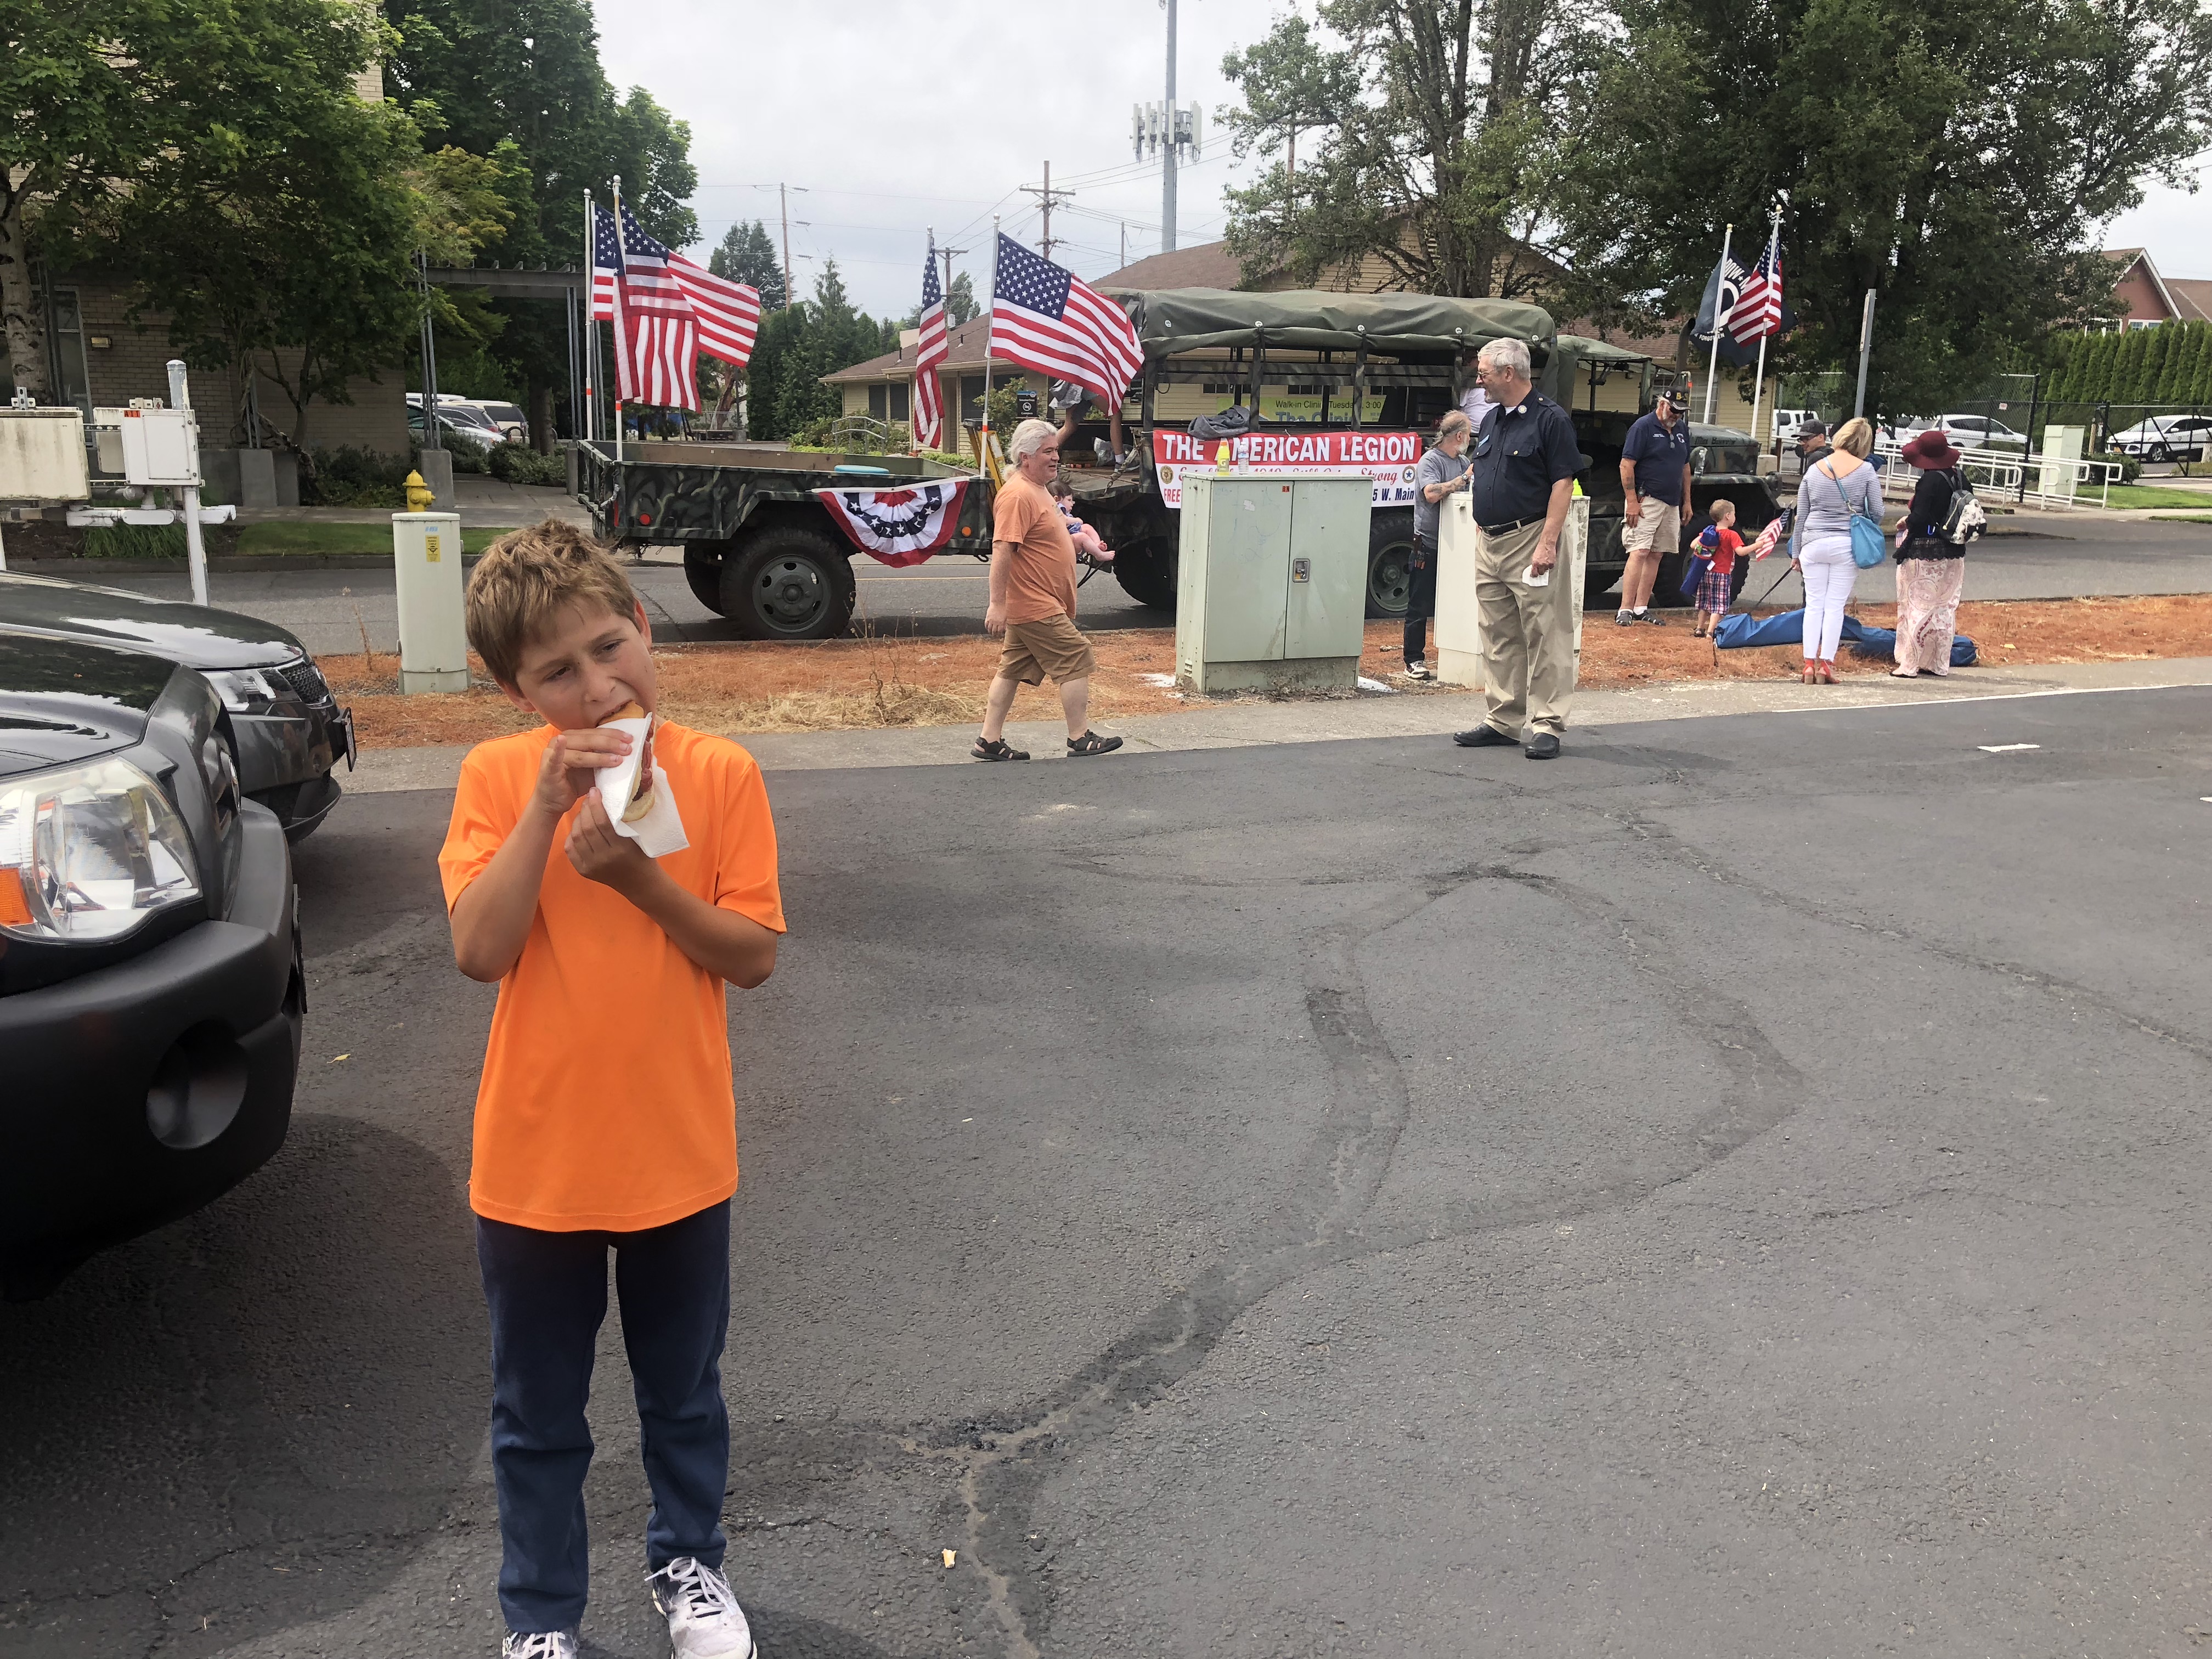
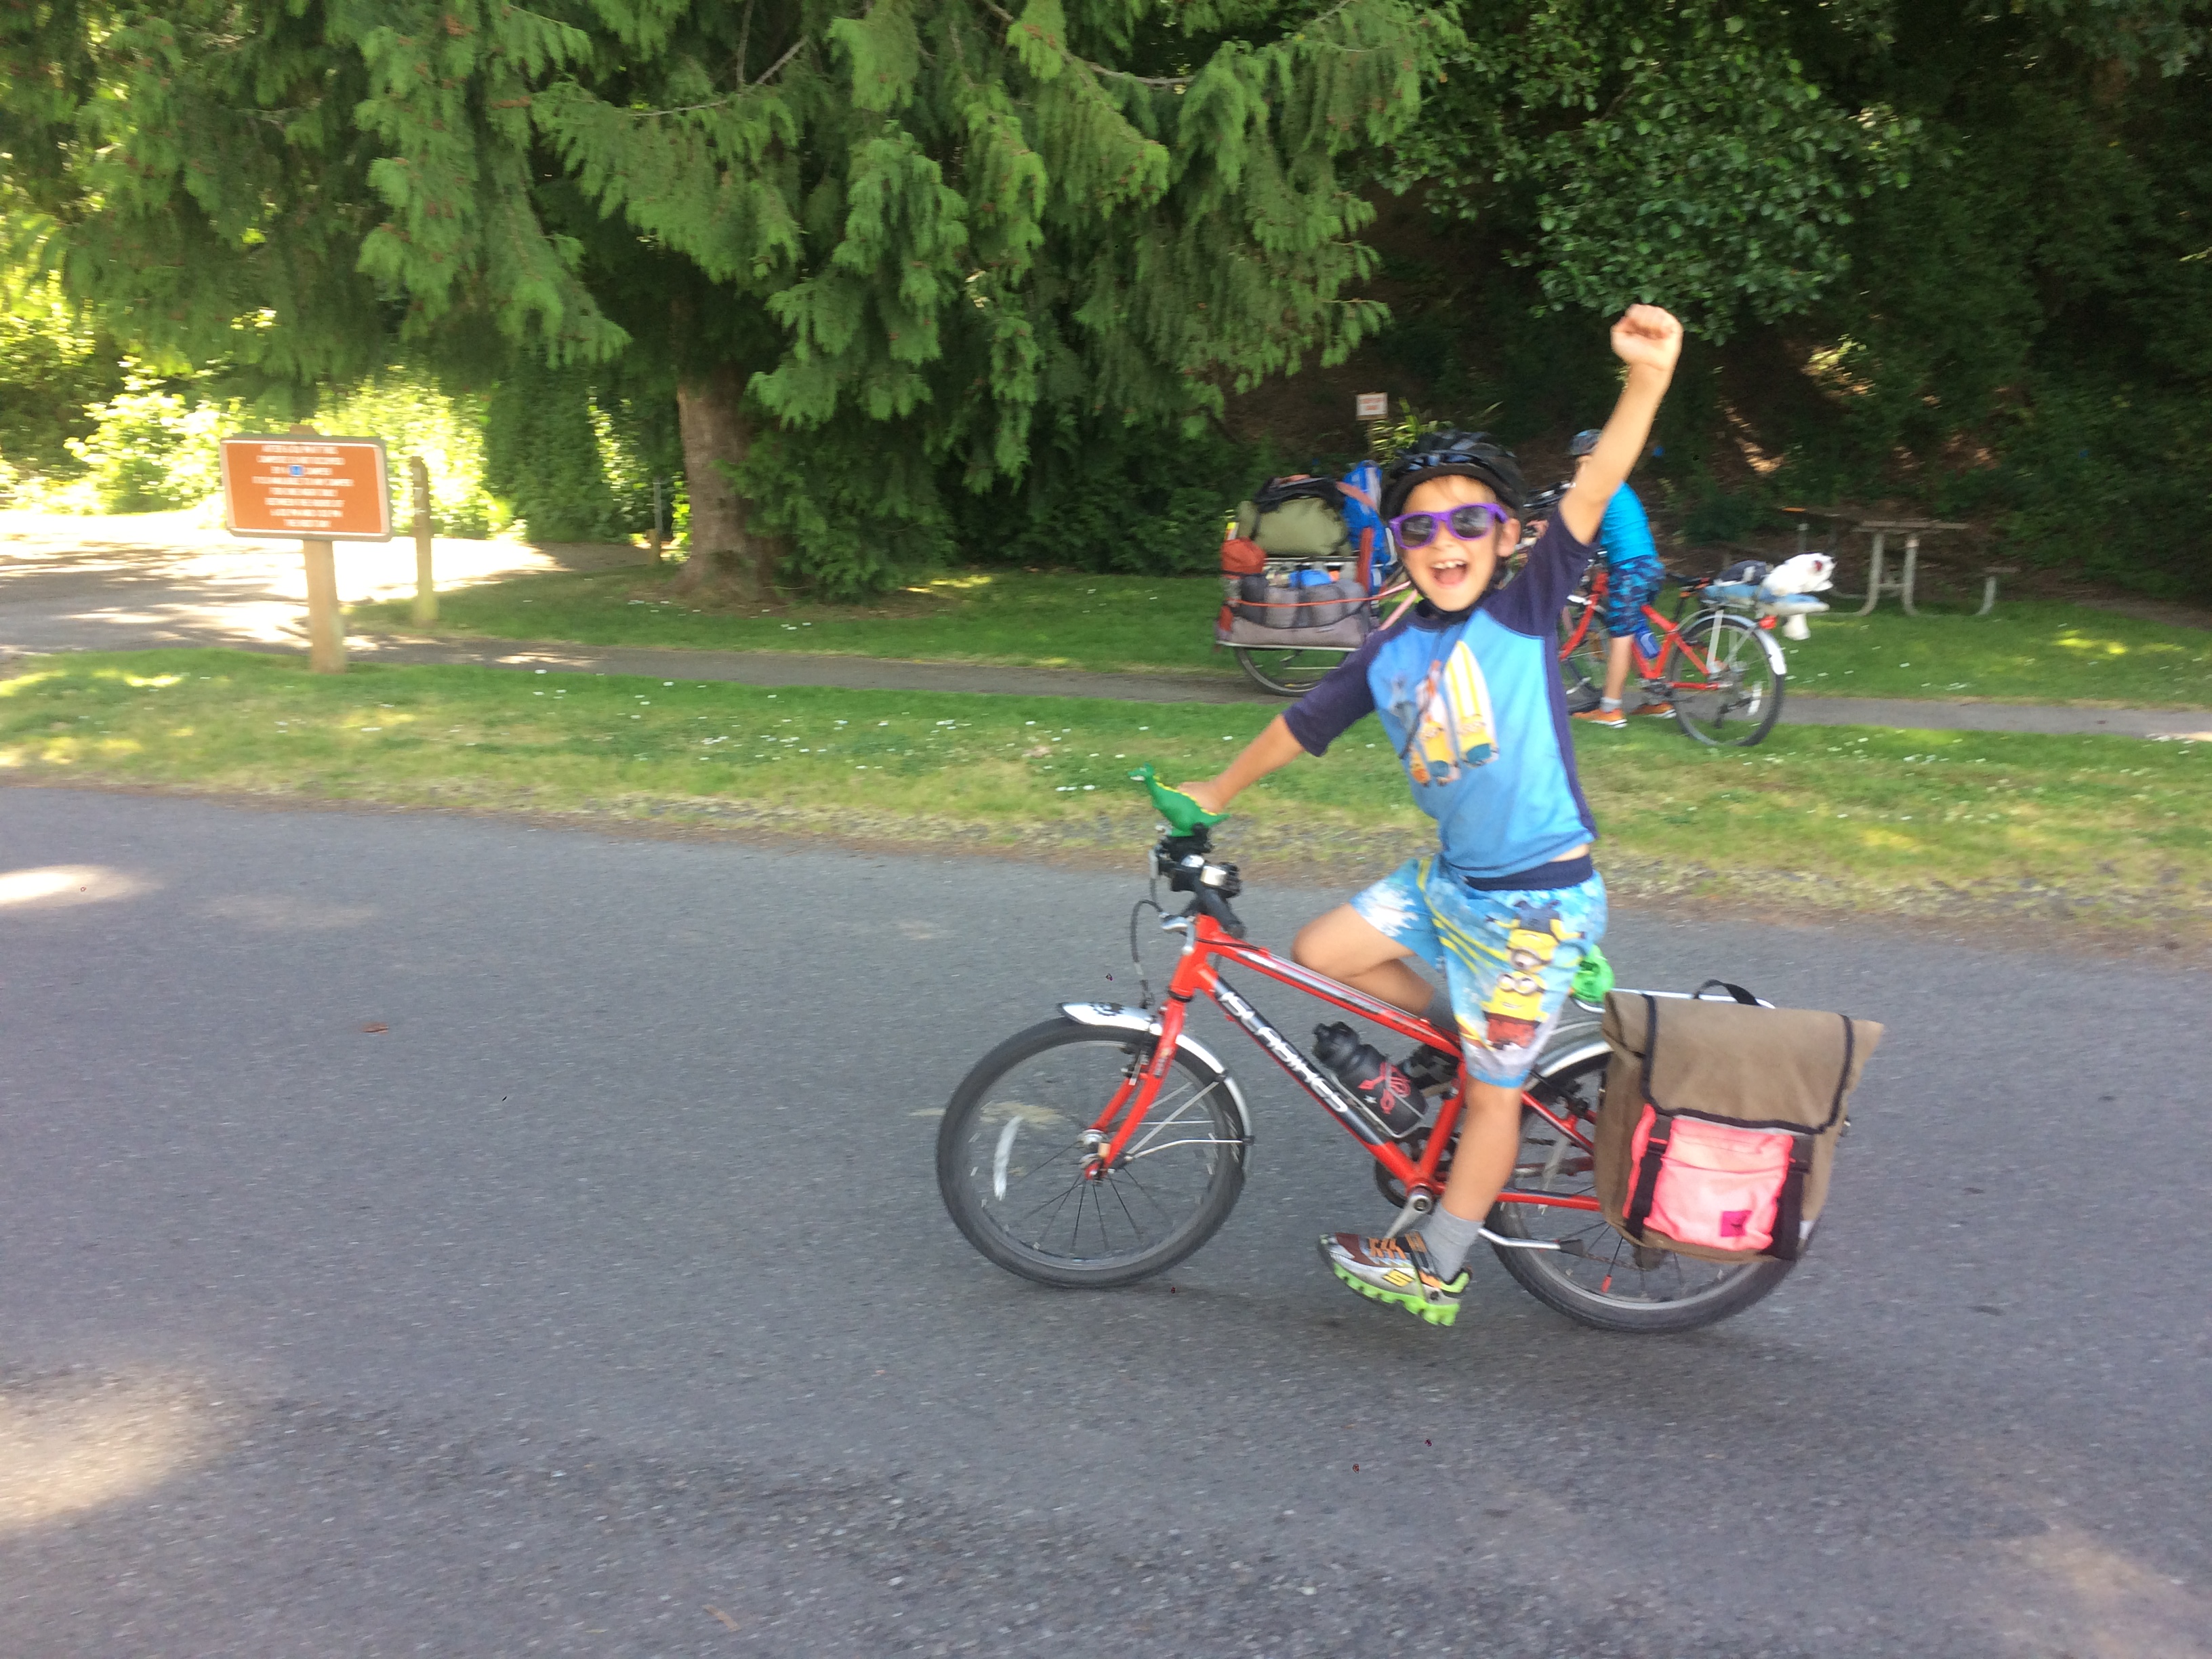
Fueled by free hot dogs, the kids we able to bike 12 miles without stopping. We left home at 9:30 (I had hoped to leave at 9) and departed the hot dog stand at noon with the temperature still nice.
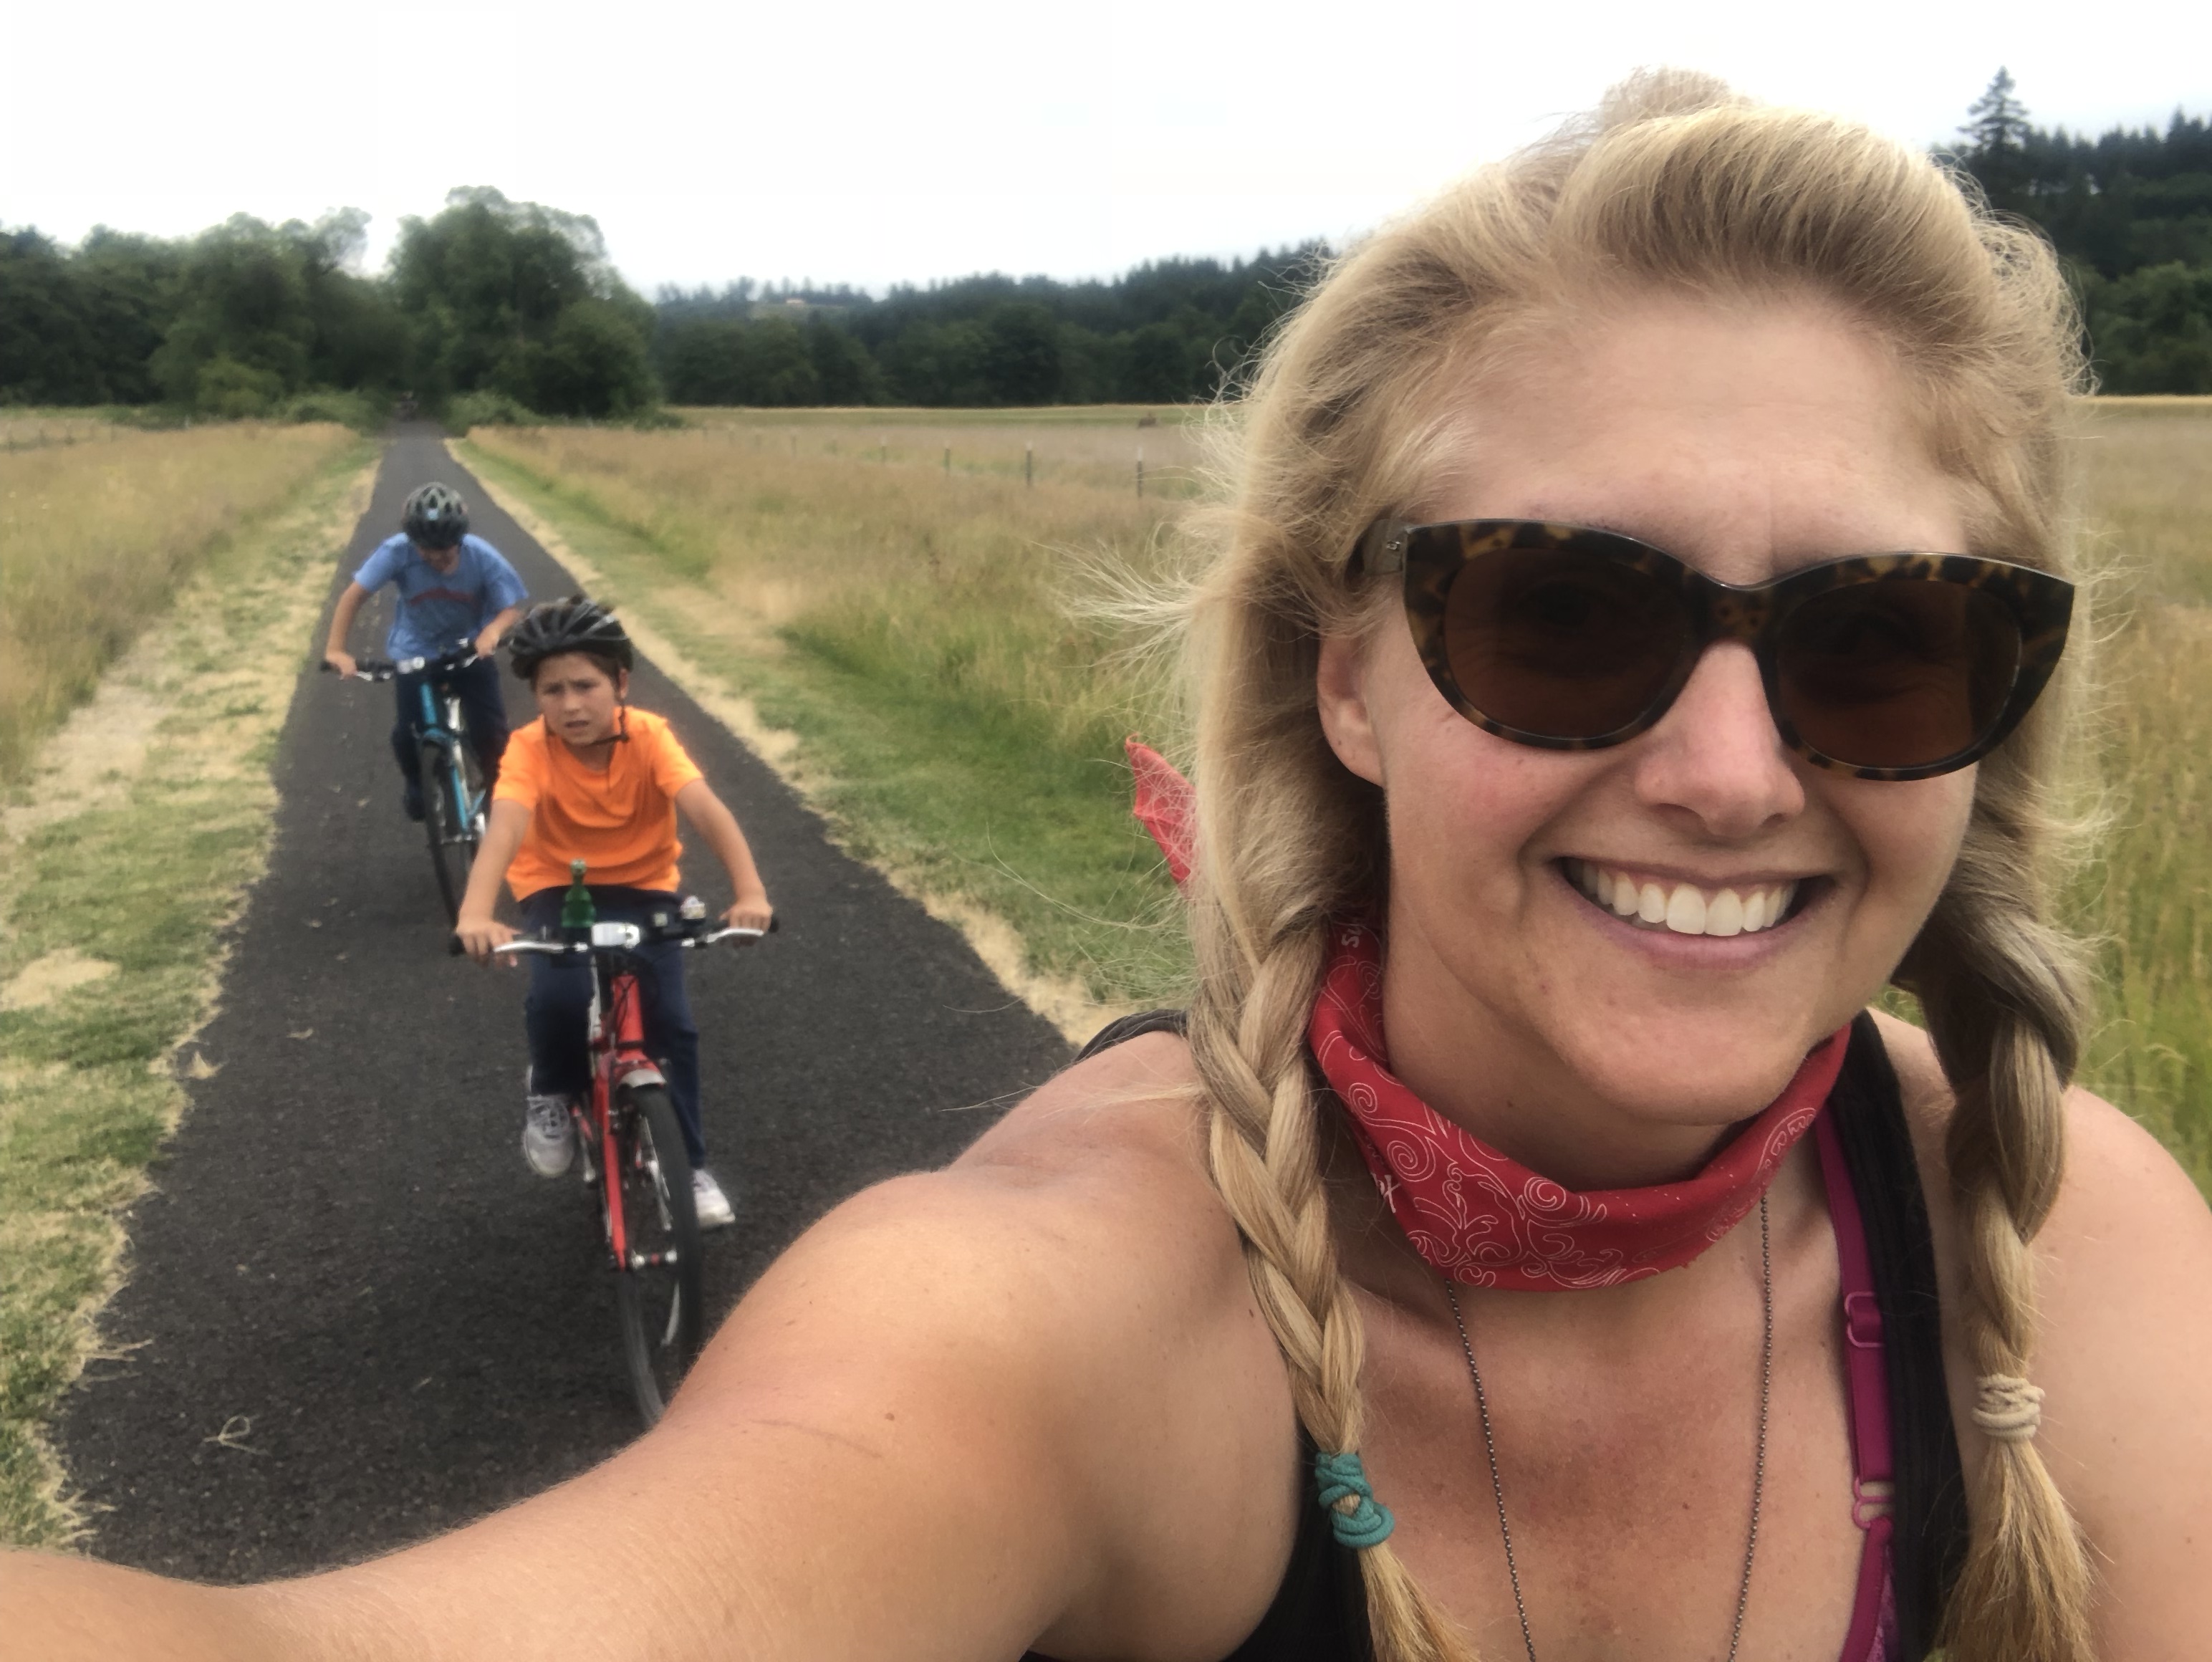
We soon got into the lovely farmland. Our camping near Seattle is just so different than this! I’ve biked through areas like this once, when I biked down to Portland with a friend a couple years ago (photo album here), but seeing it with the kids was so fun! They probably got bored of me shouting, “Isn’t this just so pretty?” but I couldn’t help myself.

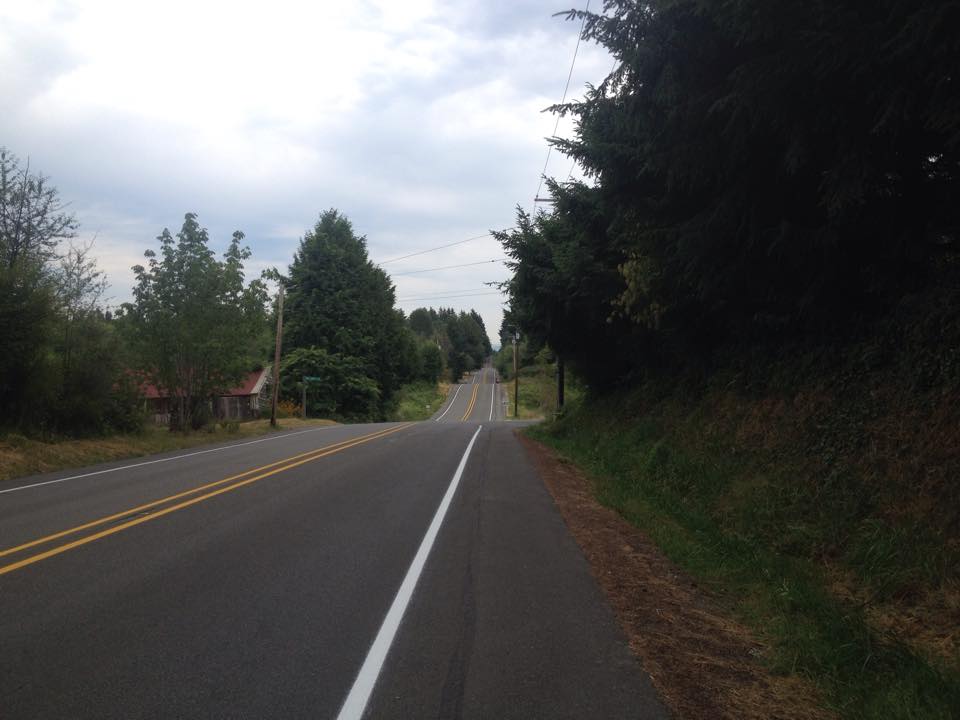
There was a quarter mile of a fast-moving highway with a wide shoulder, but we had no trouble turning onto and off of it and traffic was moderate on that road and minimal everywhere else. It’s hard to know if the light traffic we saw on the country roads was normal given the holiday, but it wasn’t too much busier the following day as we headed home.
The half mile of gravel about 3.5 miles into the trip normally would have been fun for the kids, but my younger son had to stop and scratch at itchy palms a couple times. He wants bike gloves for next time. Letting some air out of his tires on the way back helped, but then he had to endure me fretting aloud about pinch flats.

Banks, OR
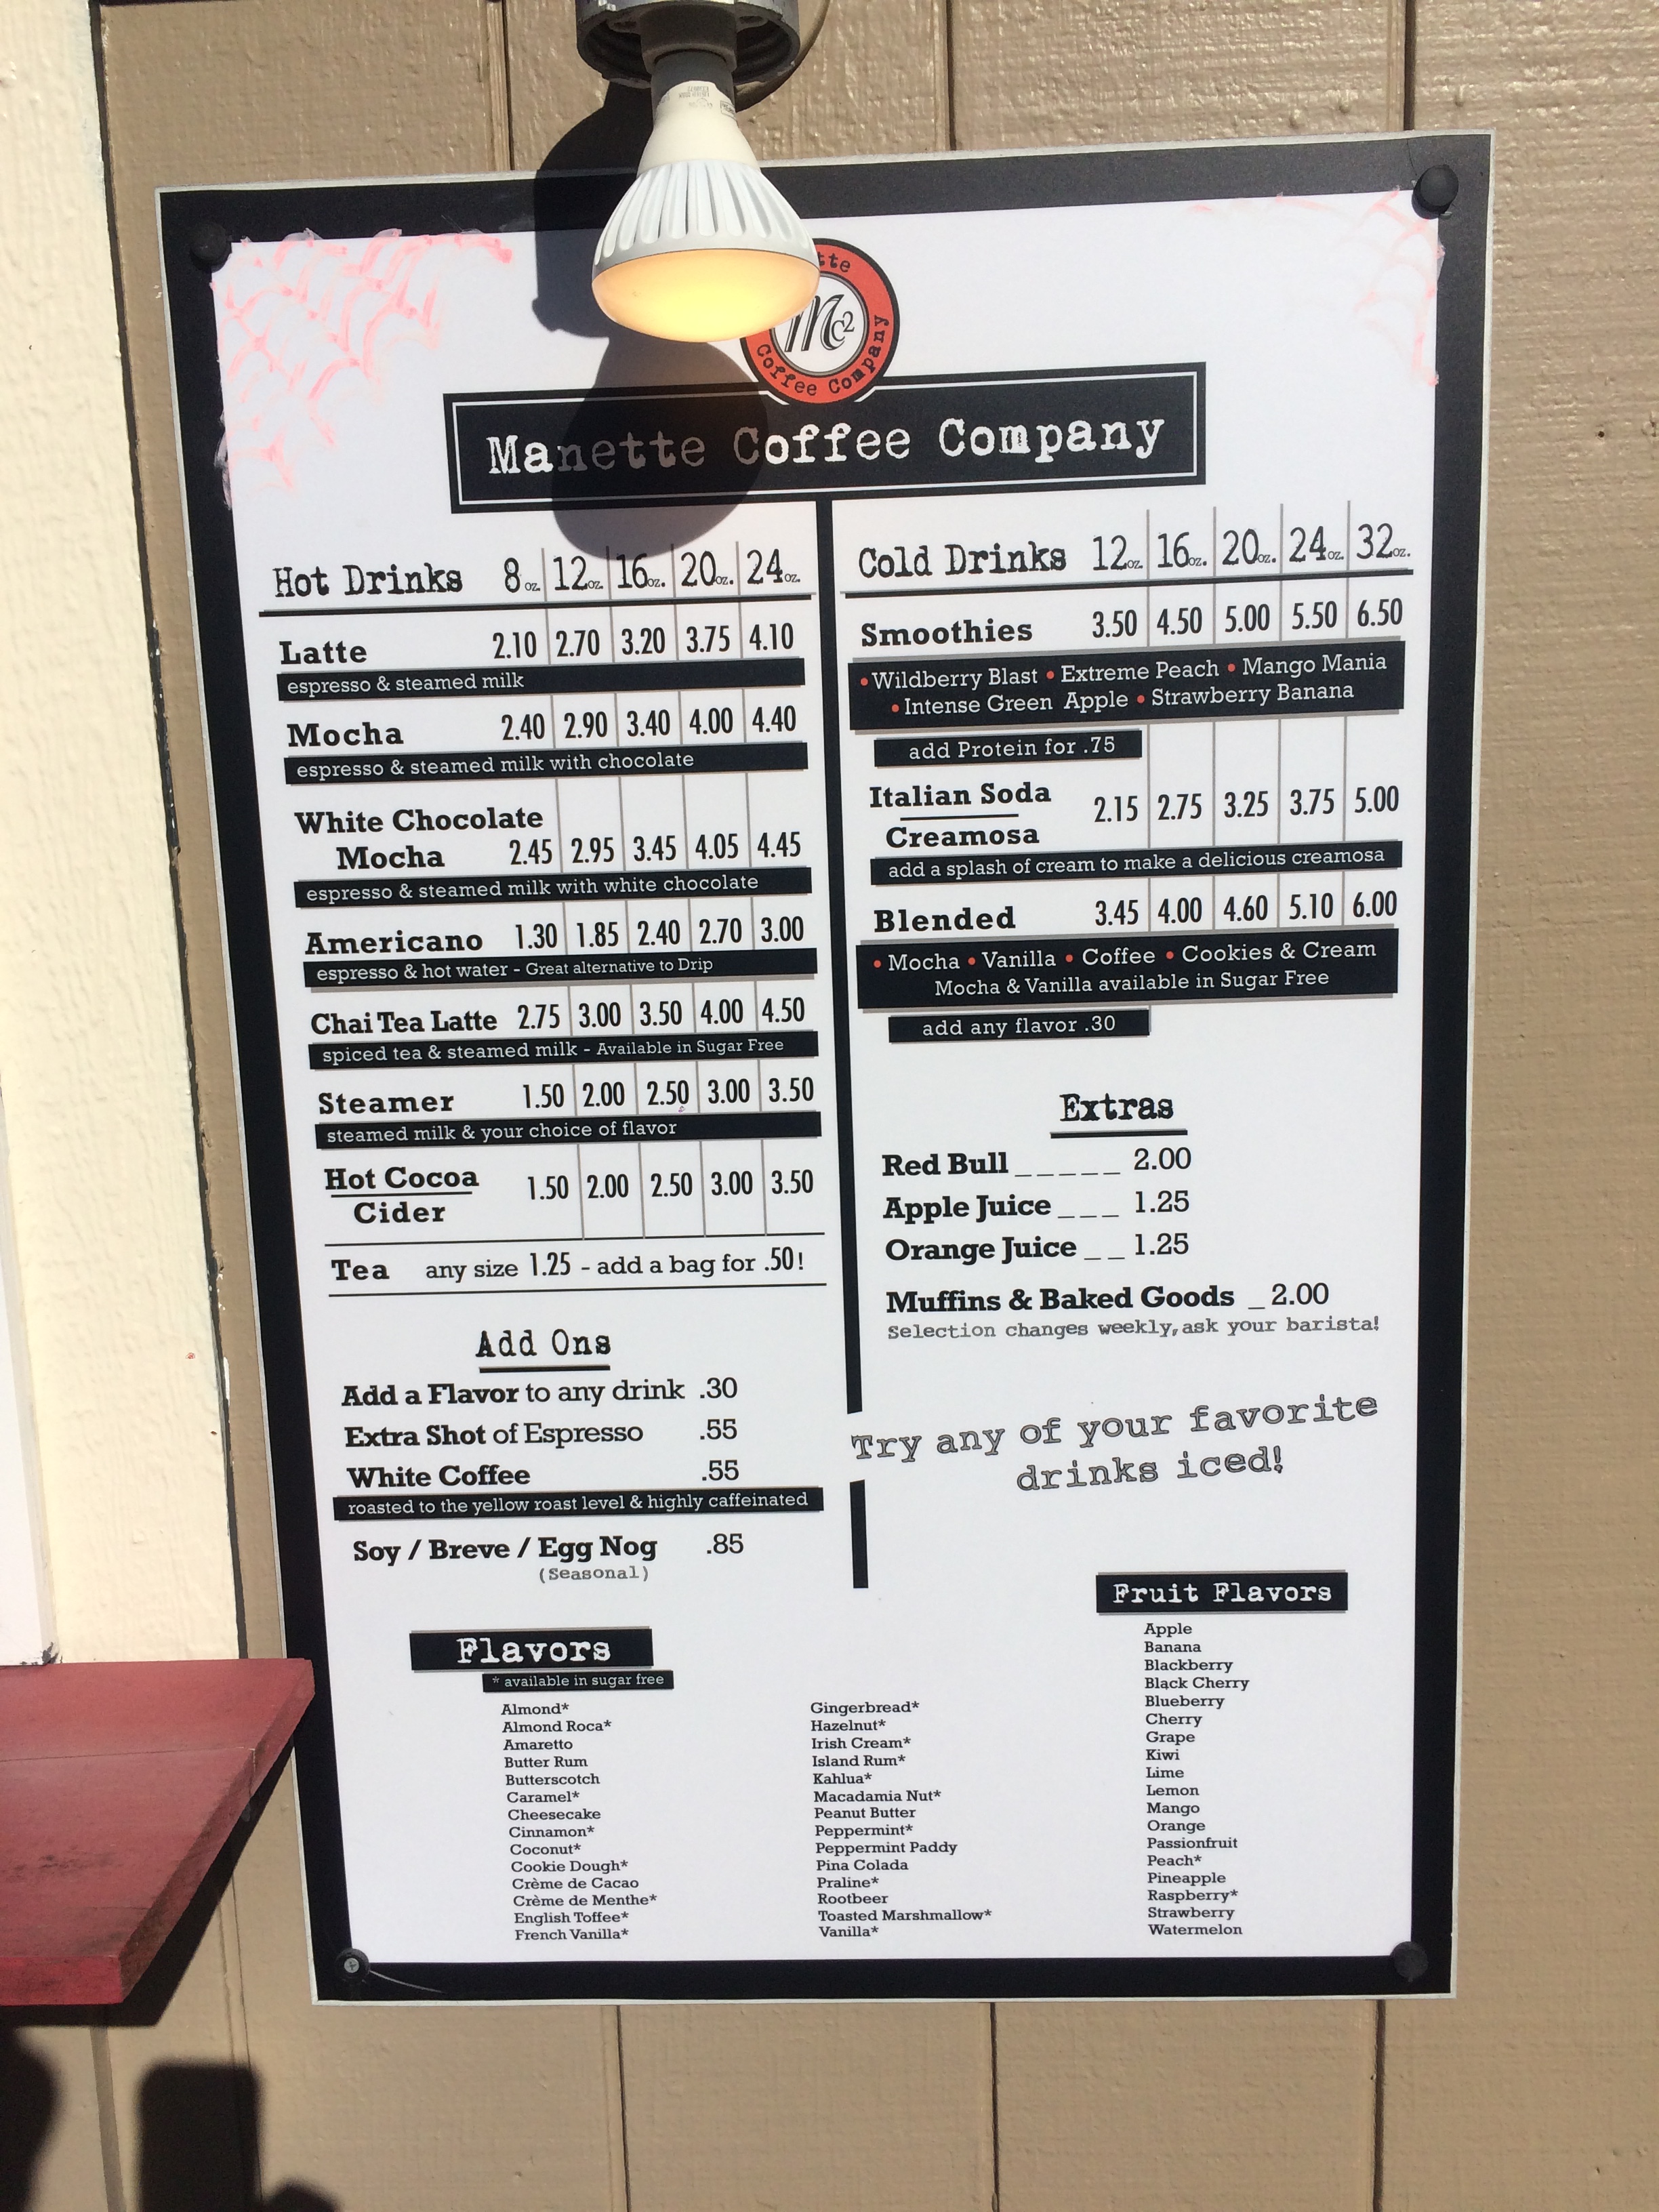
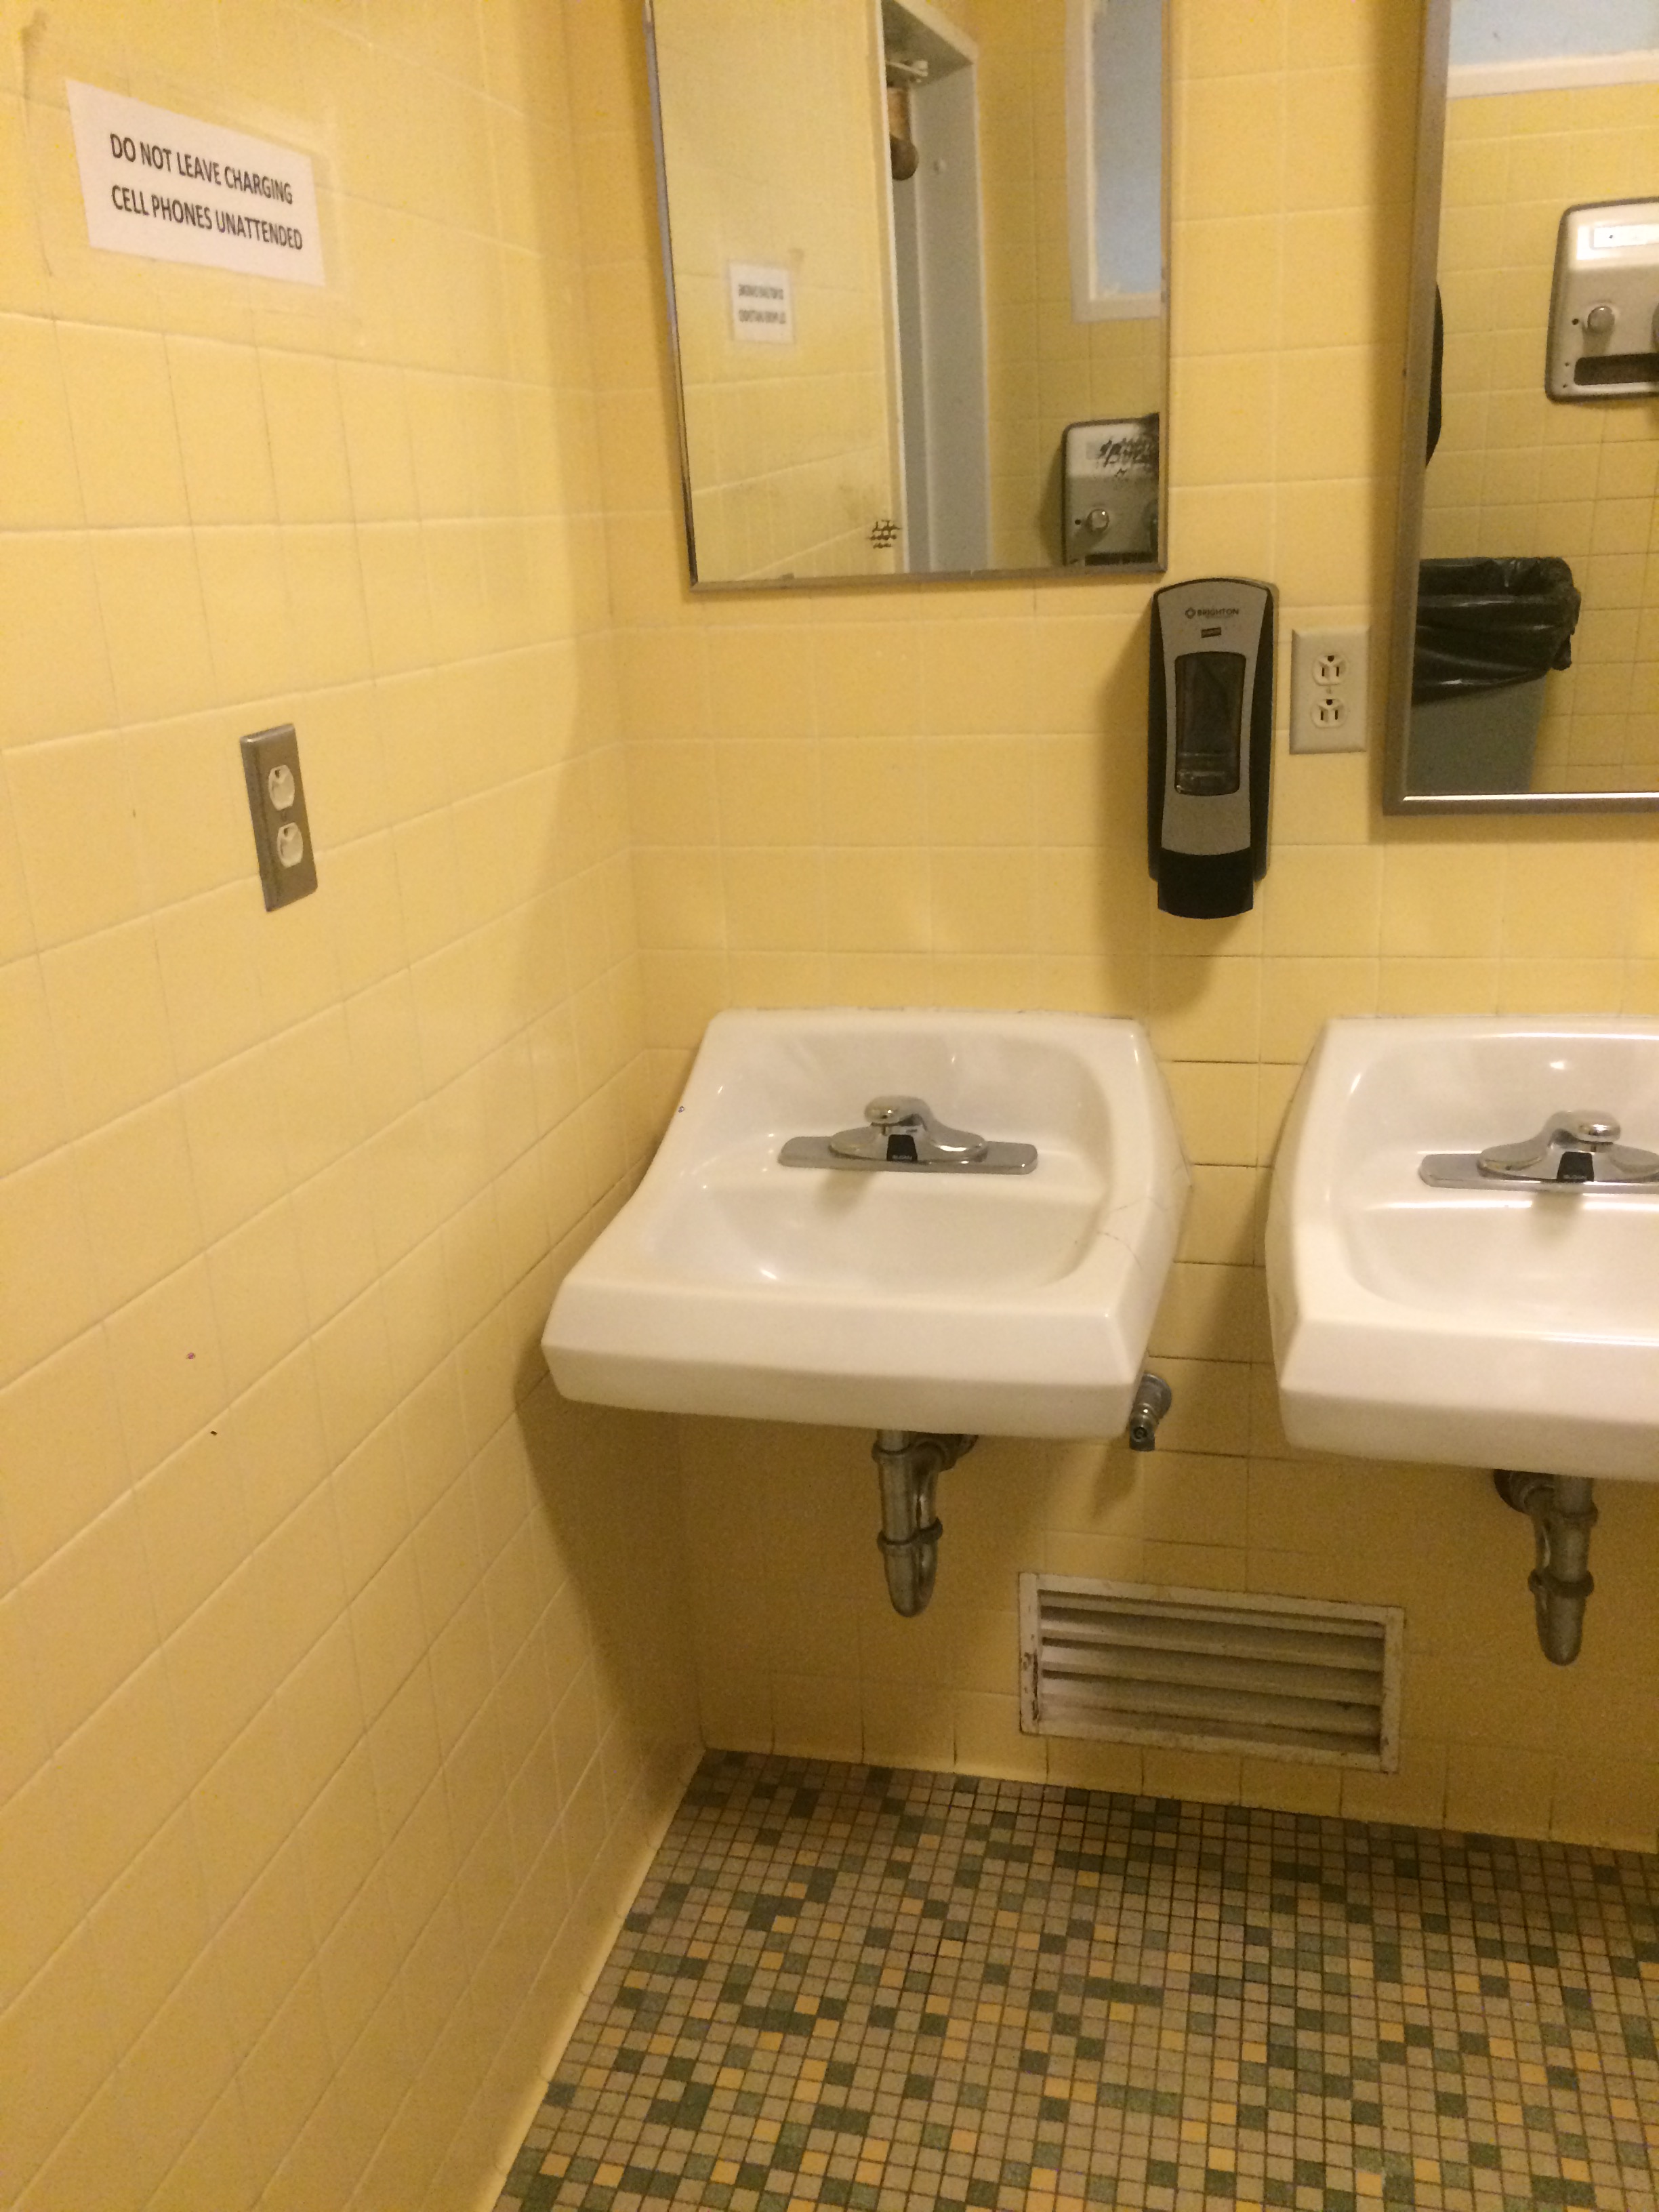
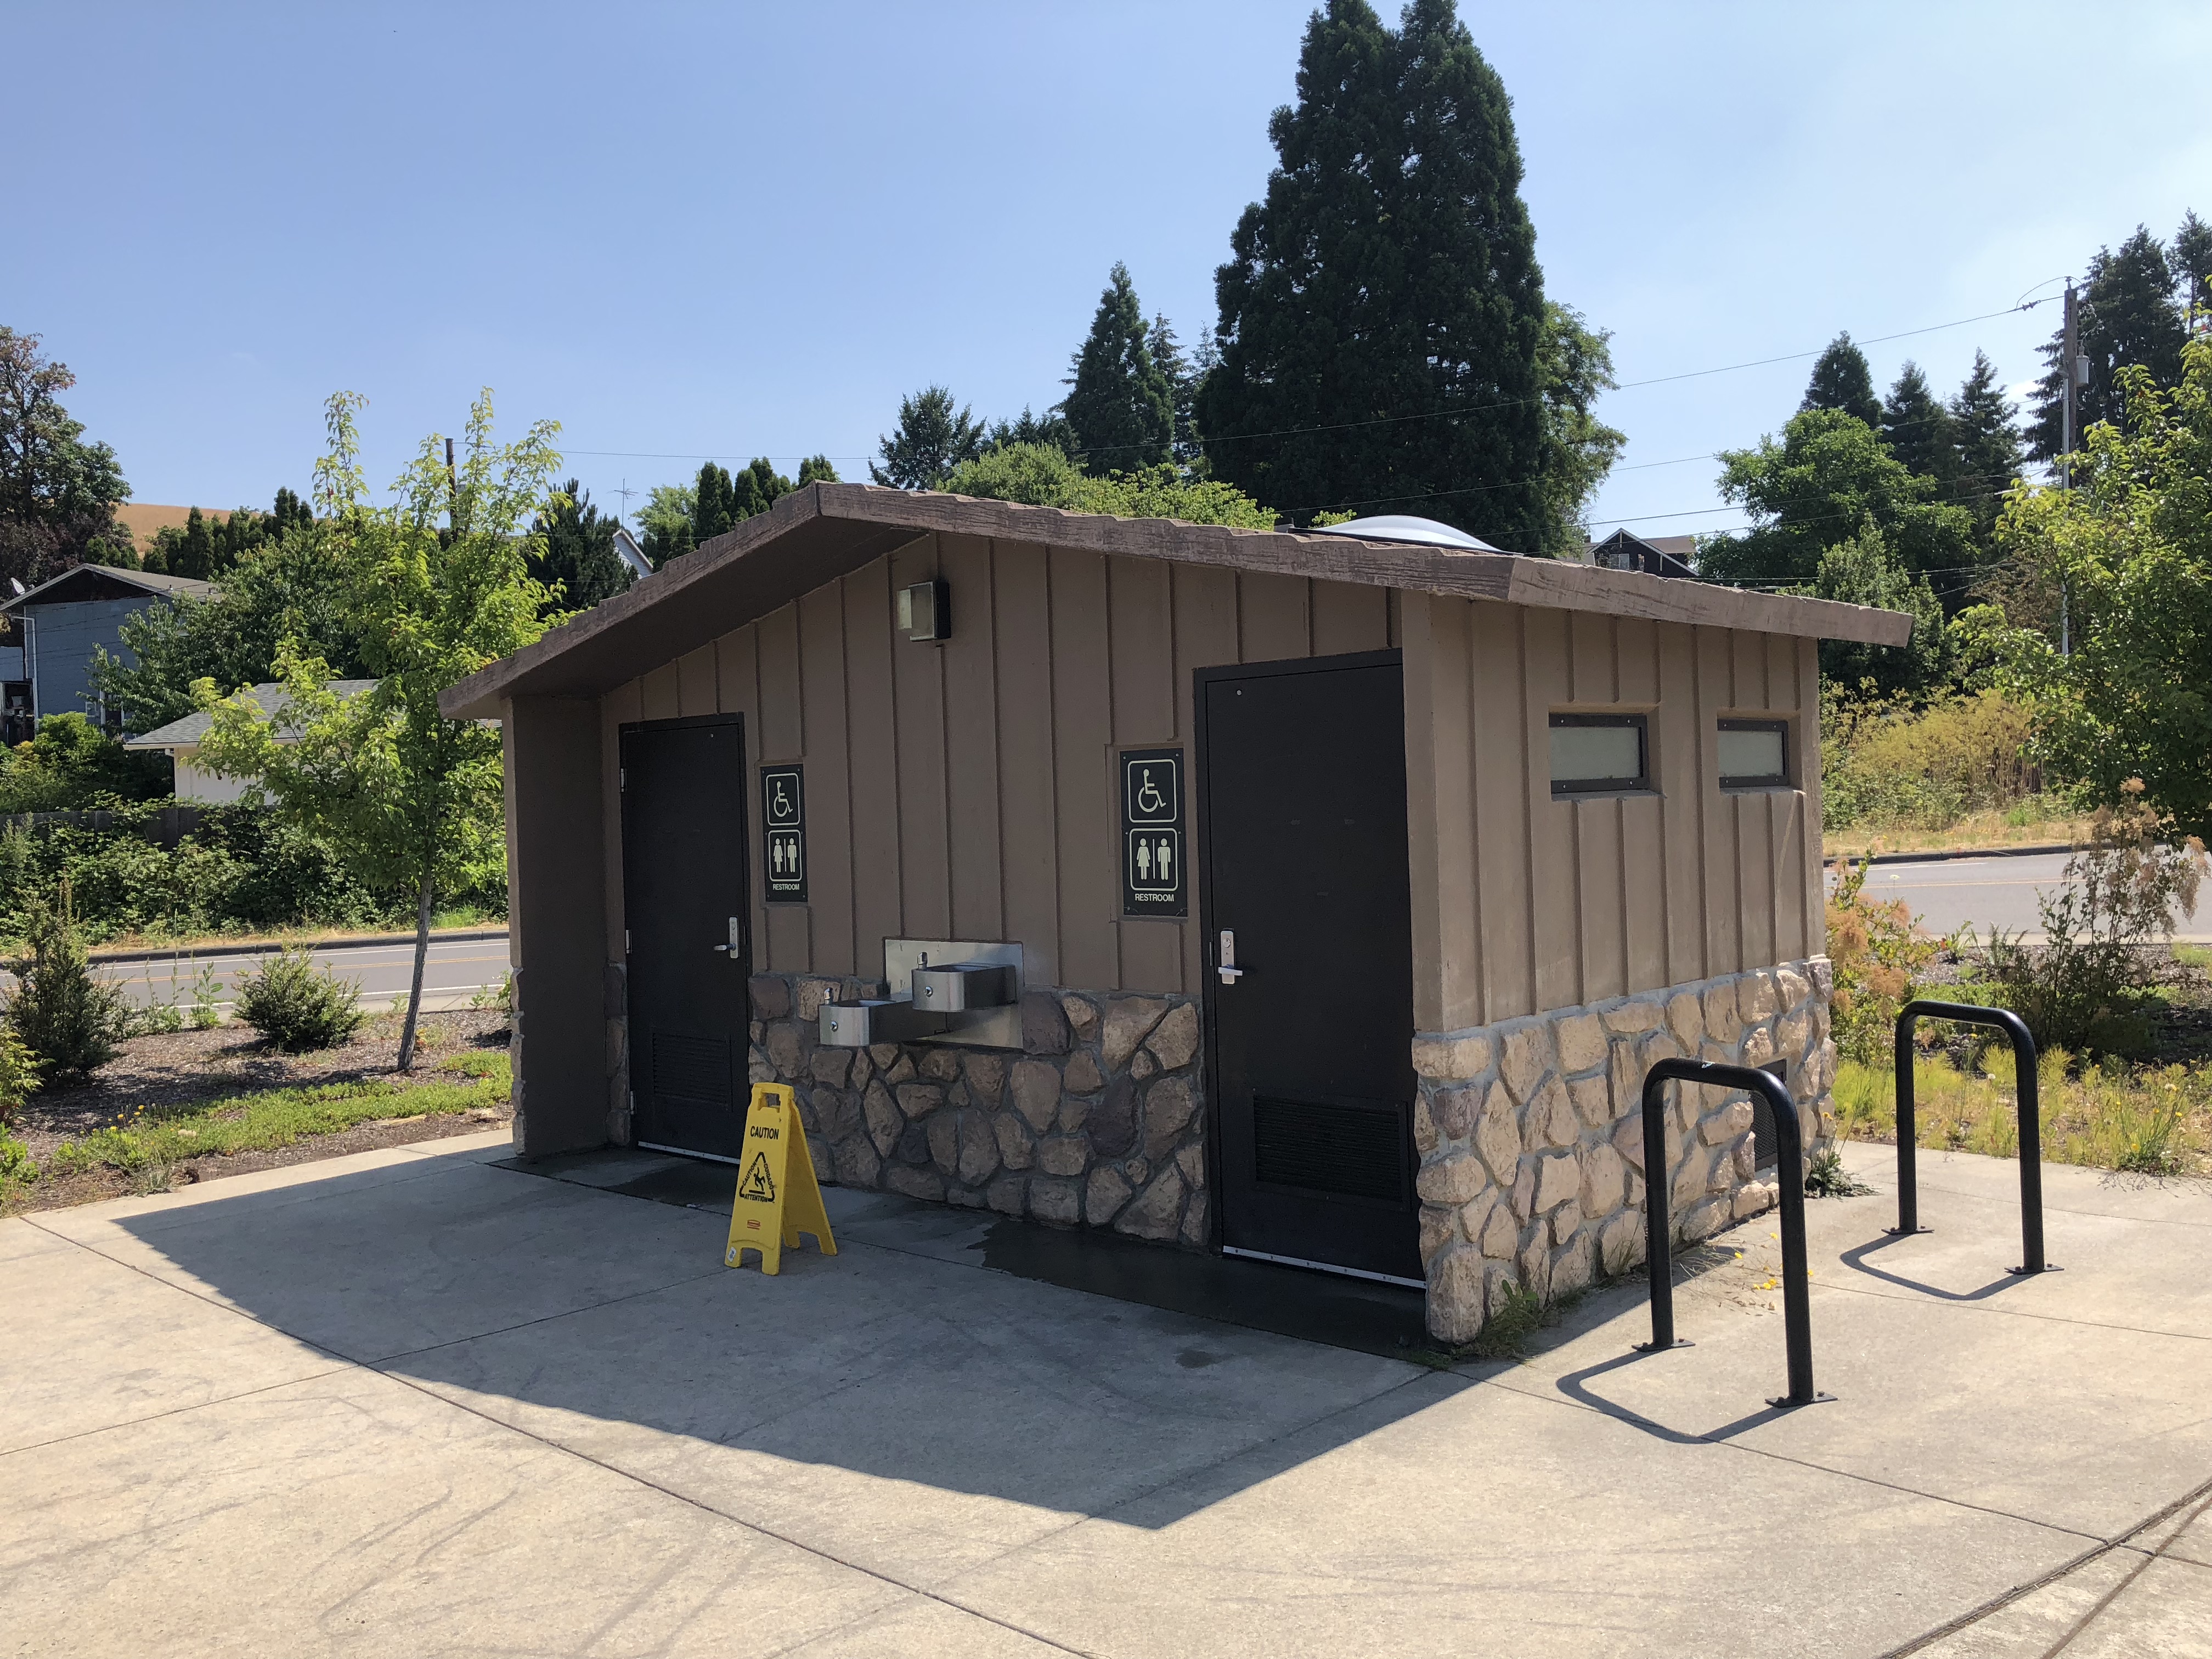
The road into Banks was a fast one, but again it wasn’t very busy this day. We immediately passed a Thriftway grocery store tucked behind a gas station, which we’d stop at the following day. Our waters were low (I brought five water bottles) so we kept our eyes peeled for parks with drinking fountains. Having the dog along means we don’t plan on stopping at stores or restaurants. I saw a drinking fountain by the Sunset Park baseball fields to our left so we pulled into there, only to discover the drinking fountain was broken and the park doesn’t allow dogs (per a sign, not per getting kicked out). However the restrooms were some of the nicest park restrooms I’ve ever seen so it wasn’t all bad.
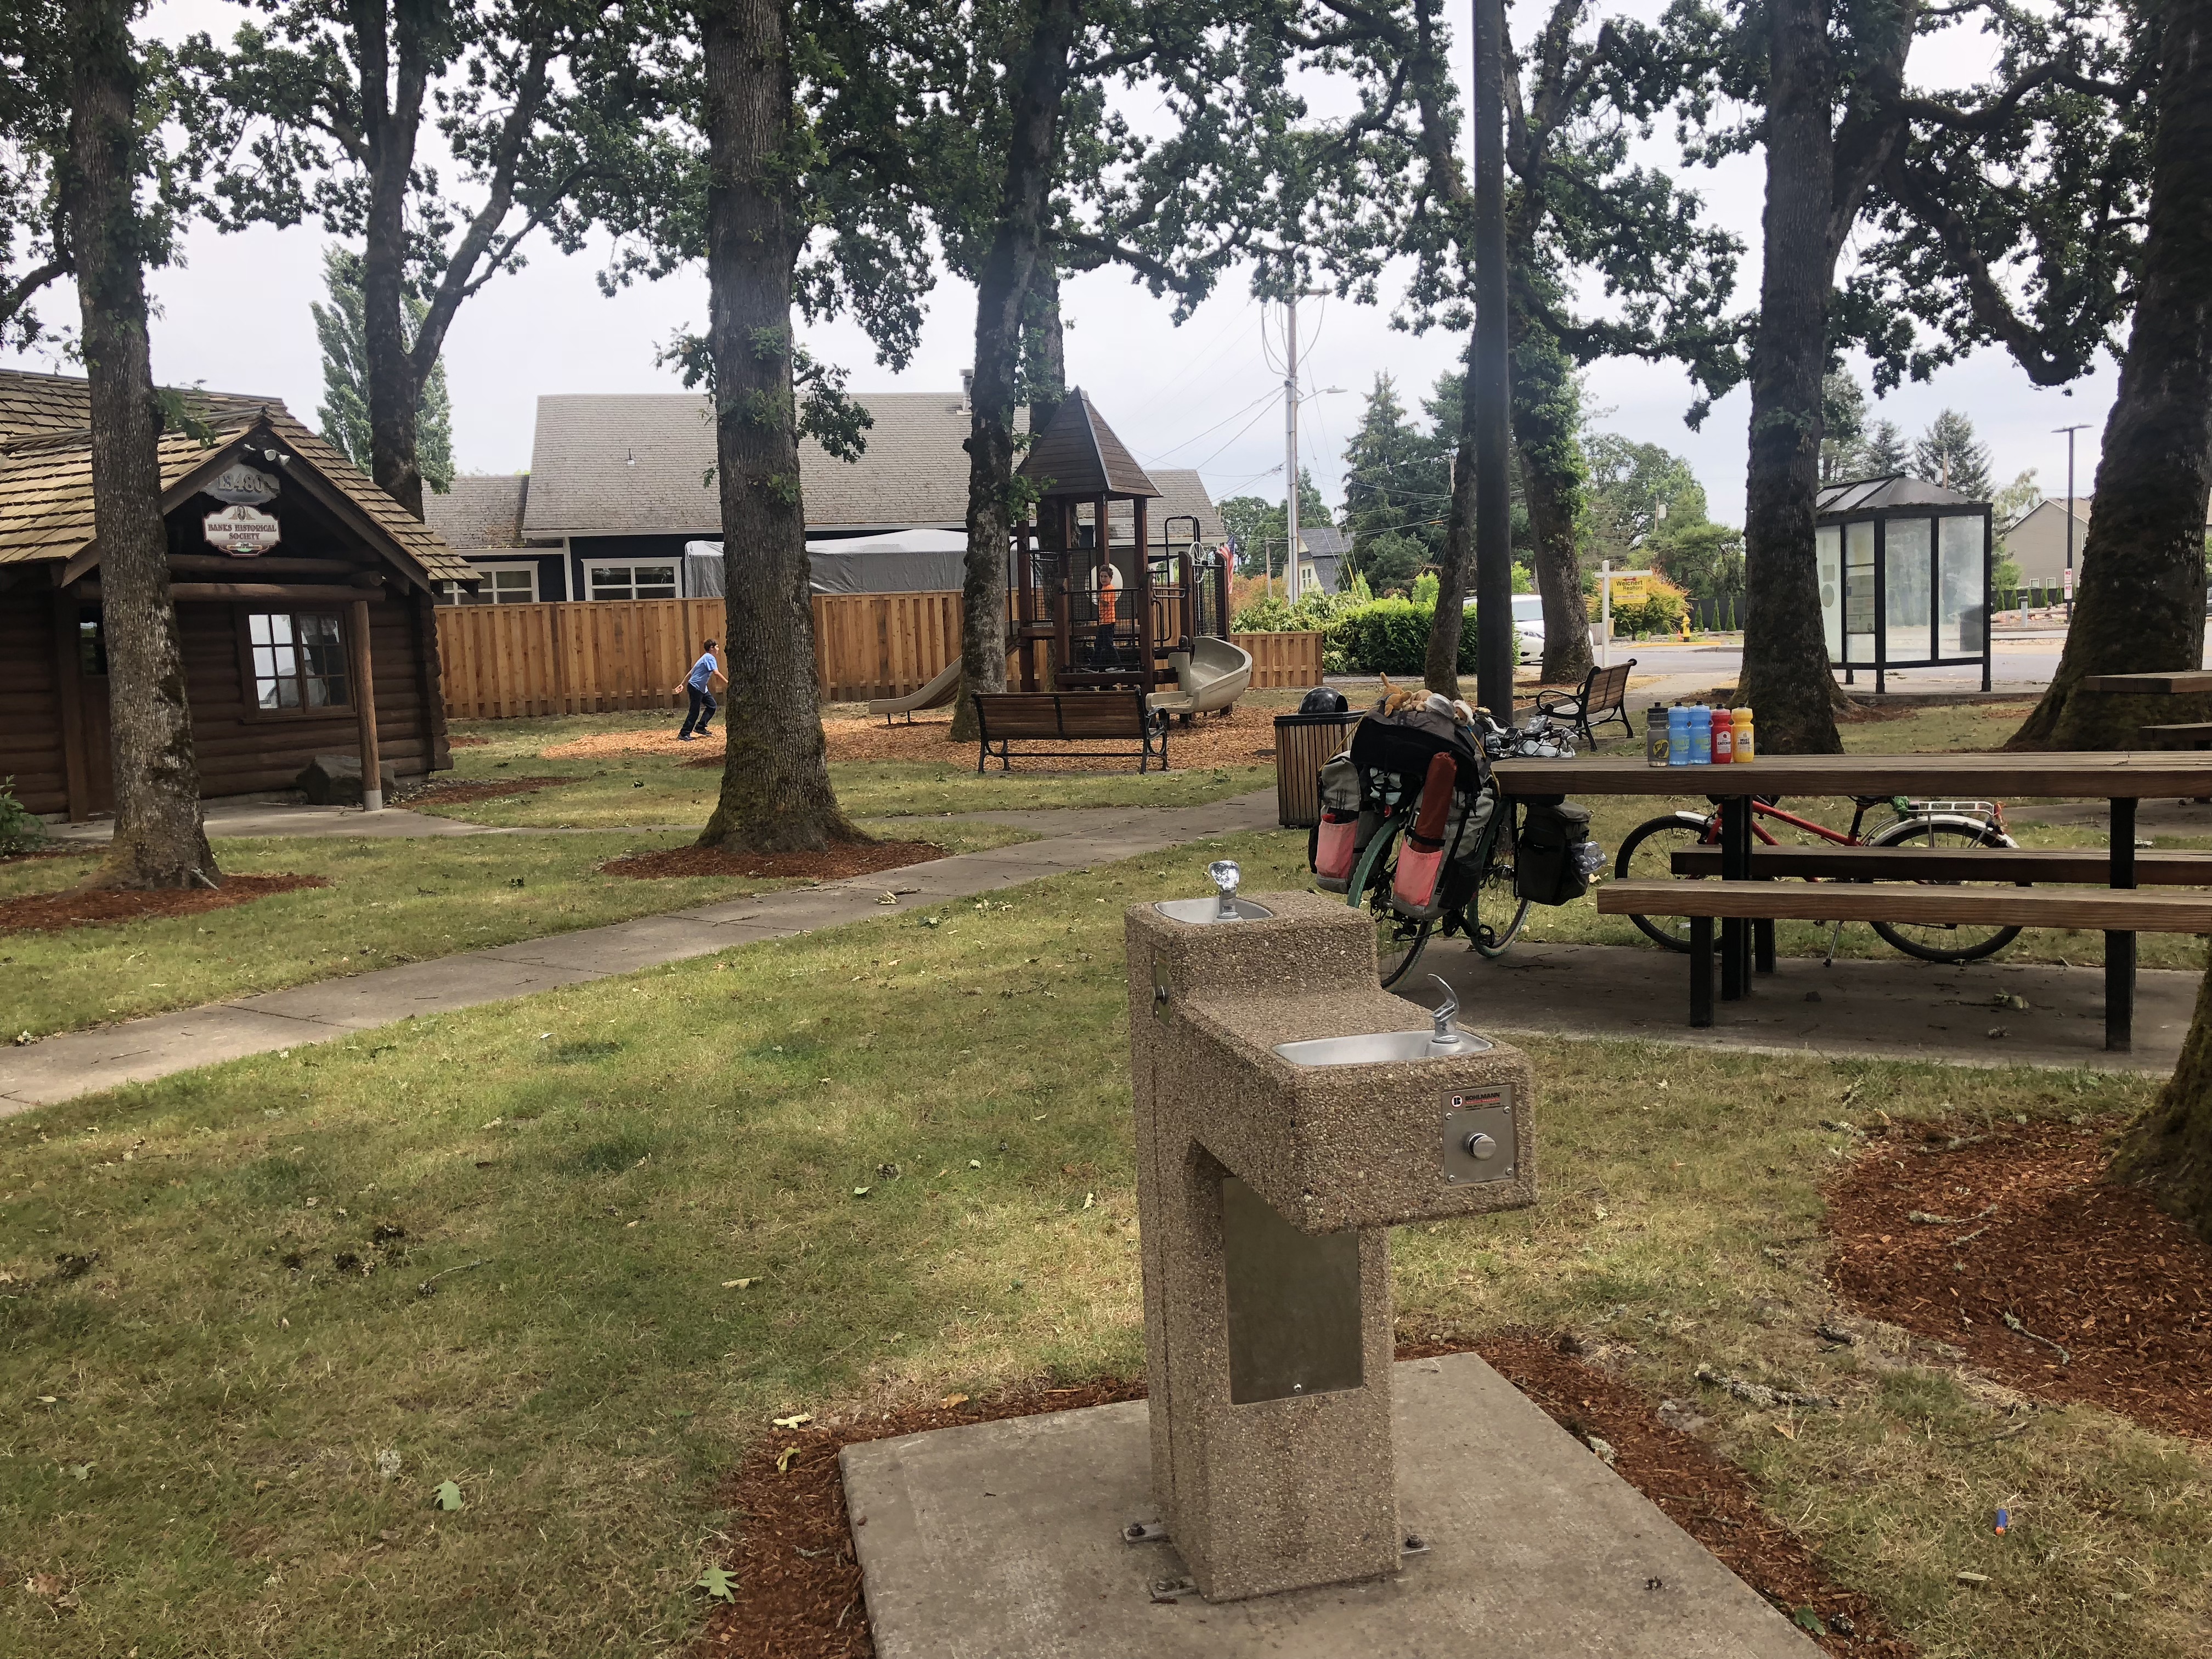
We continued along and discovered a working drinking fountain at cute, little Log Cabin Park where we stopped for a long snack and rest break. The kids said the play structure was too small for them and there was no restroom (there was a locked portapotty) so it’s not an end all be all park, but between the two stops we covered our bases. From the City of Banks Parks, Recreation, and Trees webpage I see there’s one other park, Greenville City Park, but in Google Street View and Google Satellite View it doesn’t appear to have a restroom either.
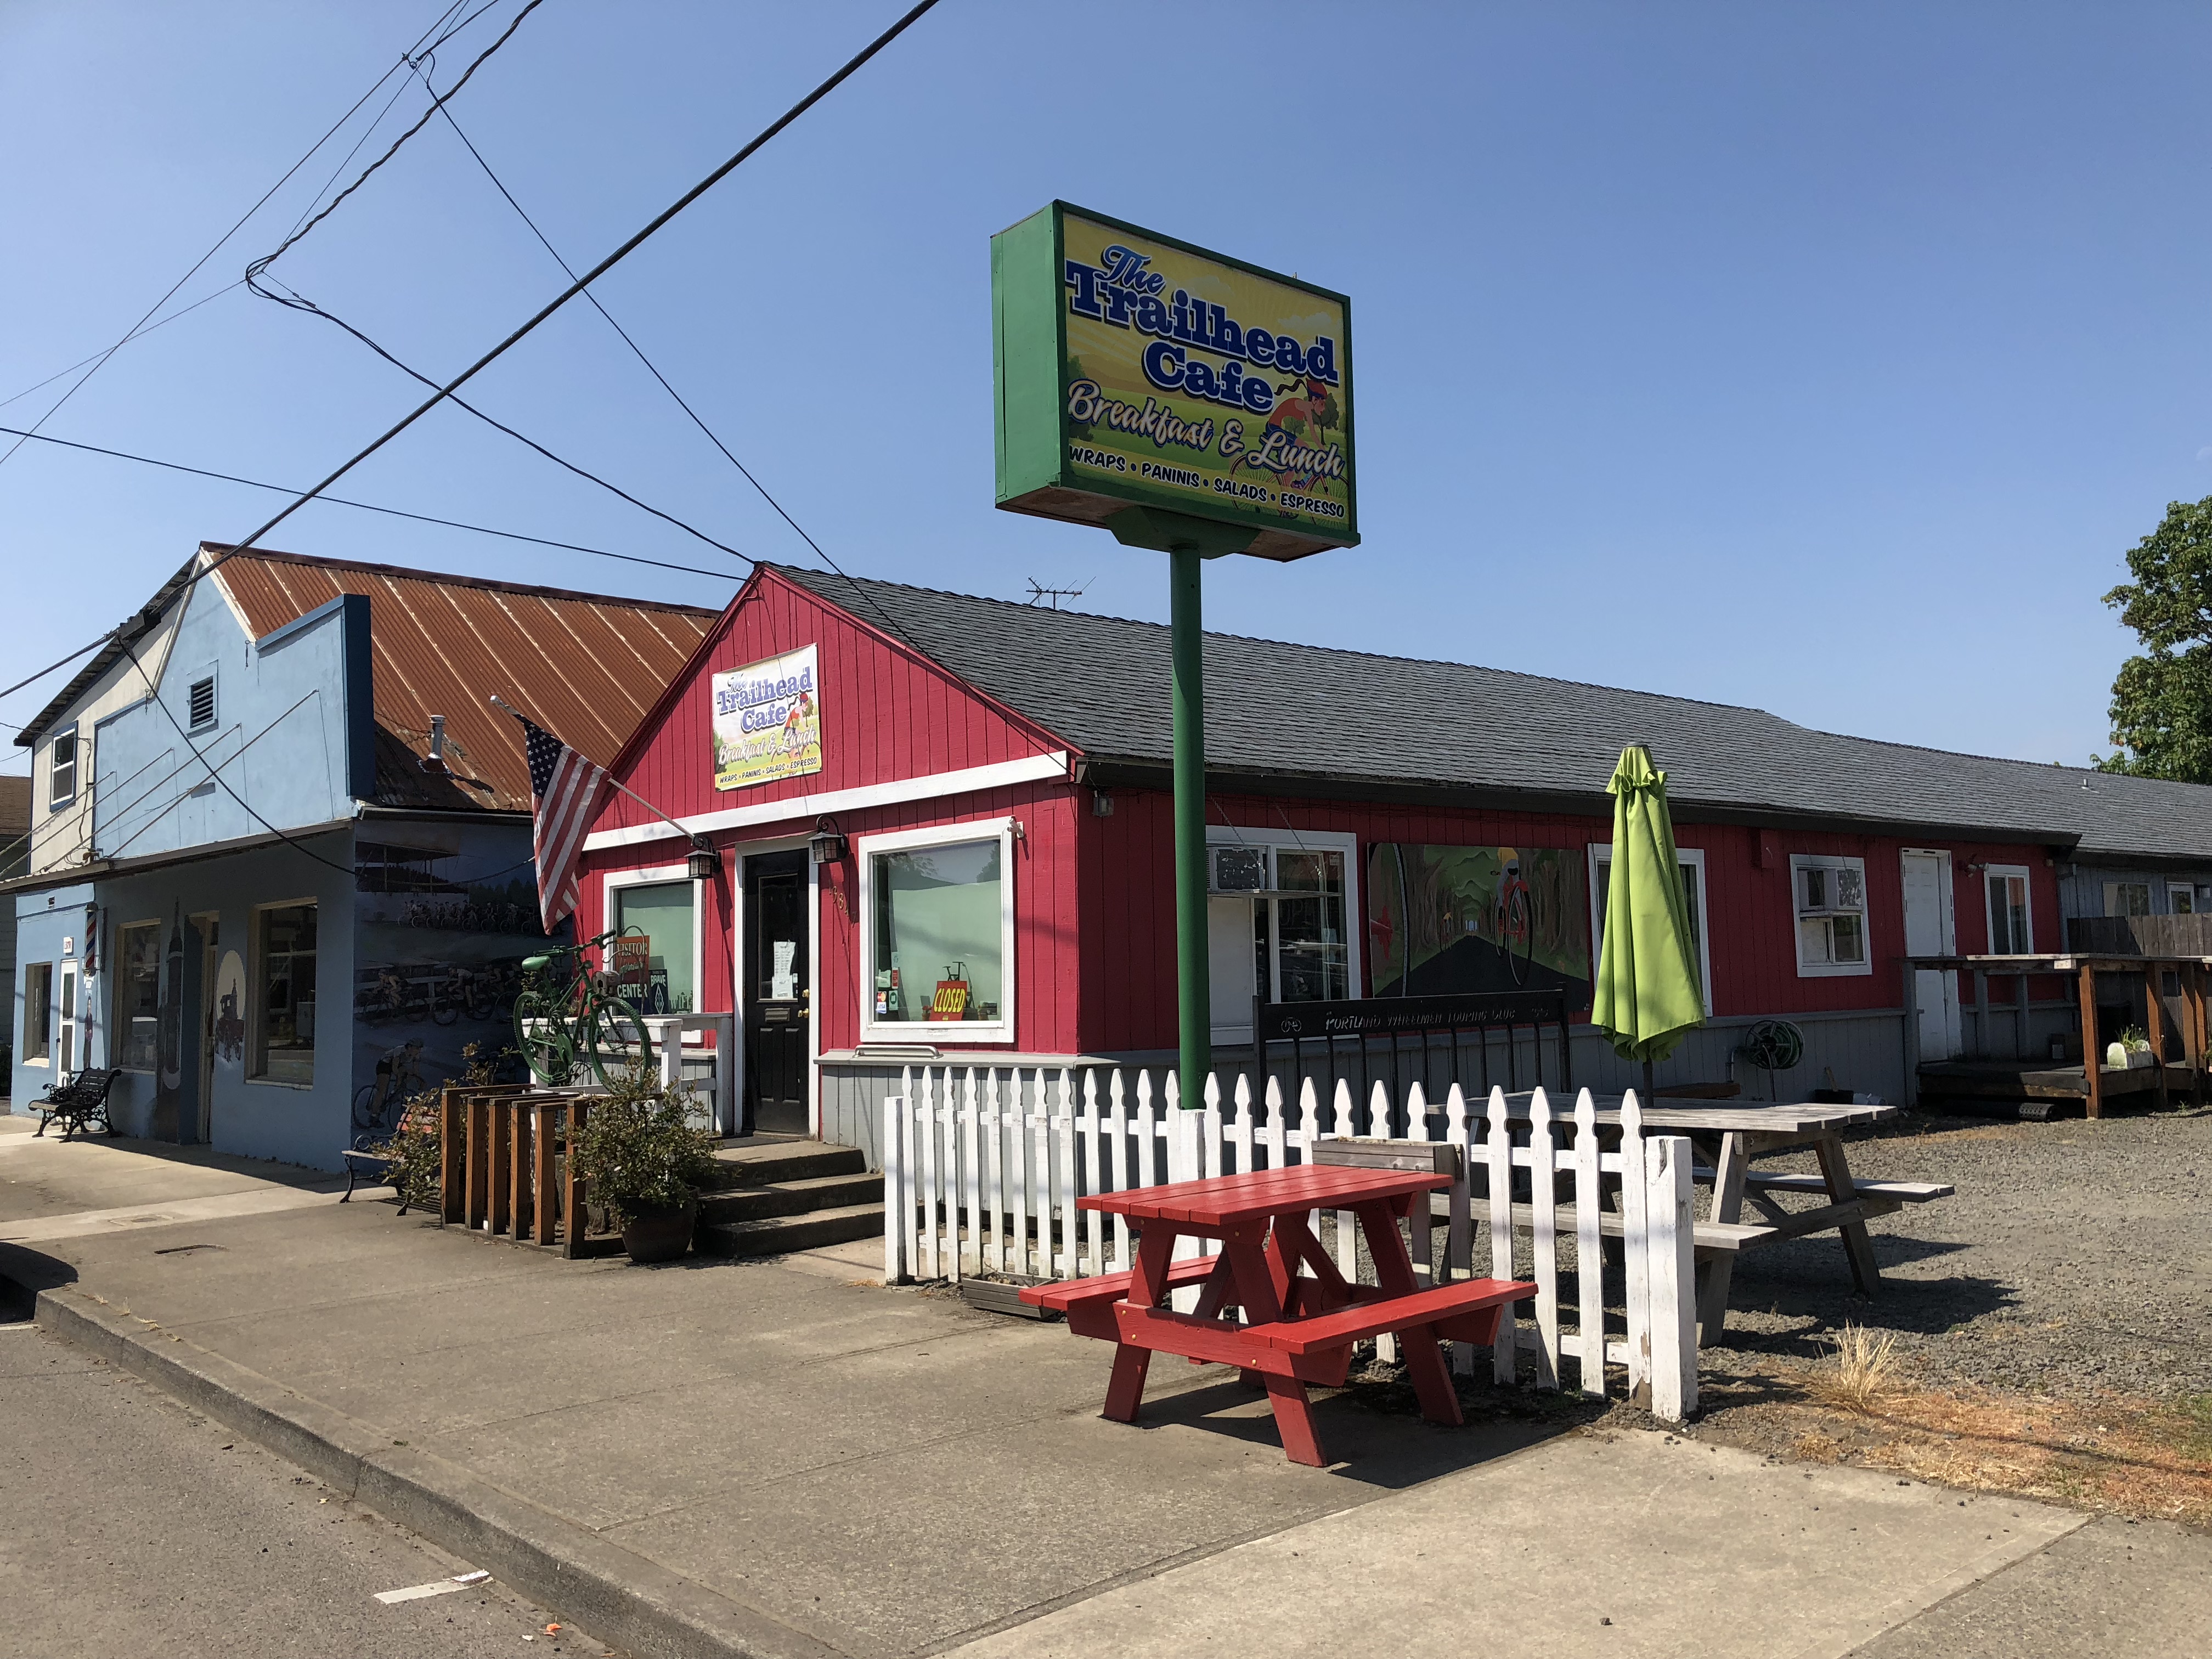
Next time we might stop at a kid-friendly restaurant with outside seating. Bike-themed Trailhead Cafe looks like it would be perfect, though it’s closed on Sundays.
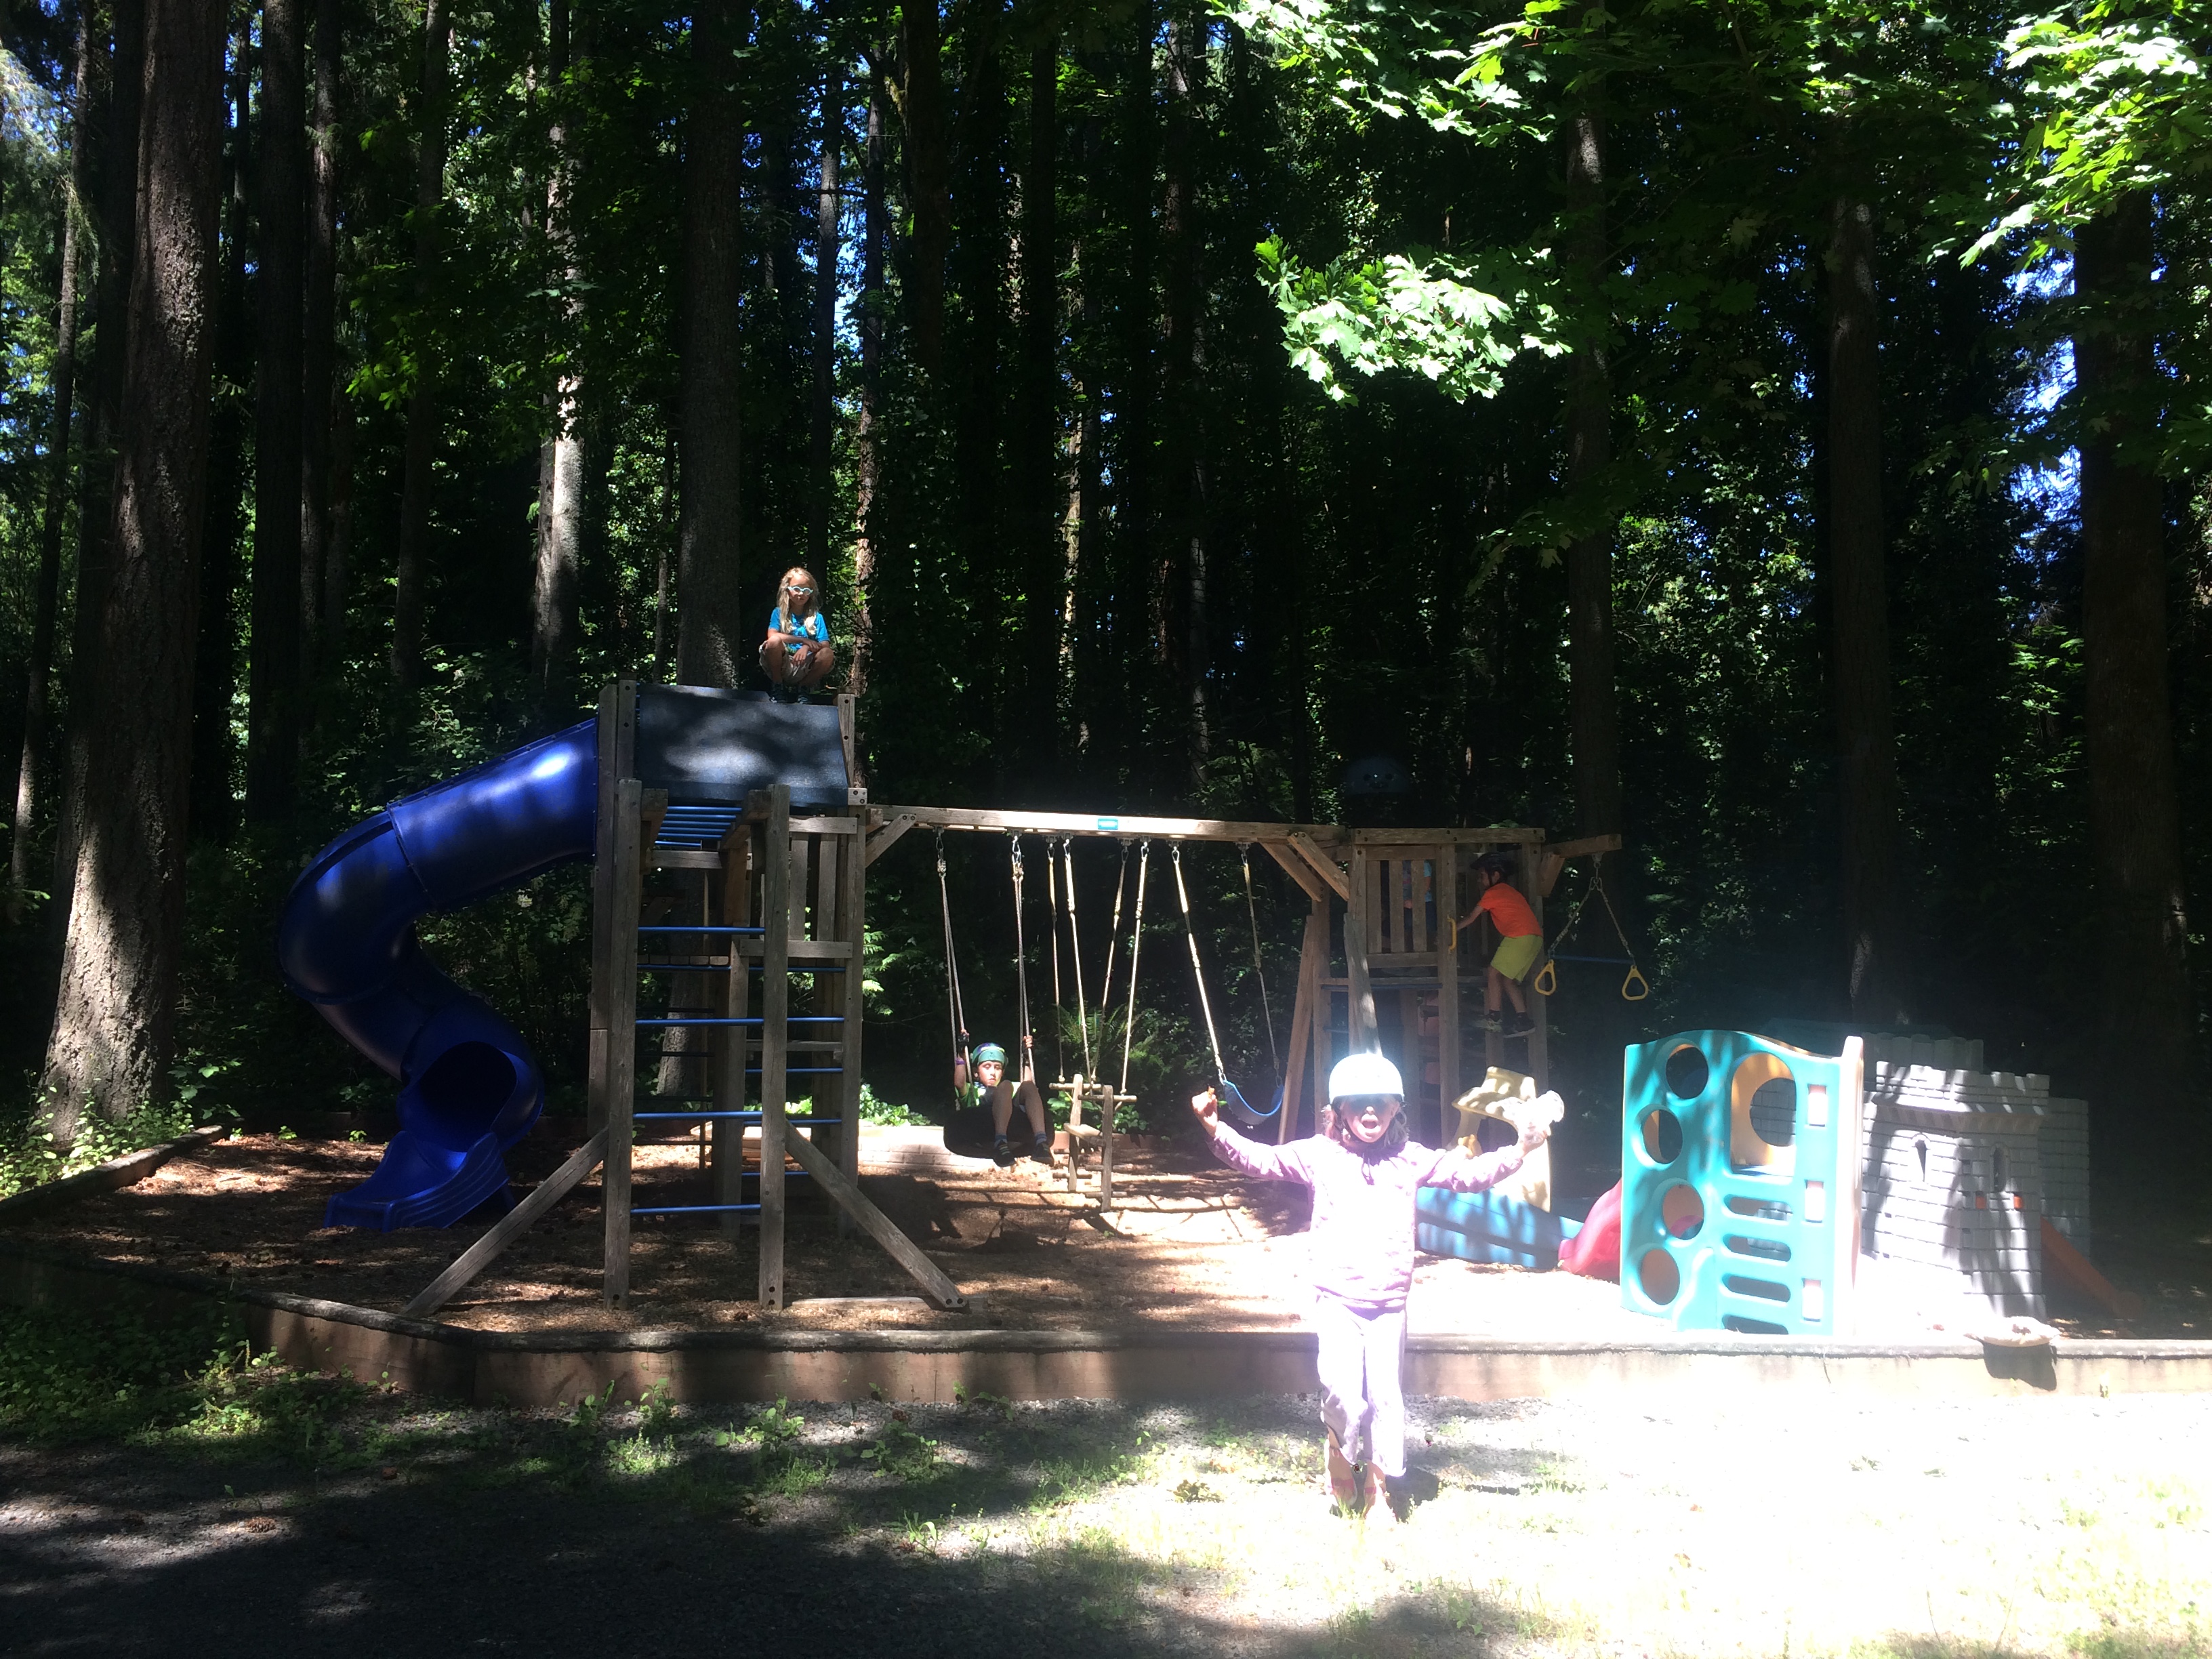
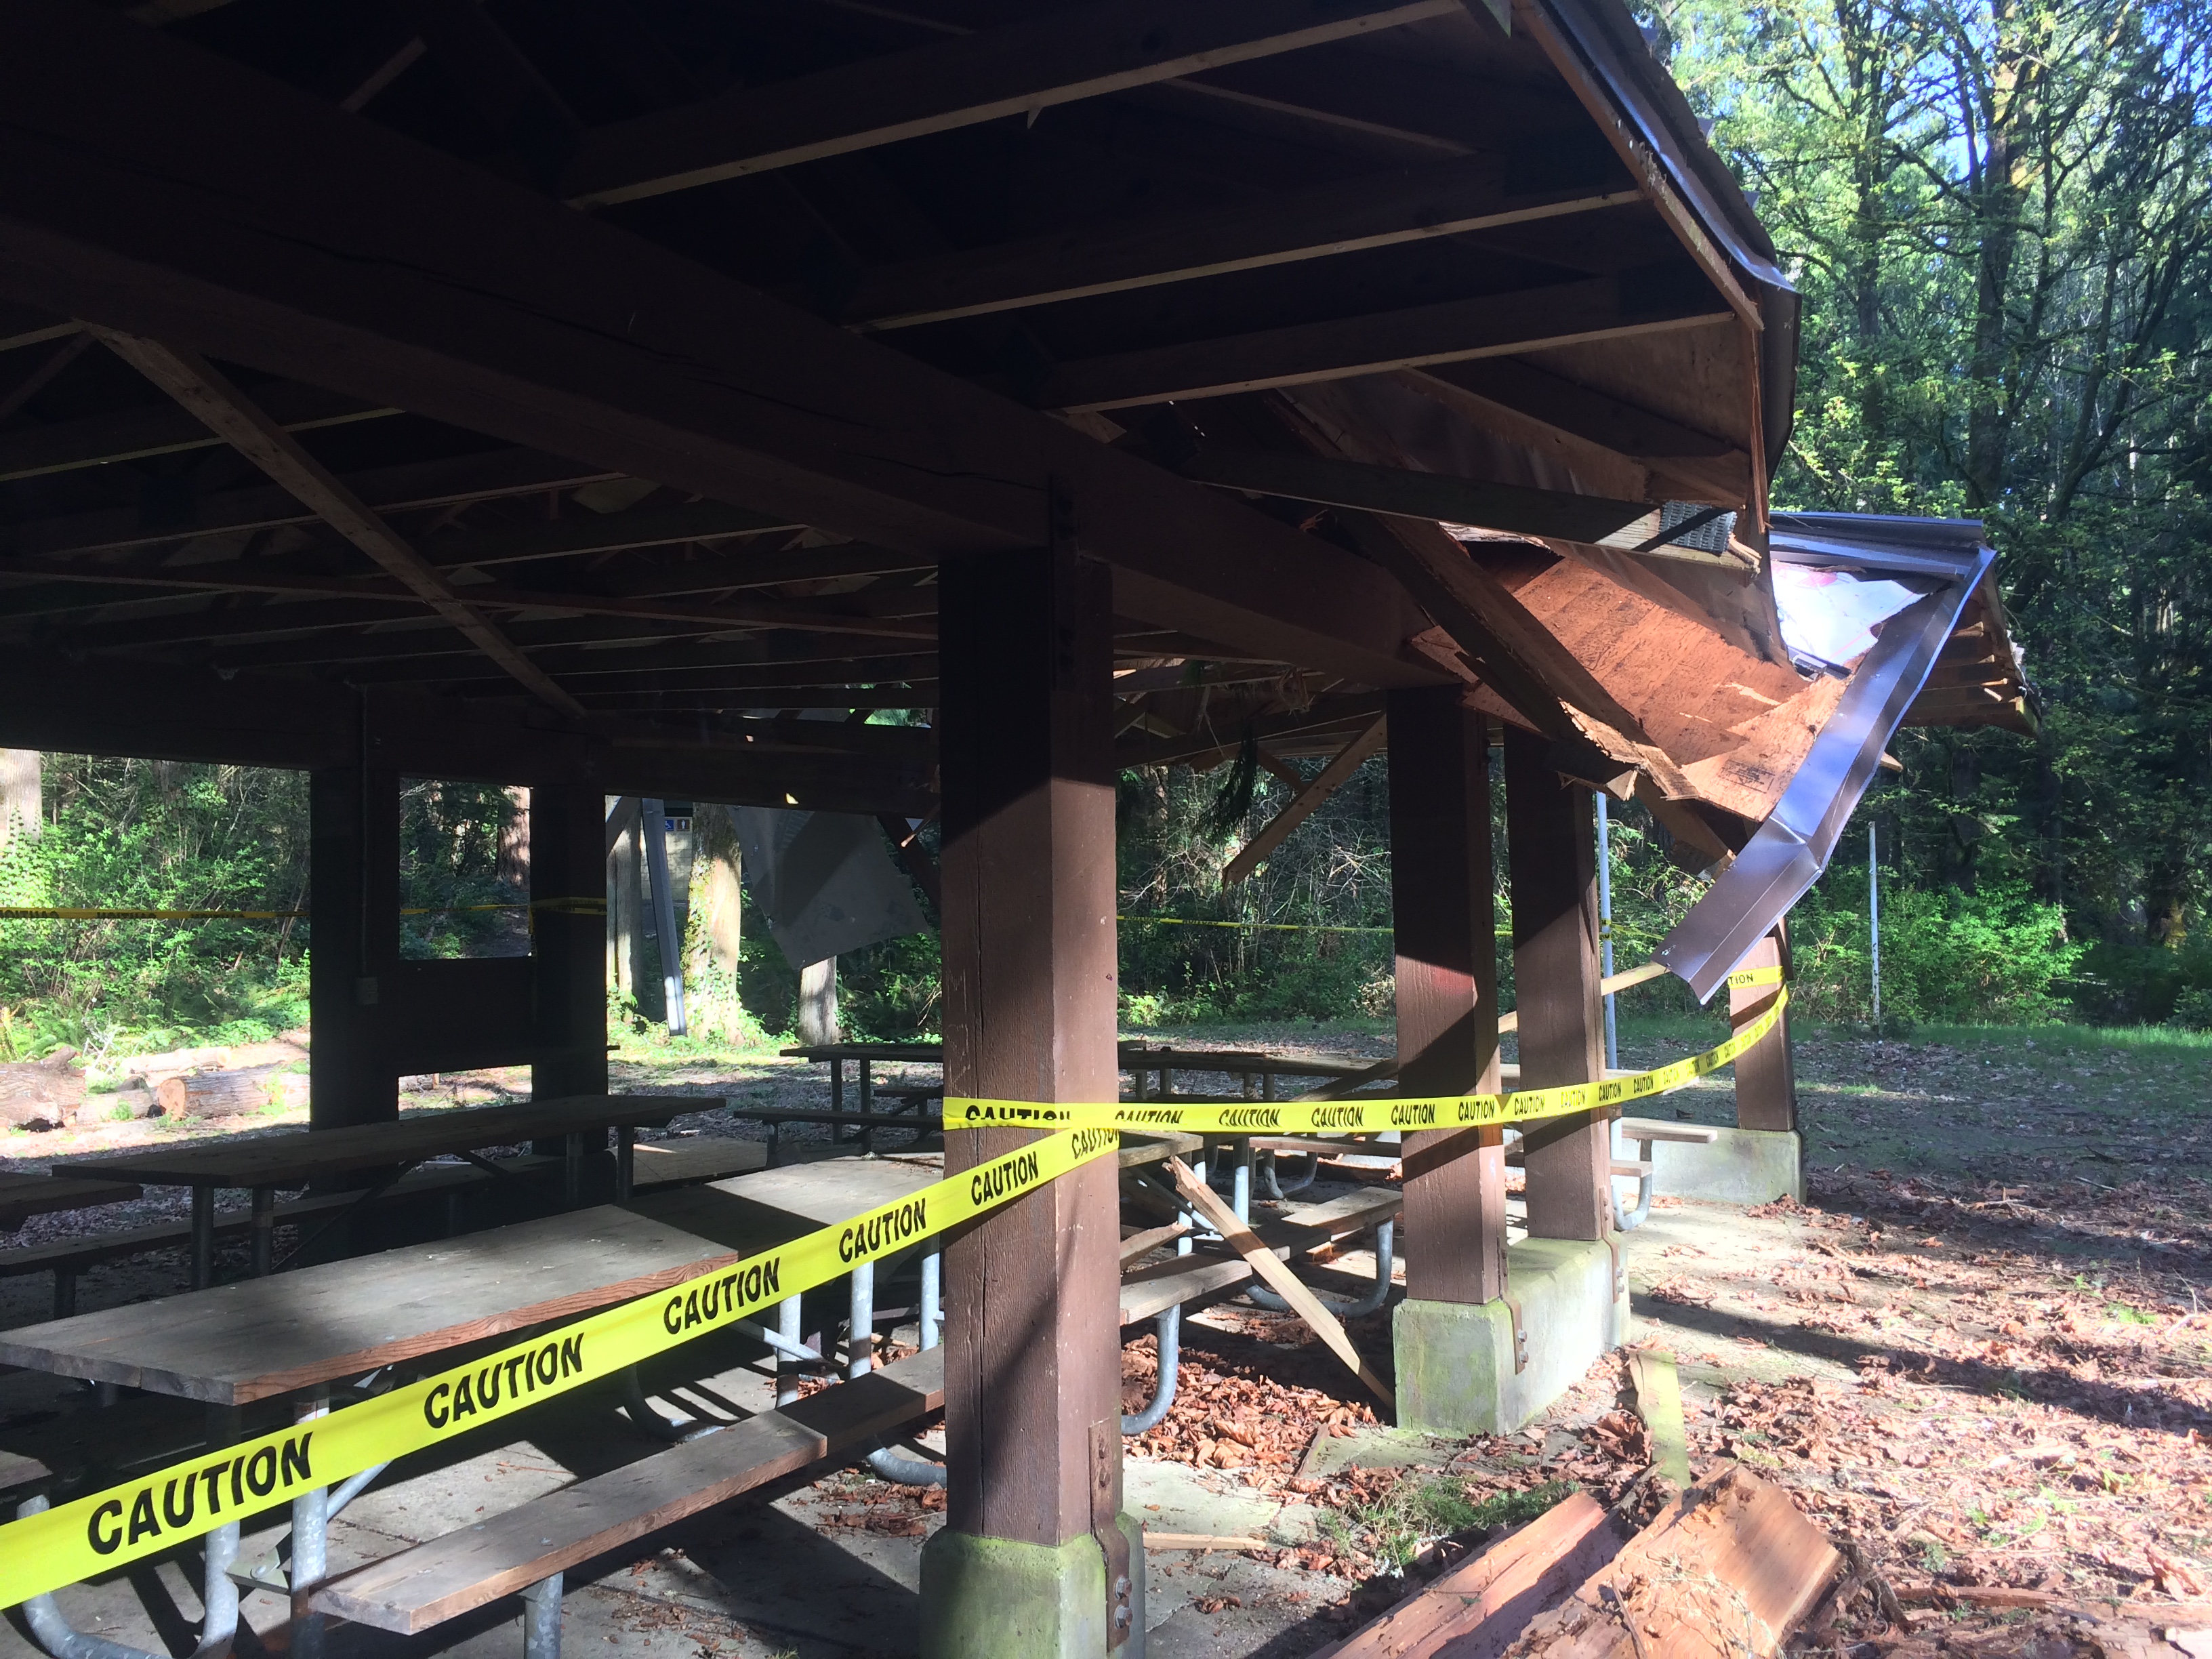
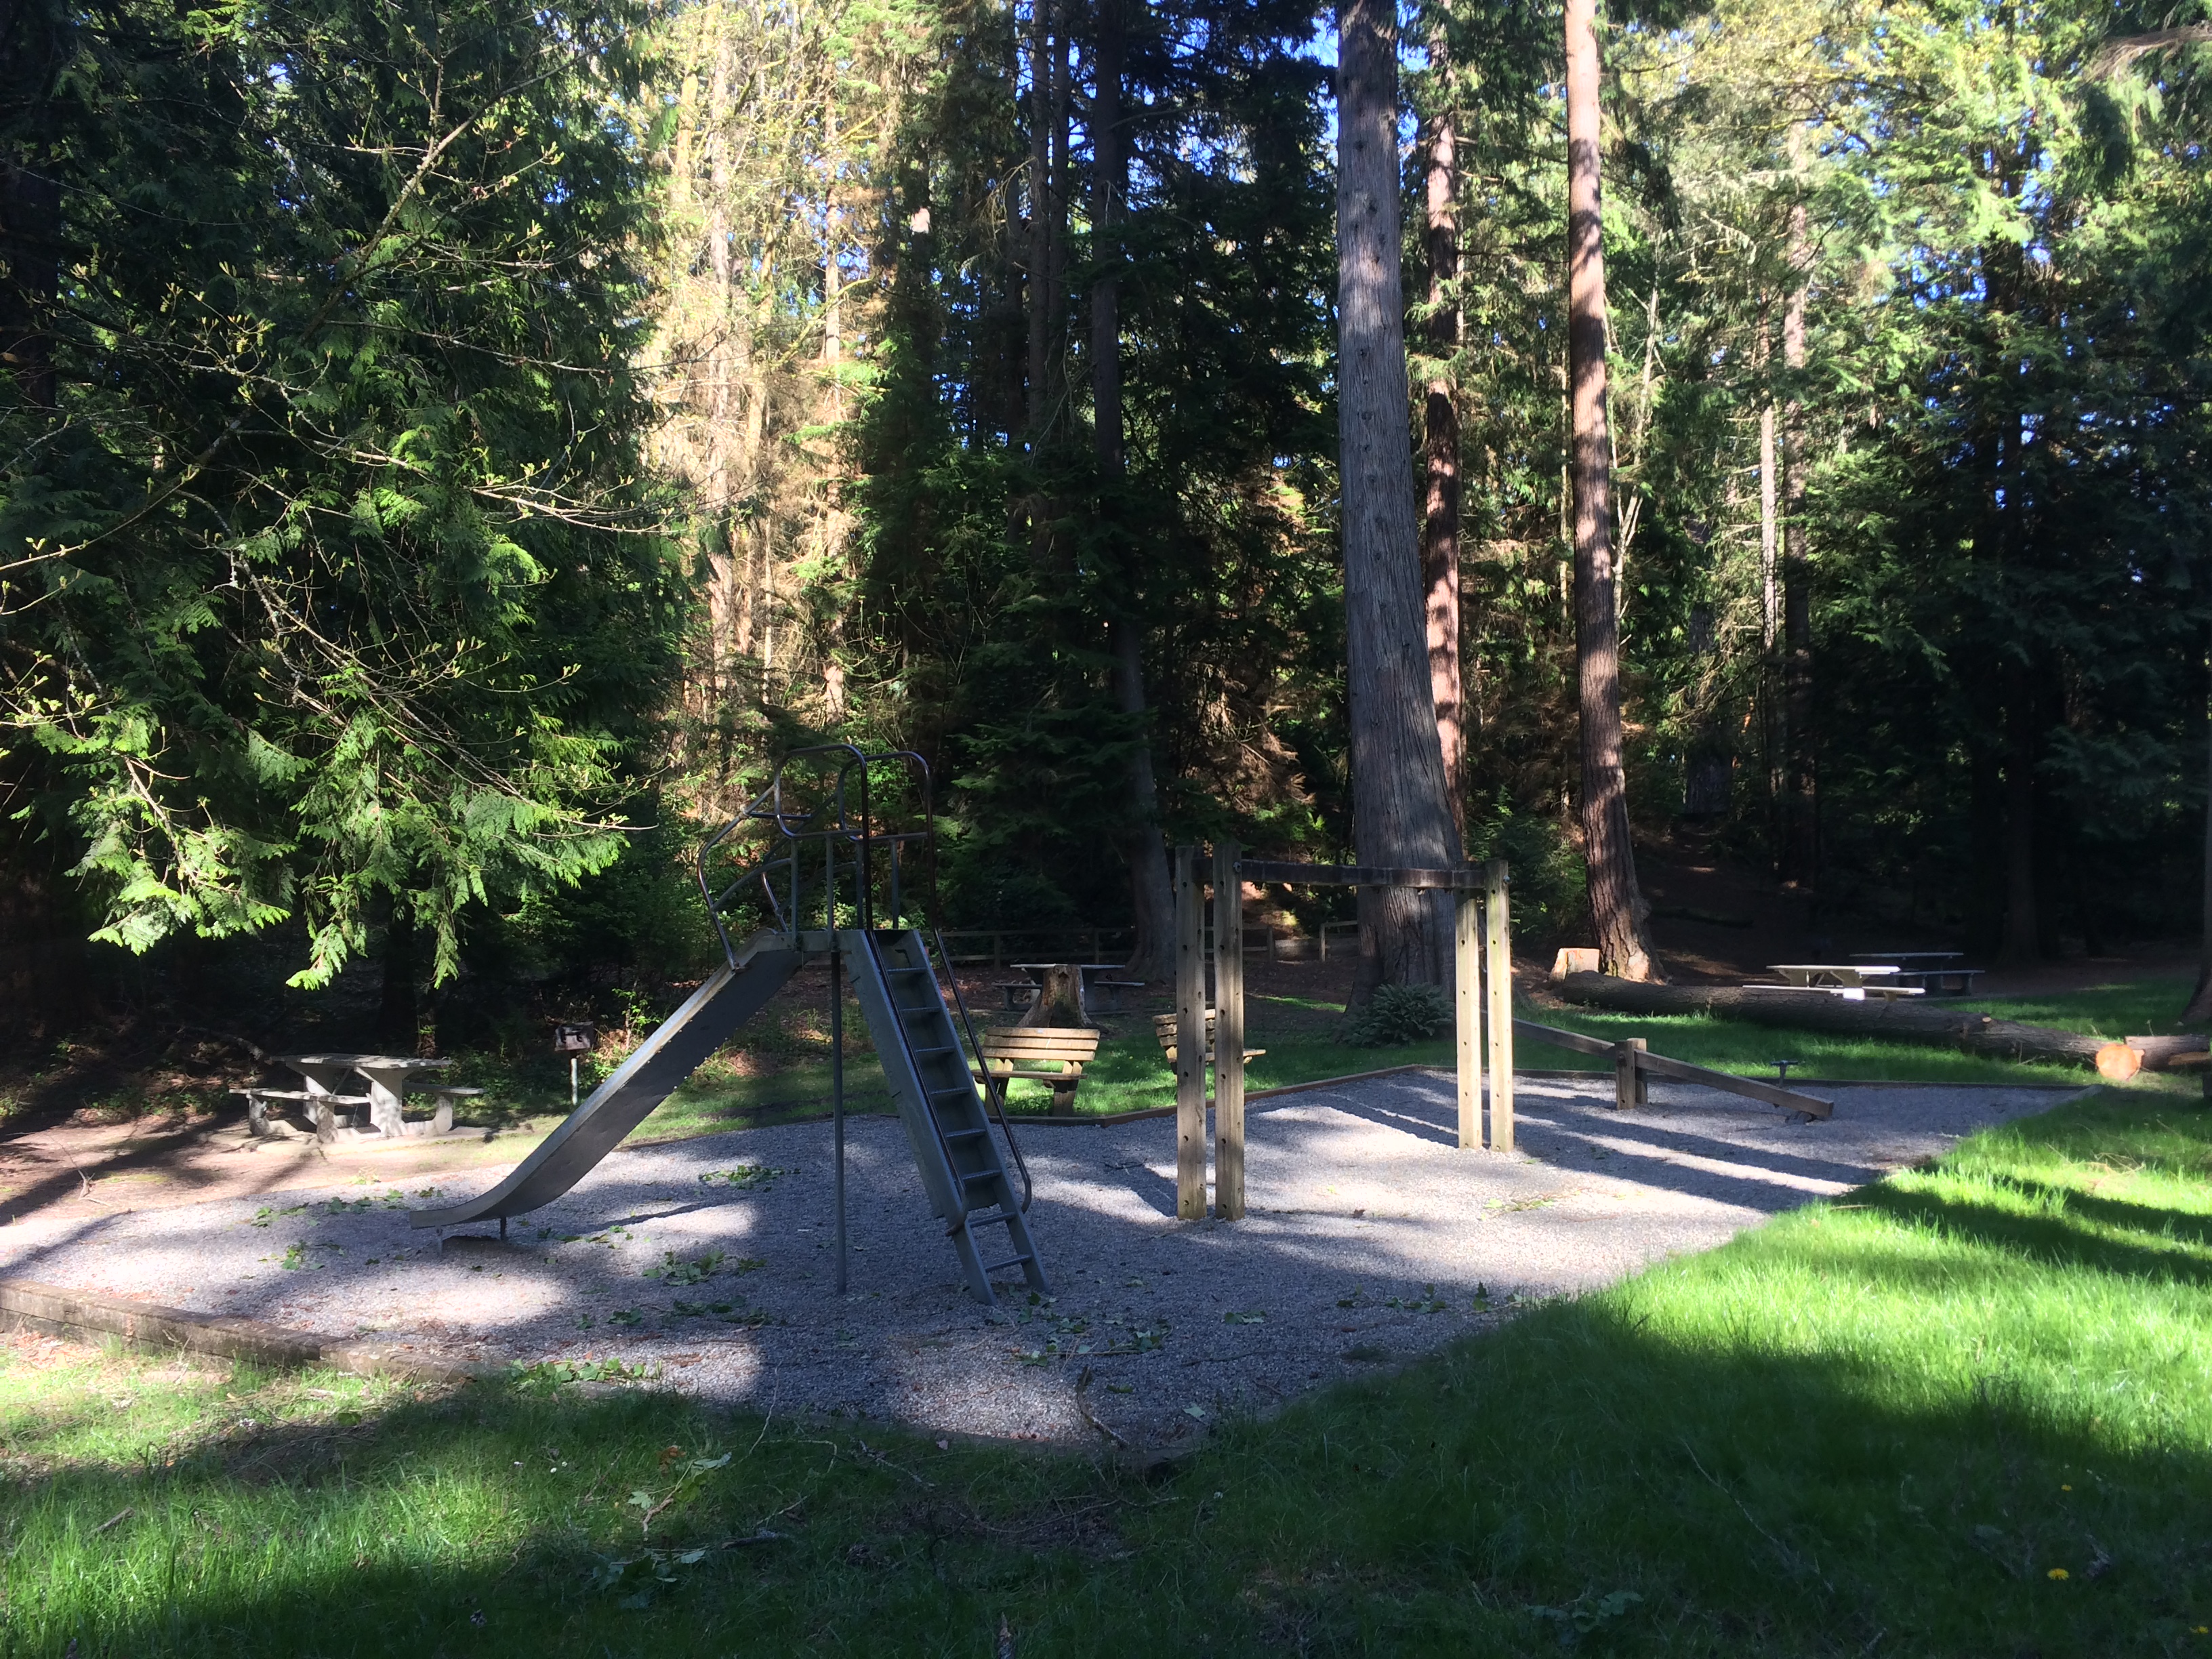
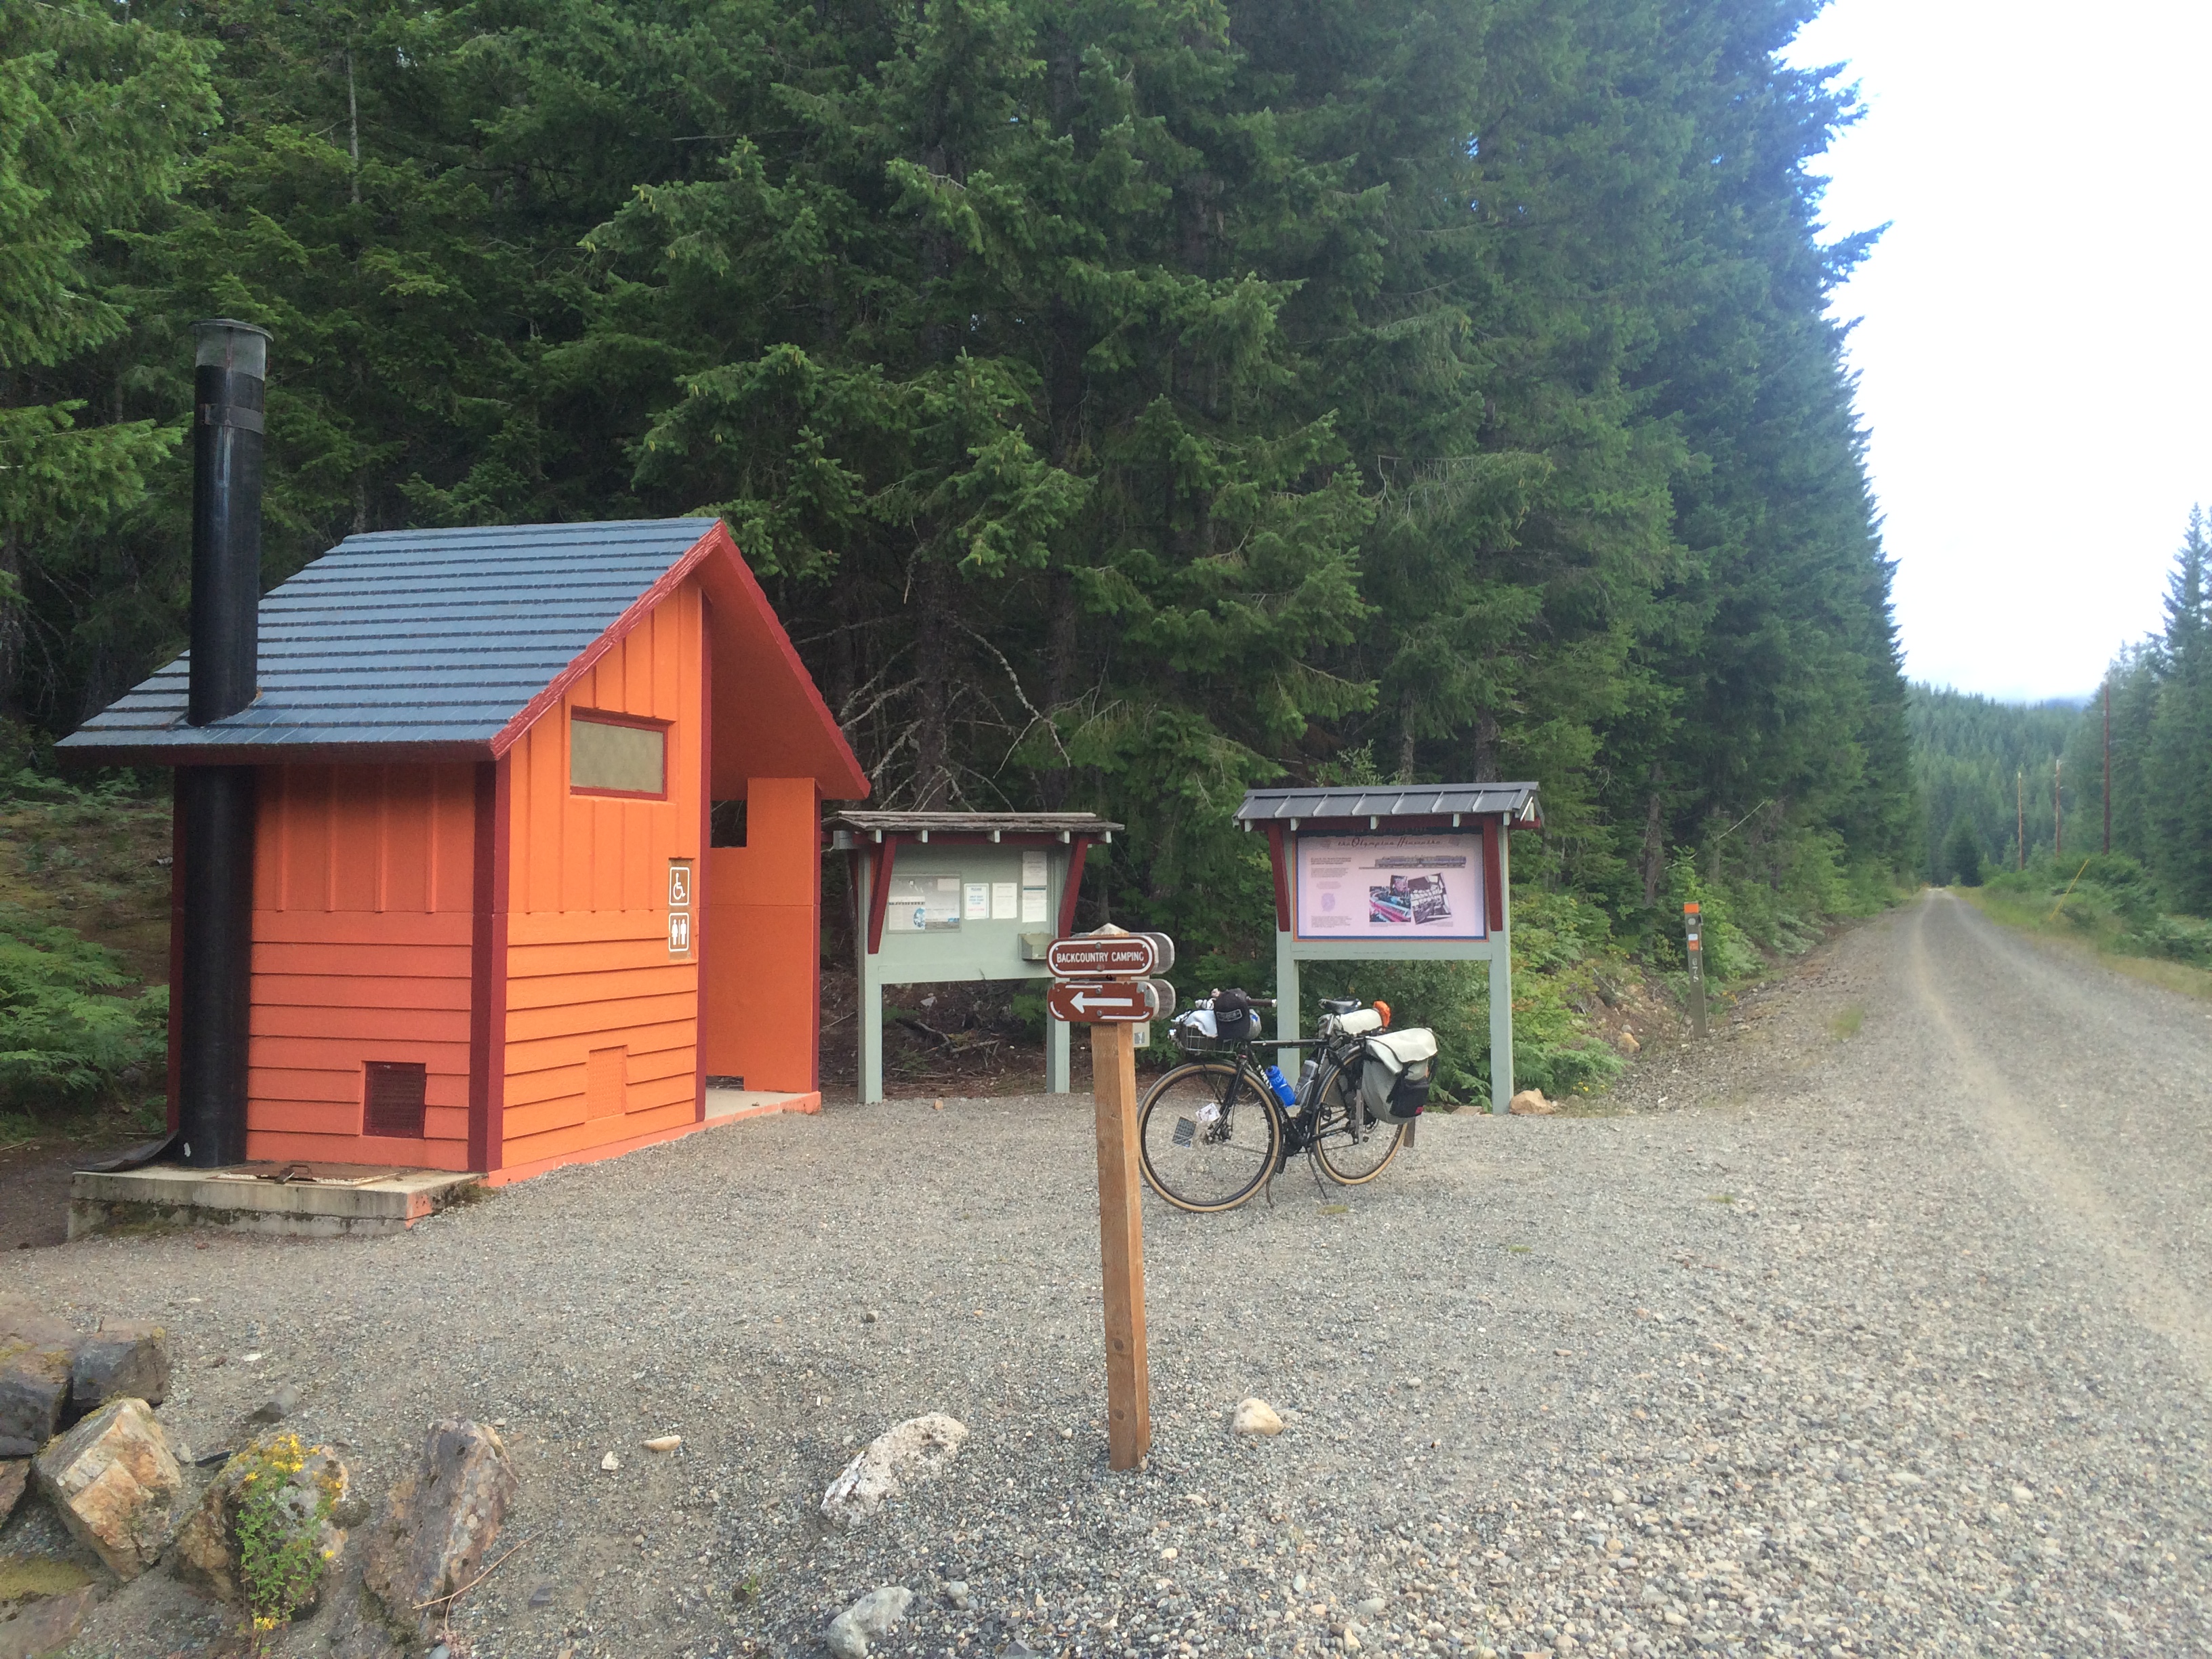
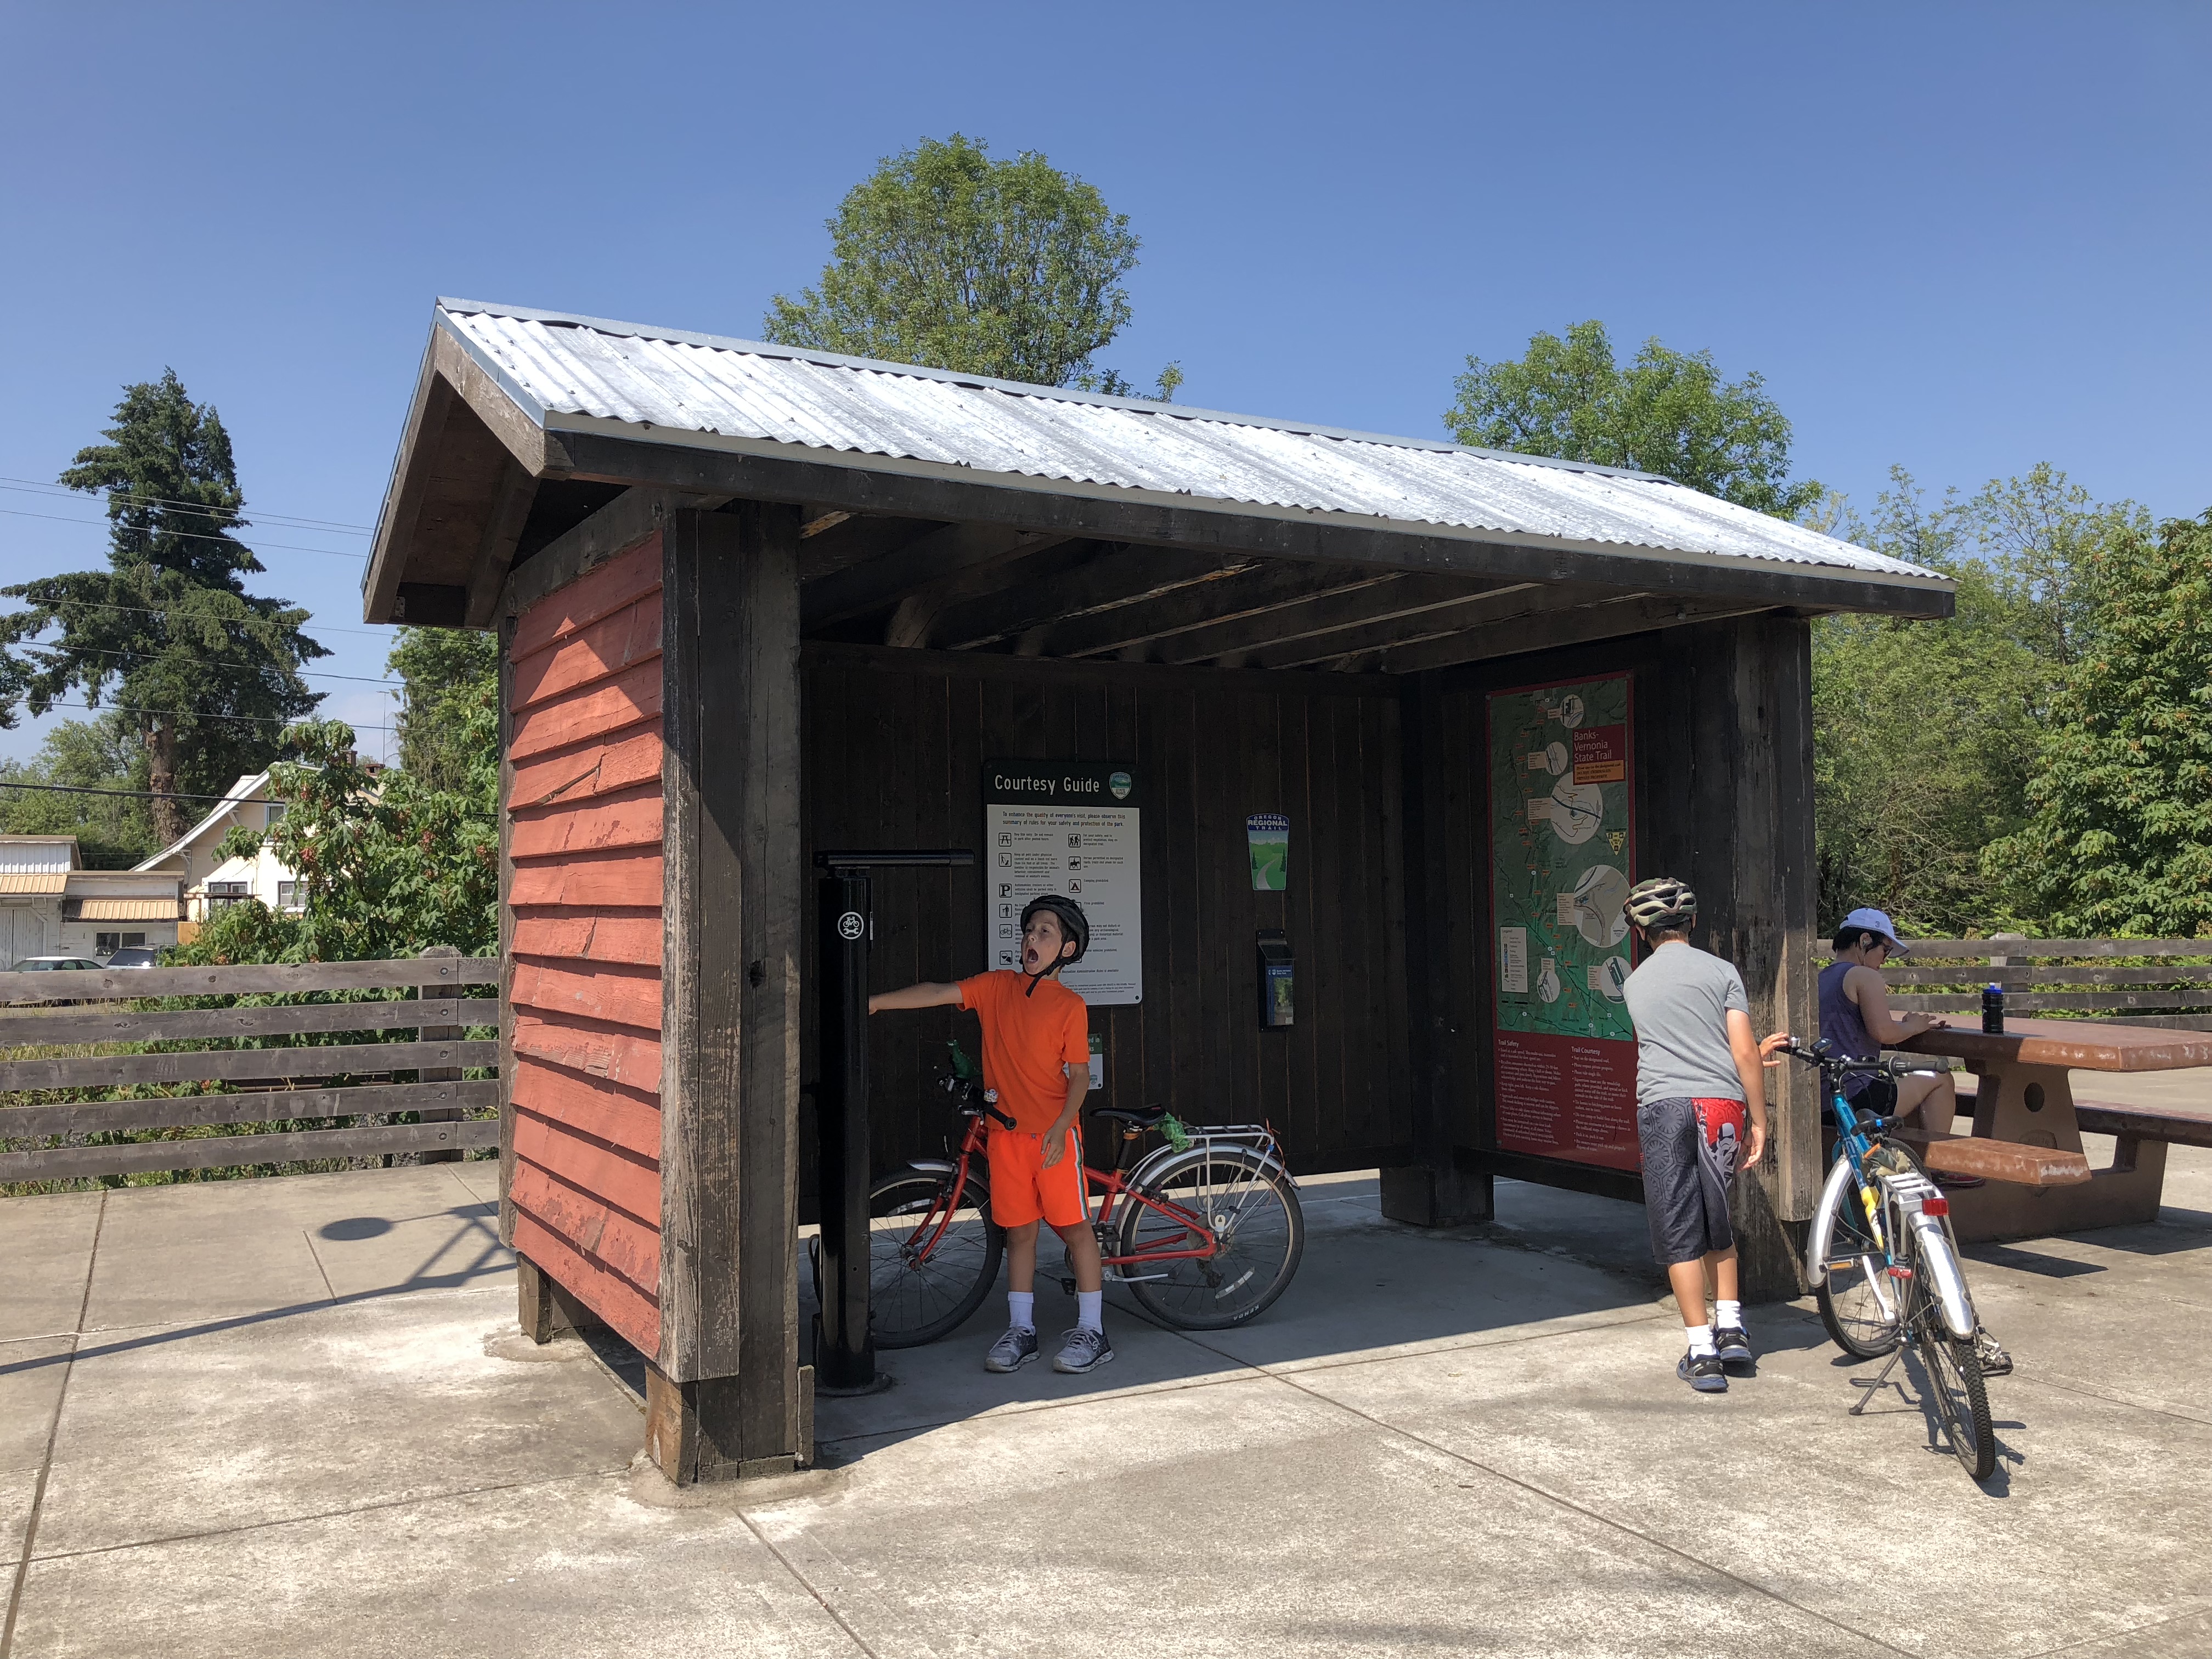
Had we not found water and restrooms on our way through Banks, the trailhead had it all! Drinking fountain, restrooms, bike repair station! But also lots of people arriving from two parking lots so it was nice to have hung out in the shady playground by ourselves beforehand. Just next to the trailhead is Banks Bicycle Repair and Rentals which I think was affiliated with a sign I saw advertising pie. That would be worth investigating!
Banks-Vernonia State Trail
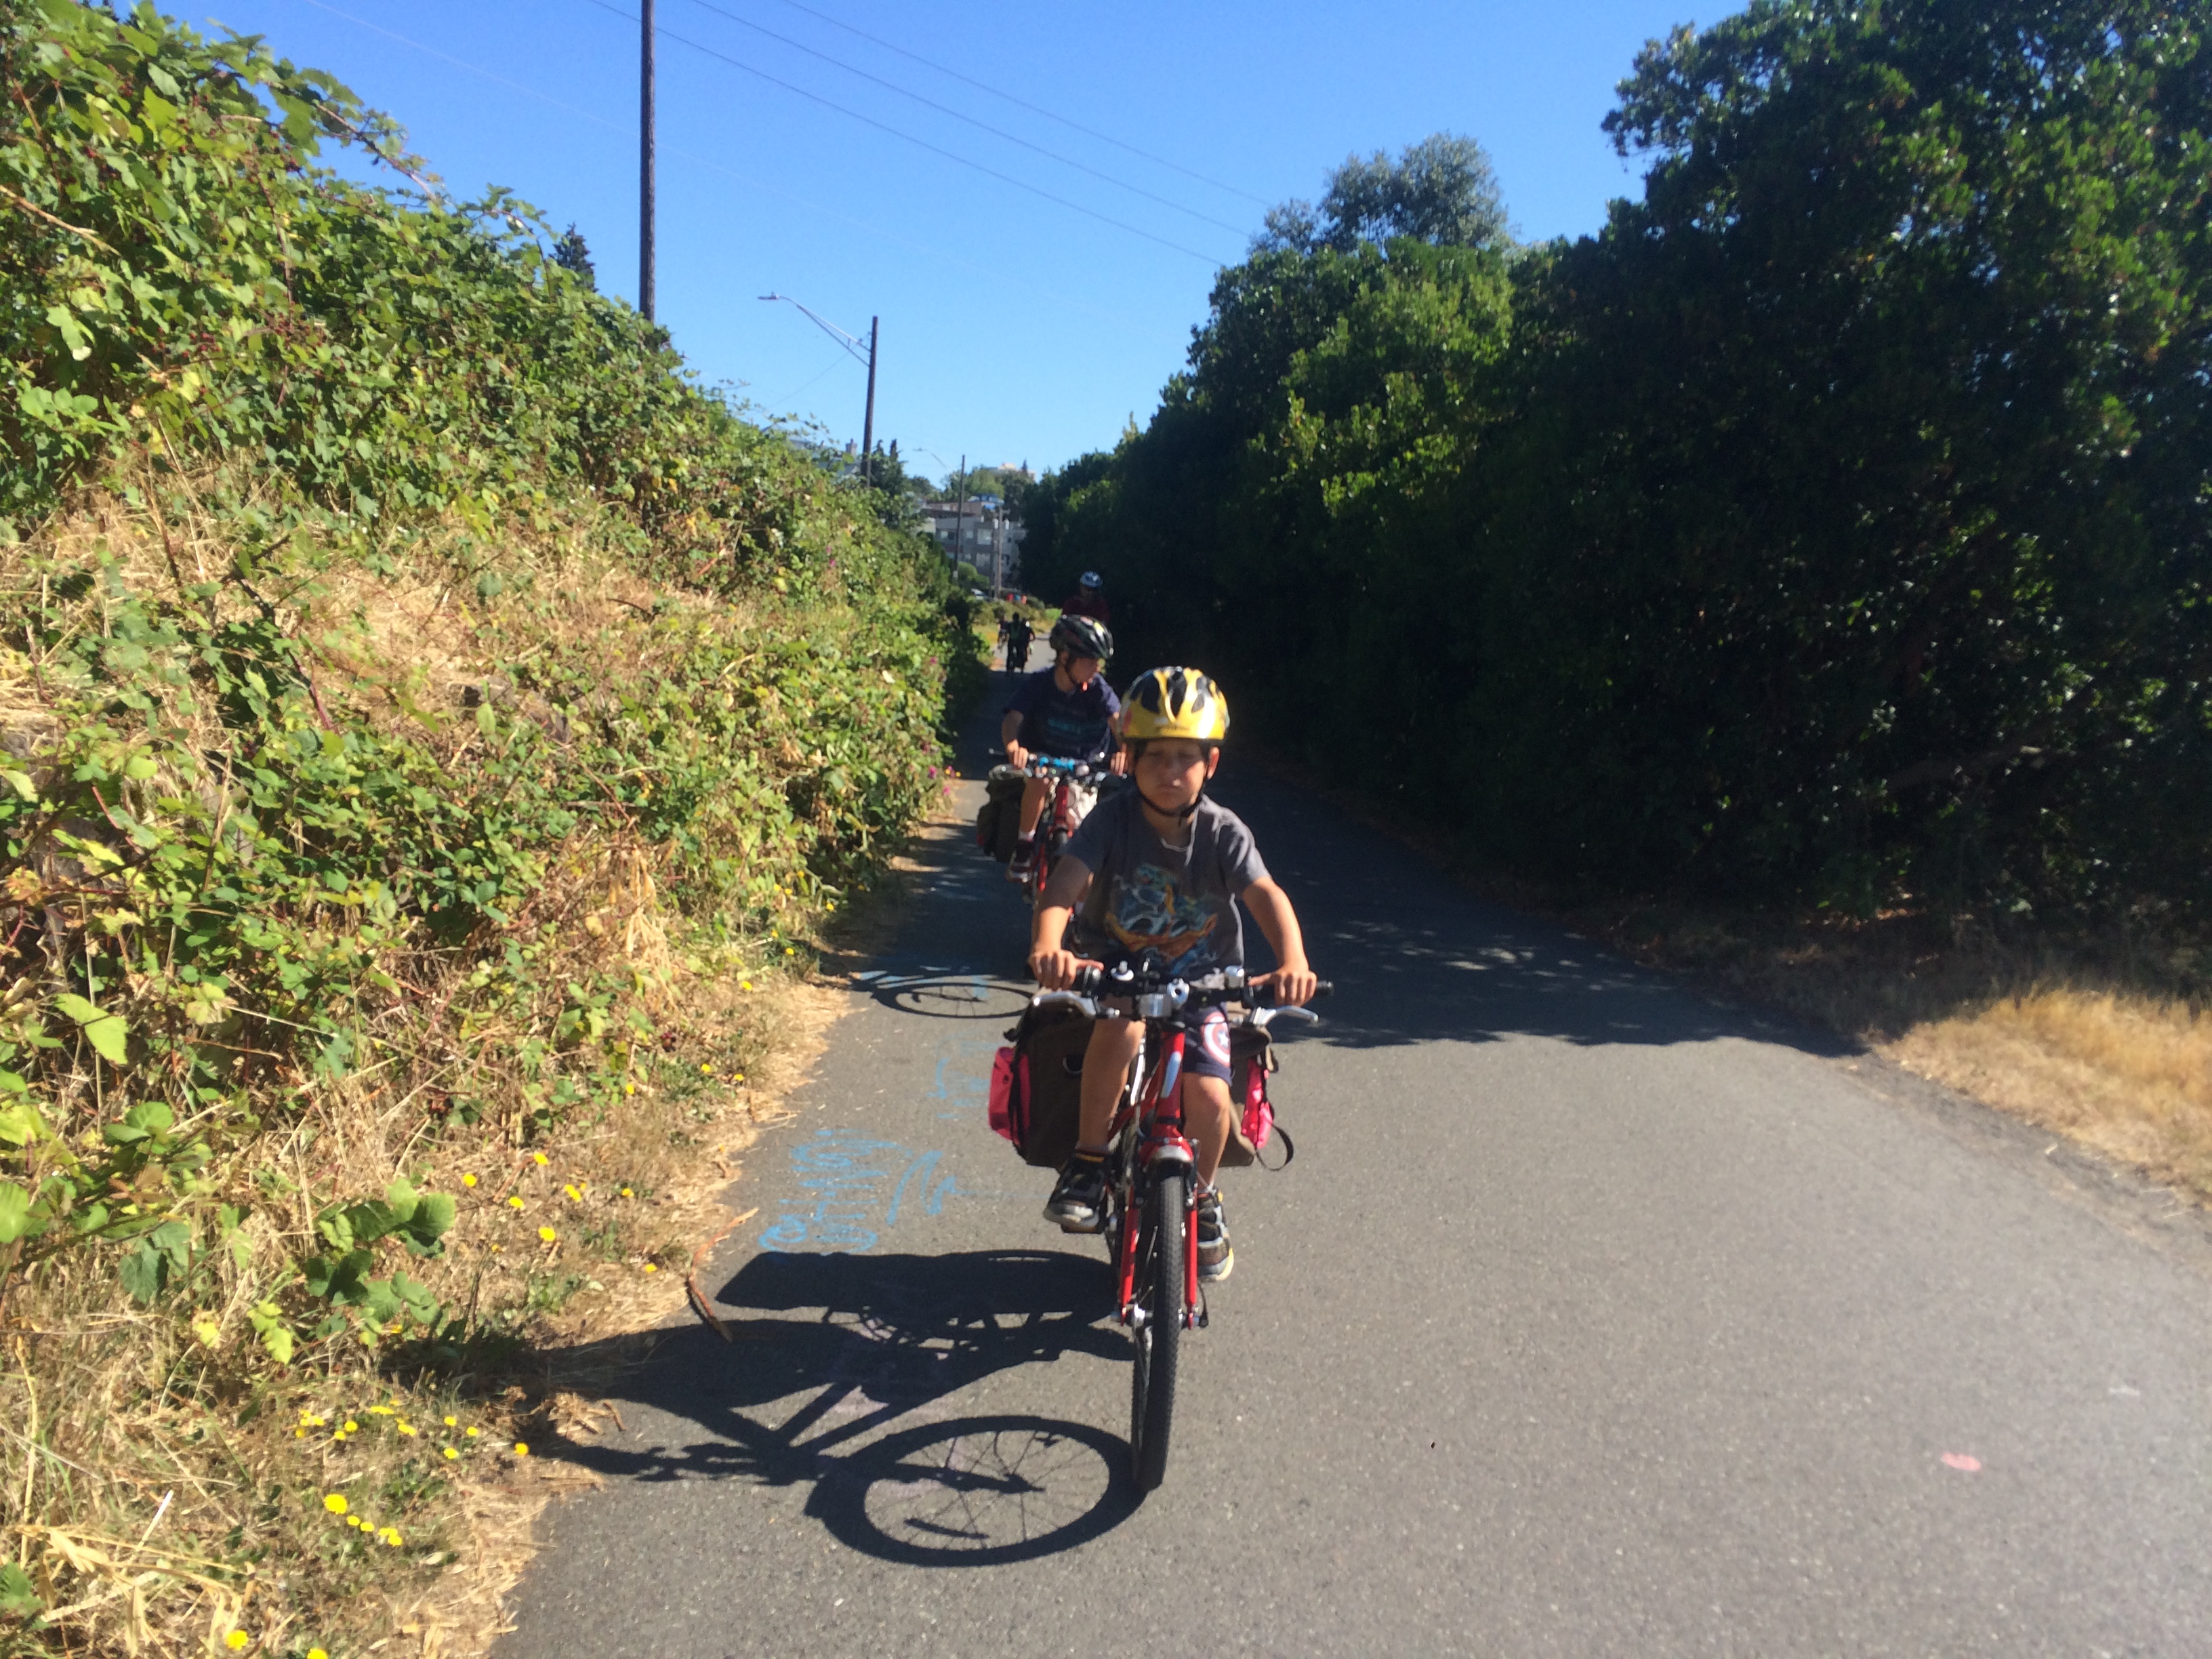
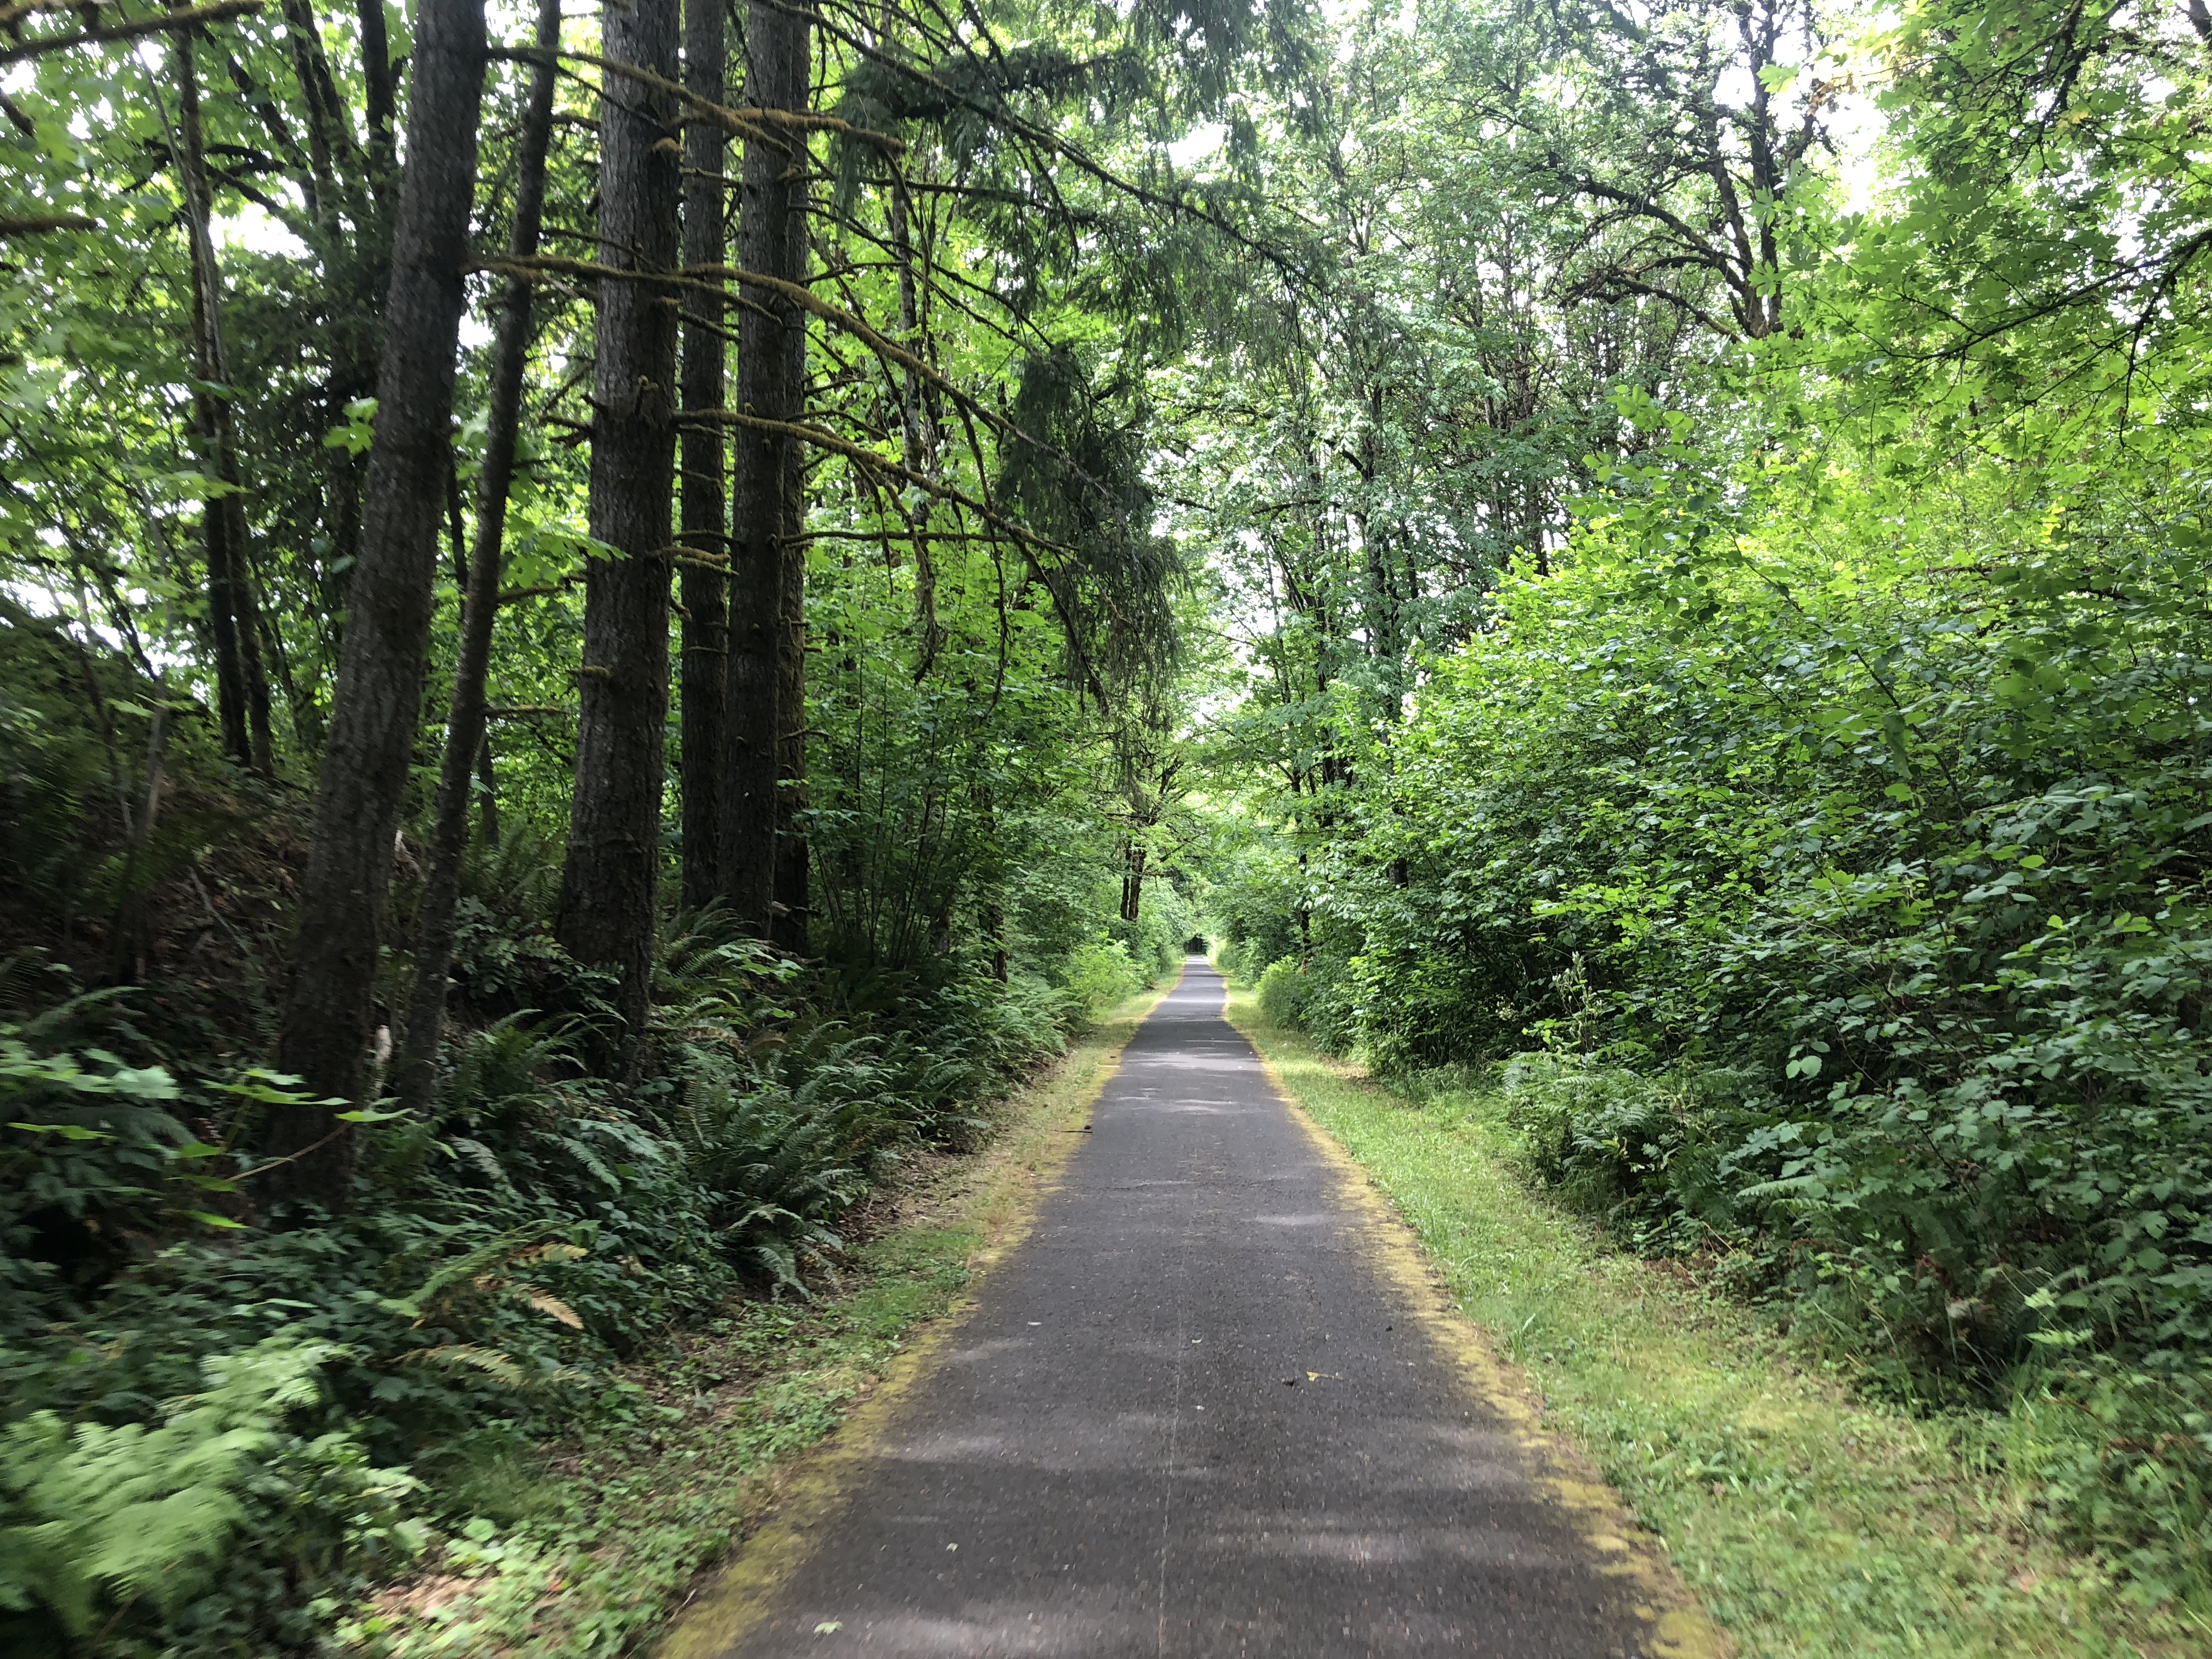
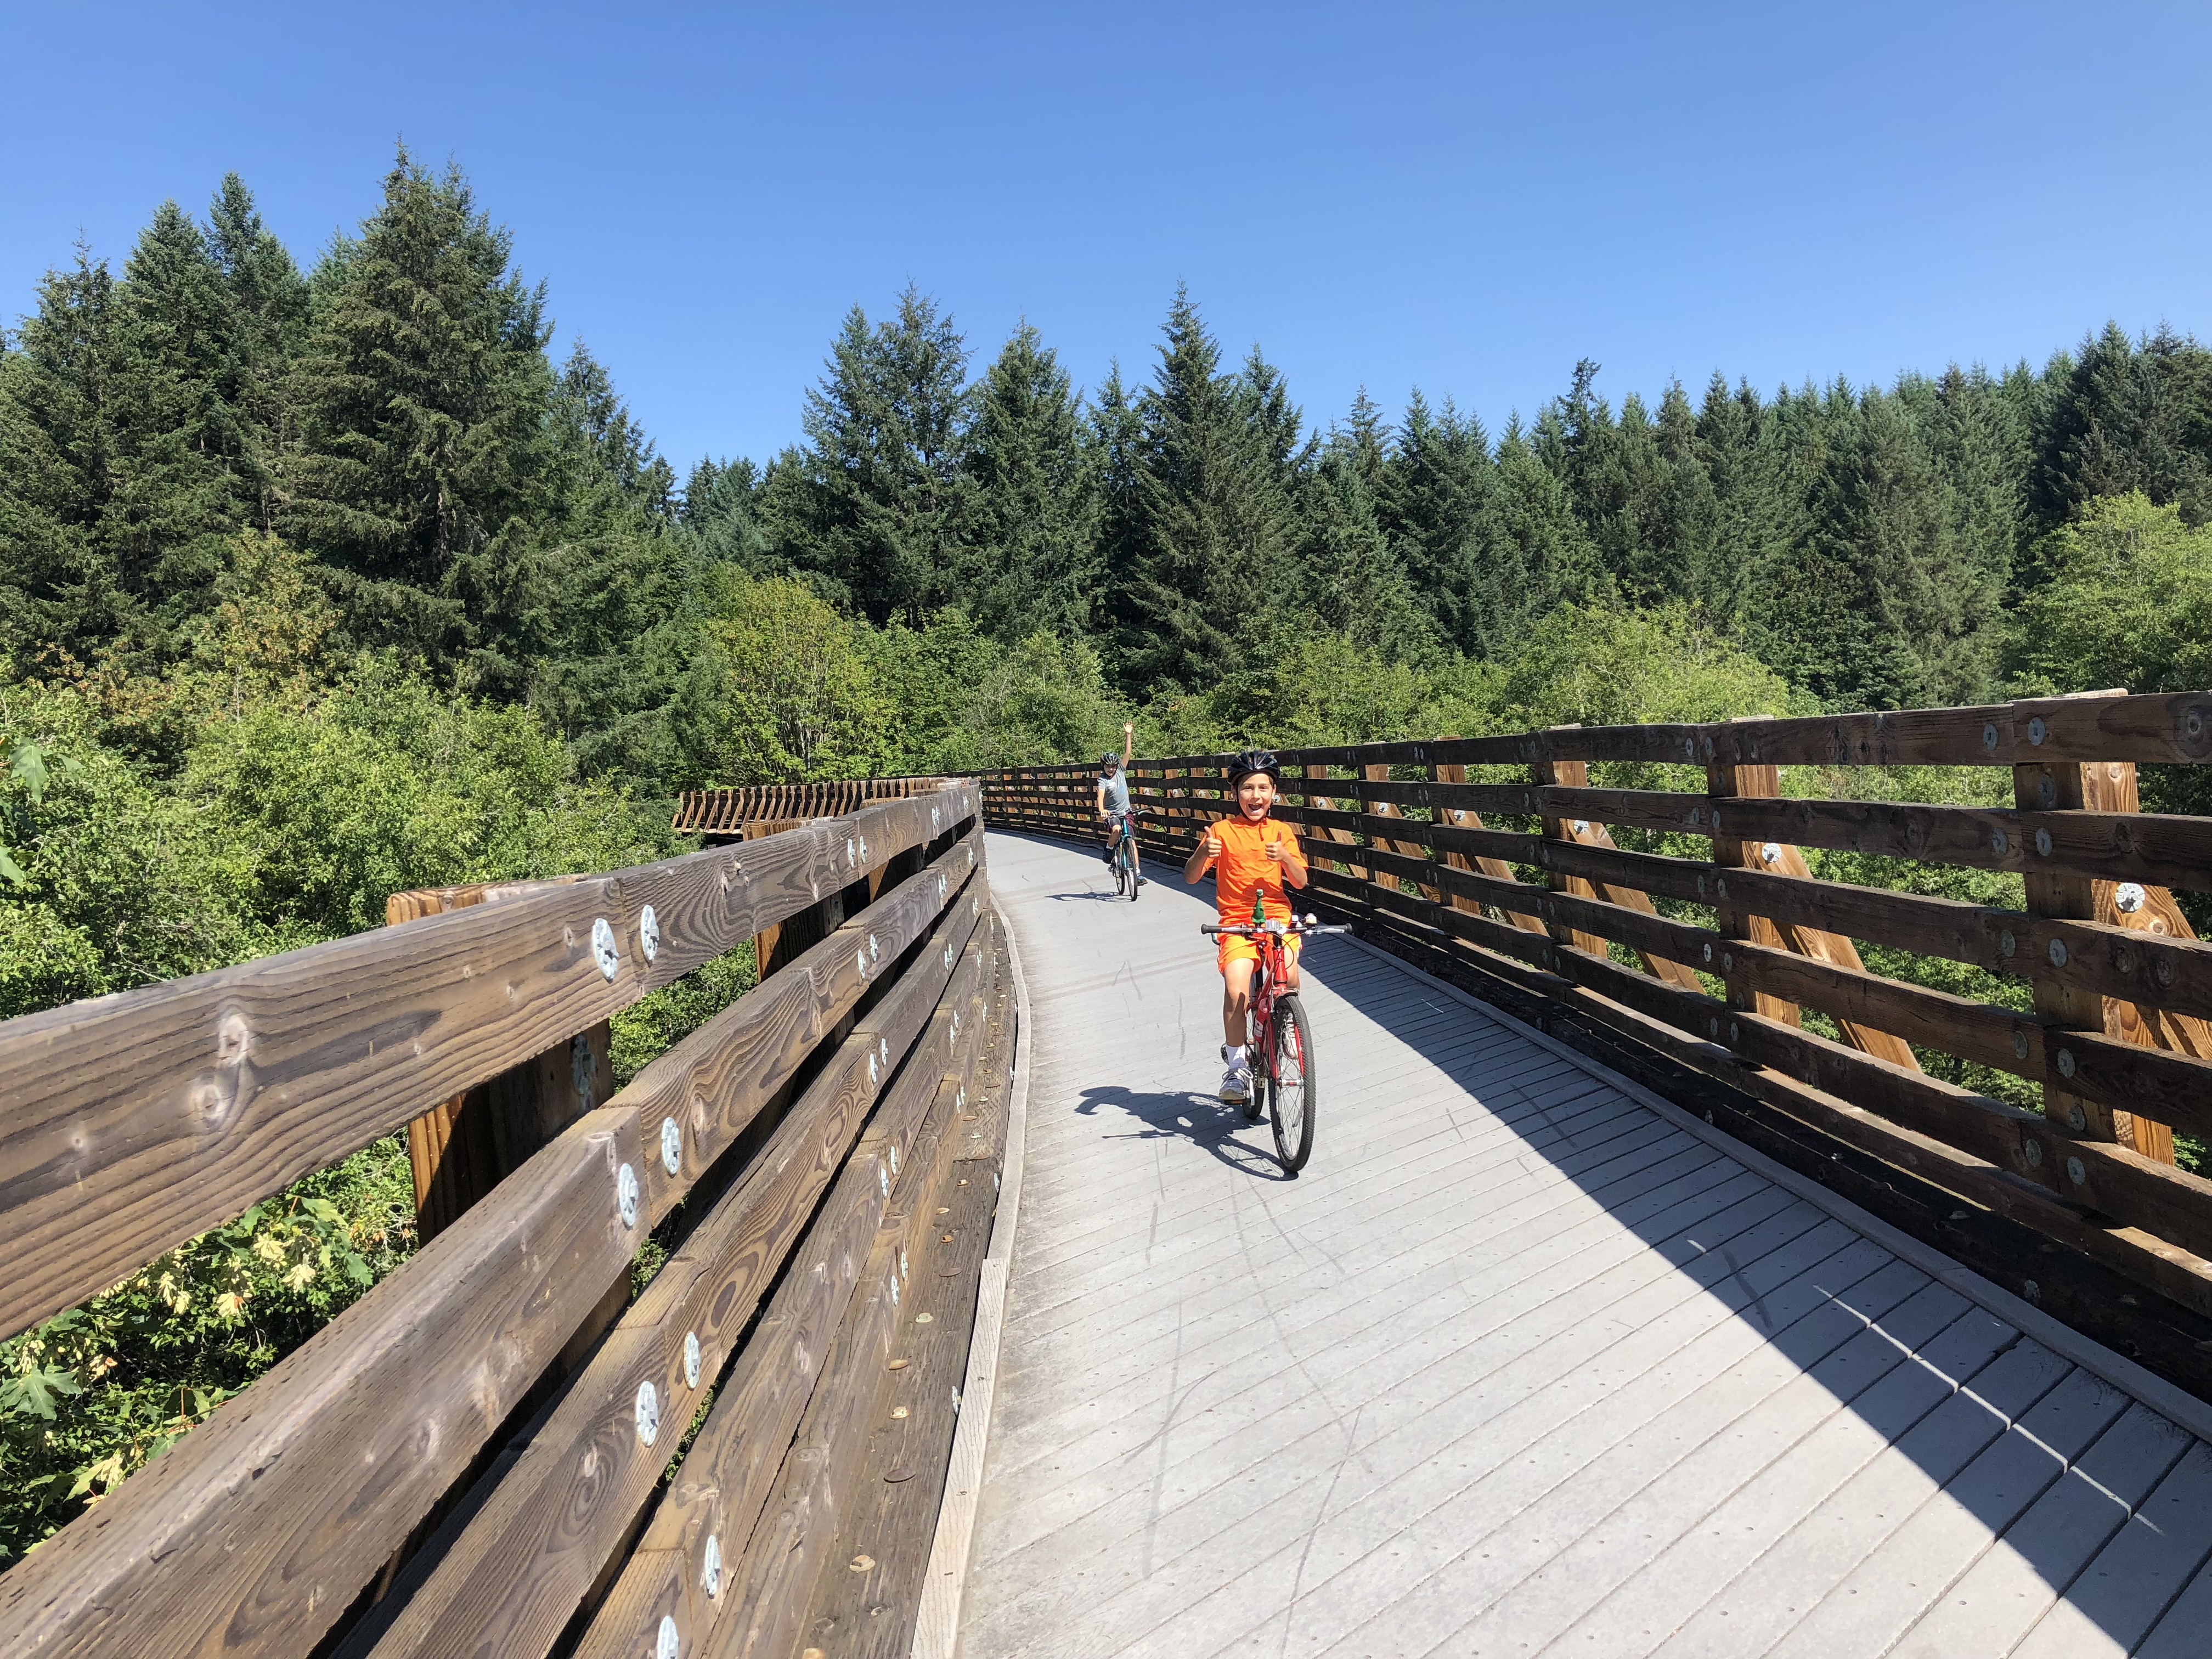
The Banks-Vernonia State Trail is AMAZING! We took the trail for 10 miles, but it continues another 10 after we got off. It starts out flat and forested (we even saw a couple bunnies on our way back!) and opens up to flat and farmlandish (we saw a hawk intently circling prey in a wheat field). There are several small wooden bridges with slight bumps to get on and off — all marked with orange spray paint, as are any other bumps in the road. Halfway into our ride the trail started climbing, but it’s a gentle “railroad grade” so the kids didn’t mind. And I was happy knowing we’d have a downhill ride back the next morning. We mostly saw people on bikes, but there were also some runners. One of the parking lots along the way was for people with horses and we saw evidence of horses having been on the trail, but no horses in the flesh.
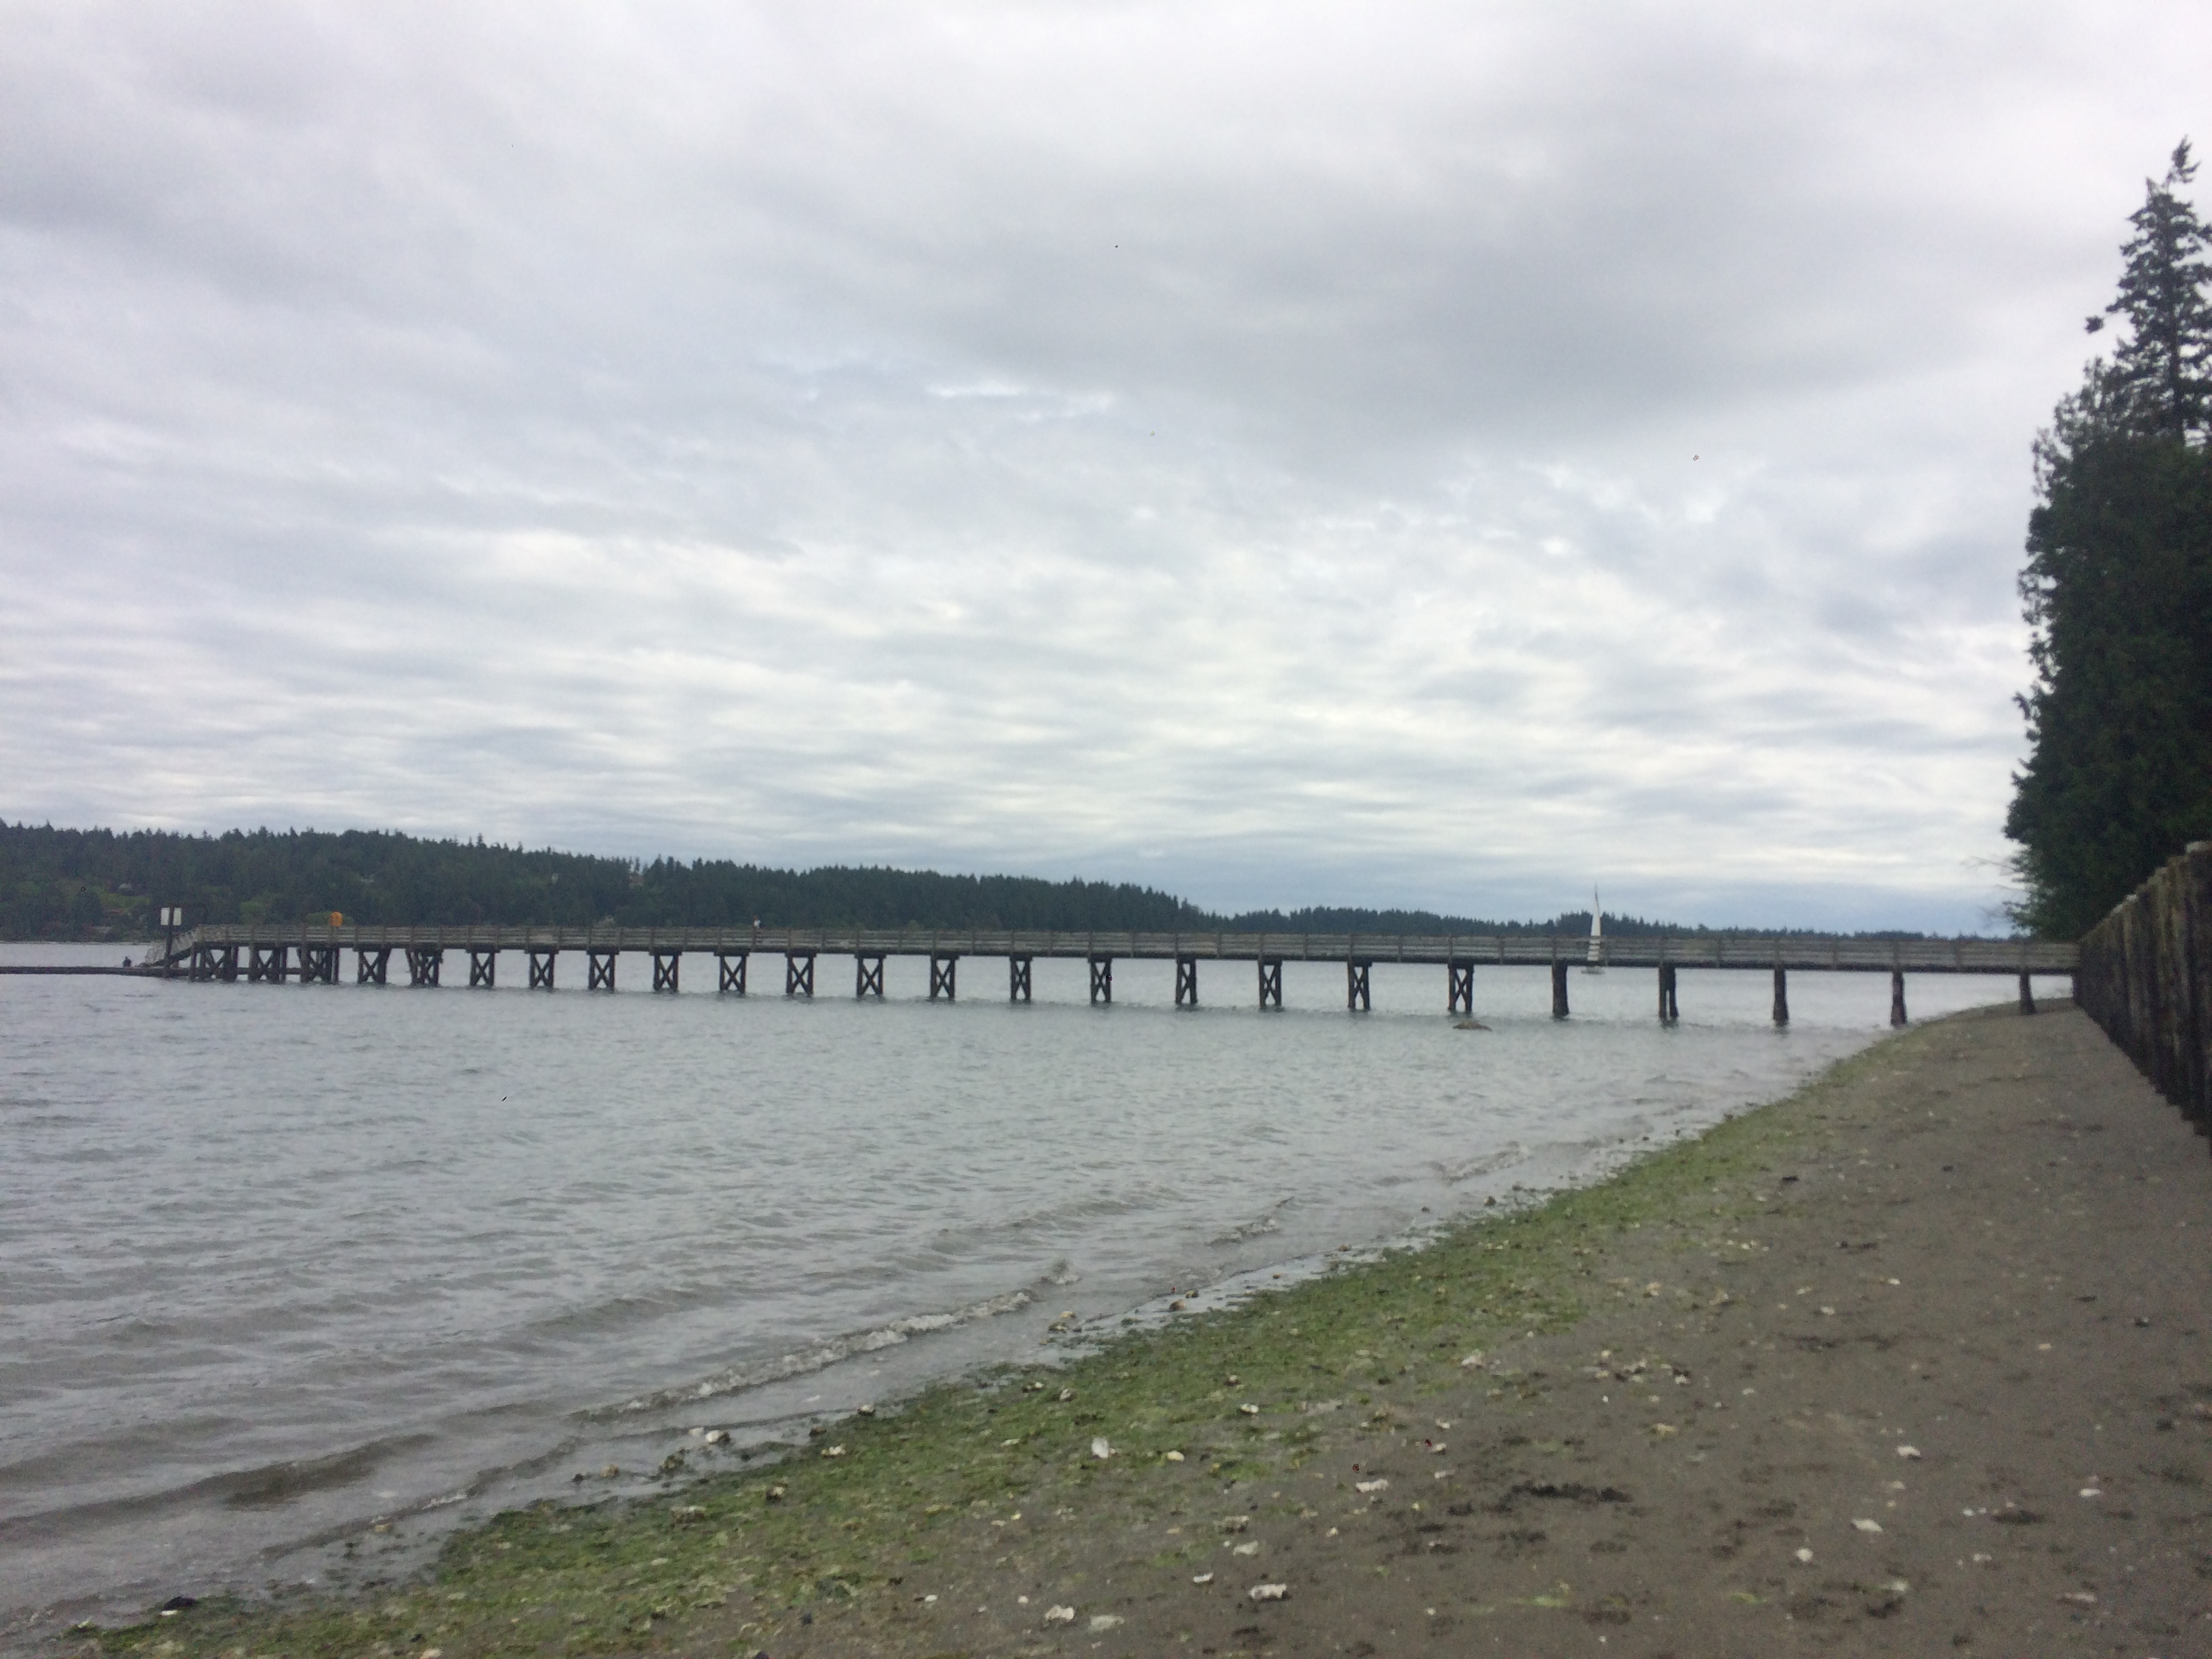
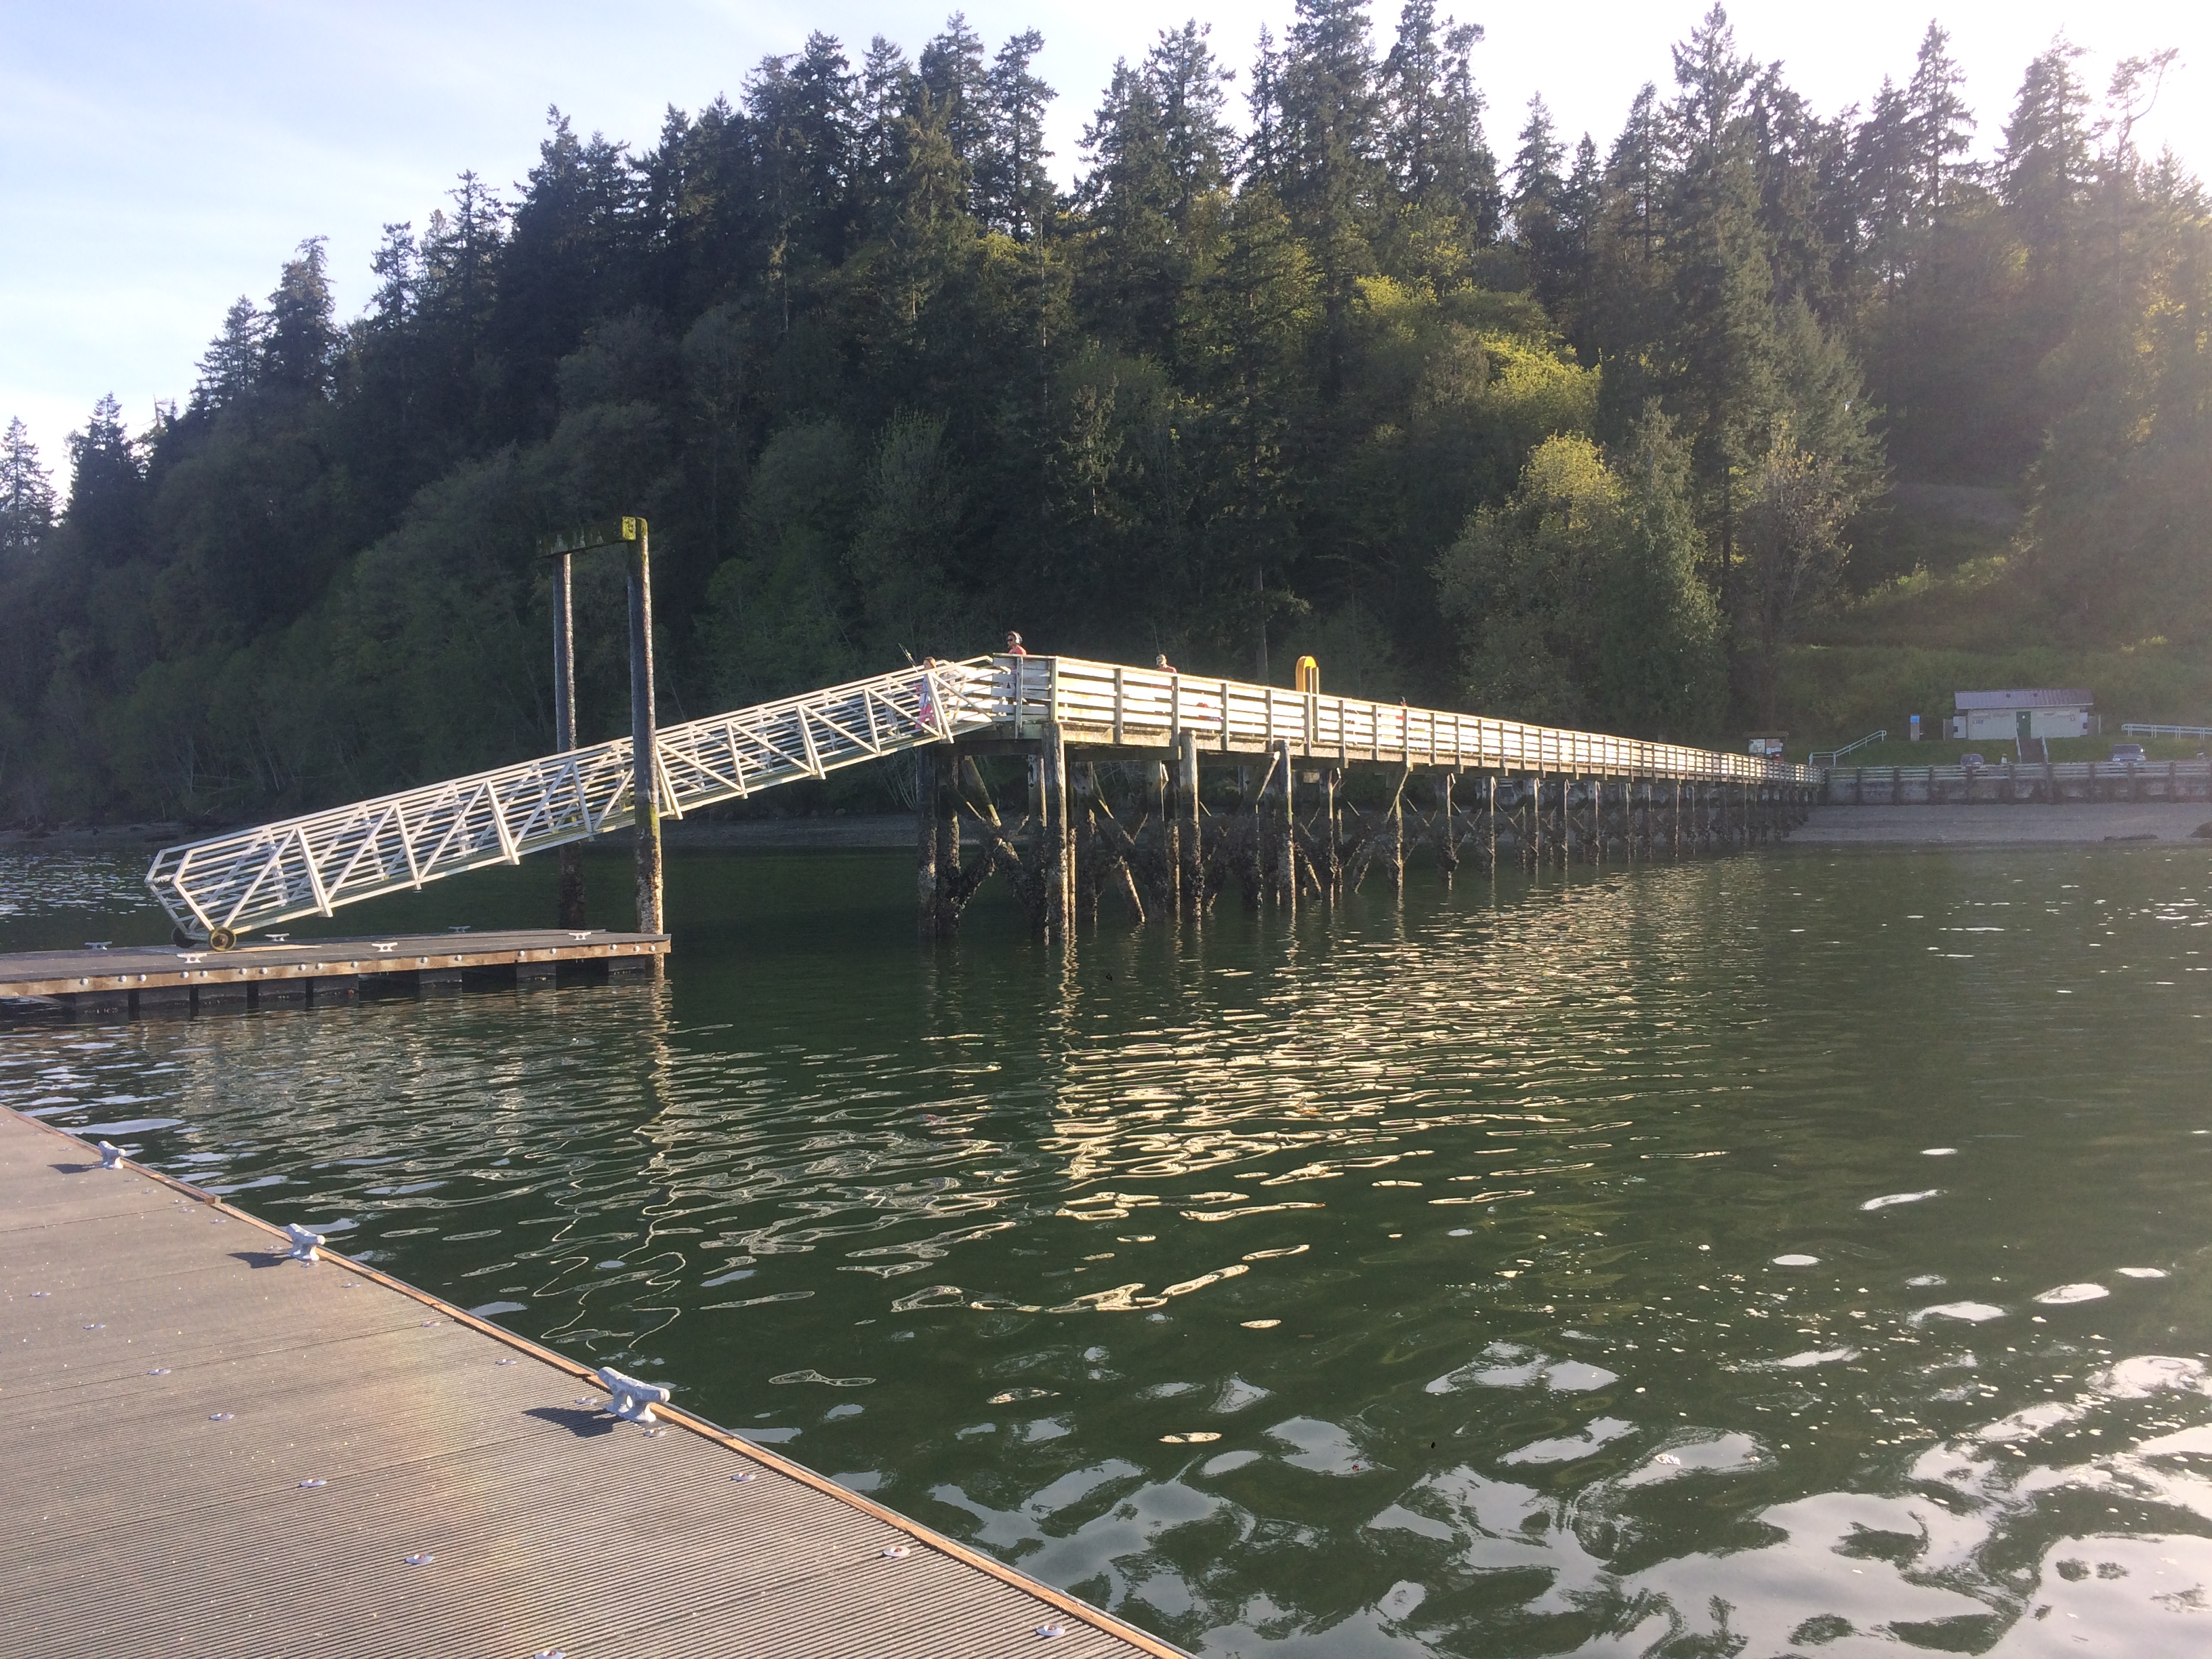
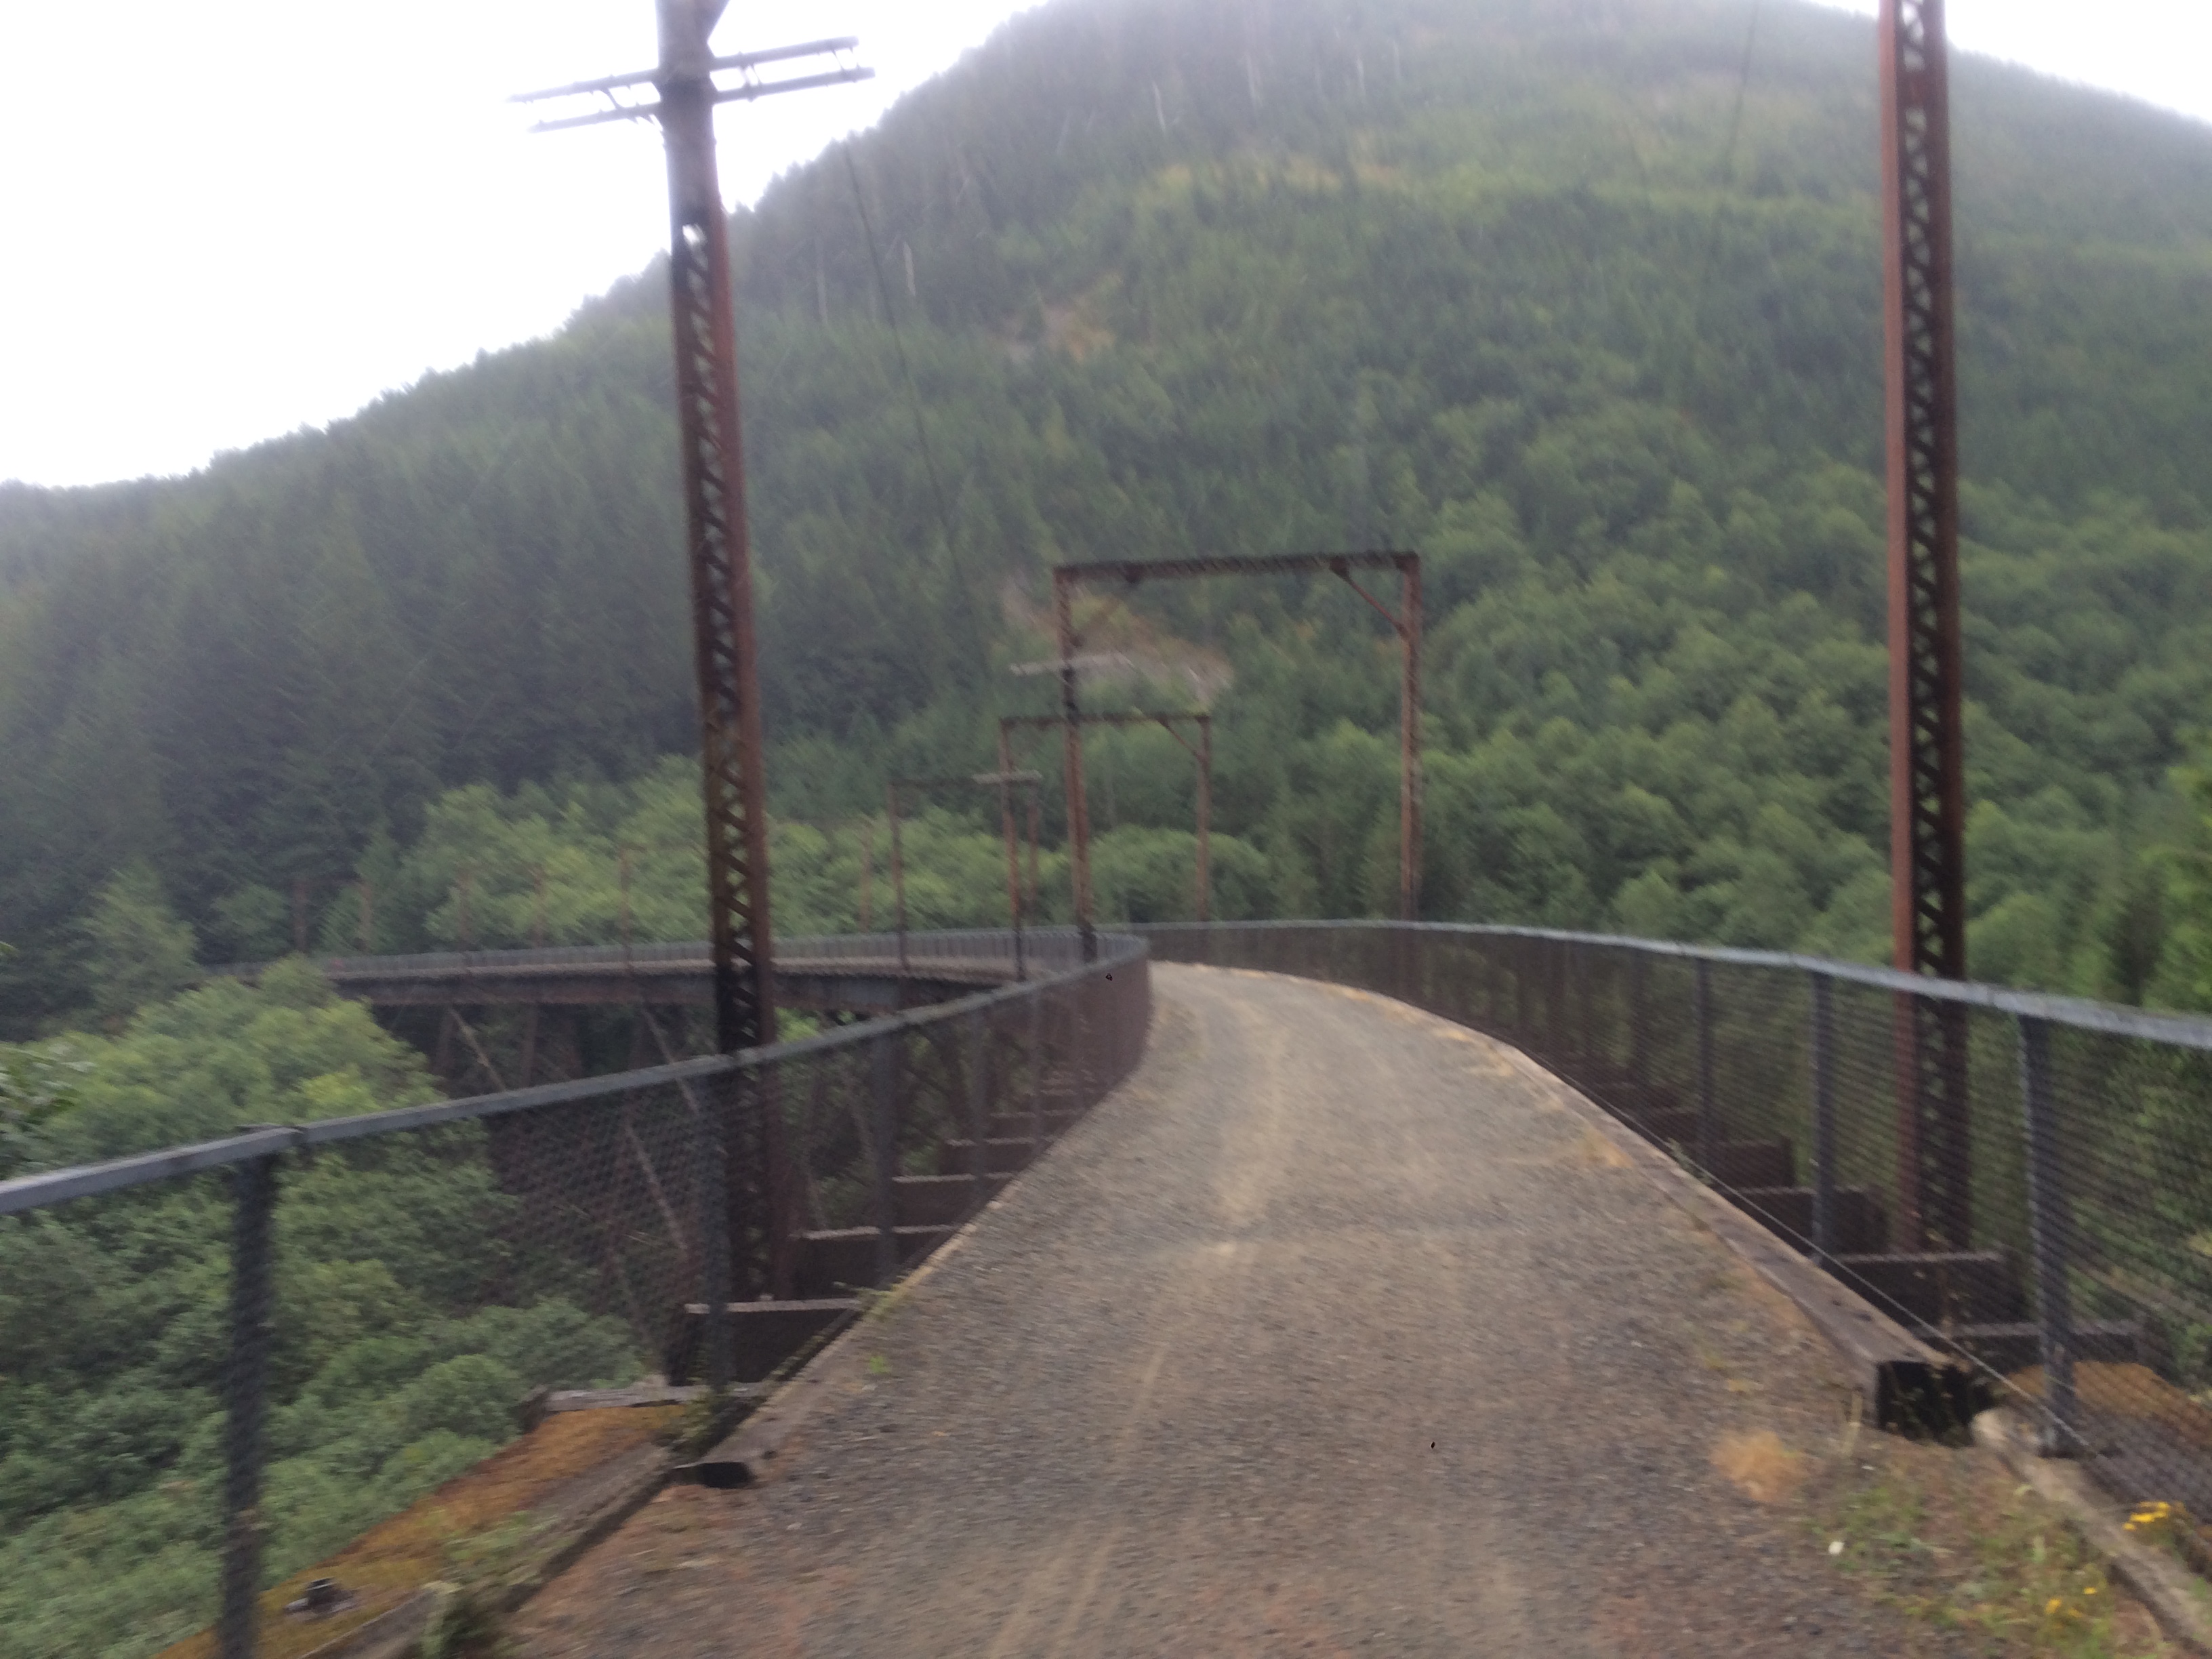
Our 10 miles had one big gorgeous wooden bridge, the Buxton Trestle. It reminded me a bit of the trestle bridges along the John Wayne Pioneer Trail out of Seattle.
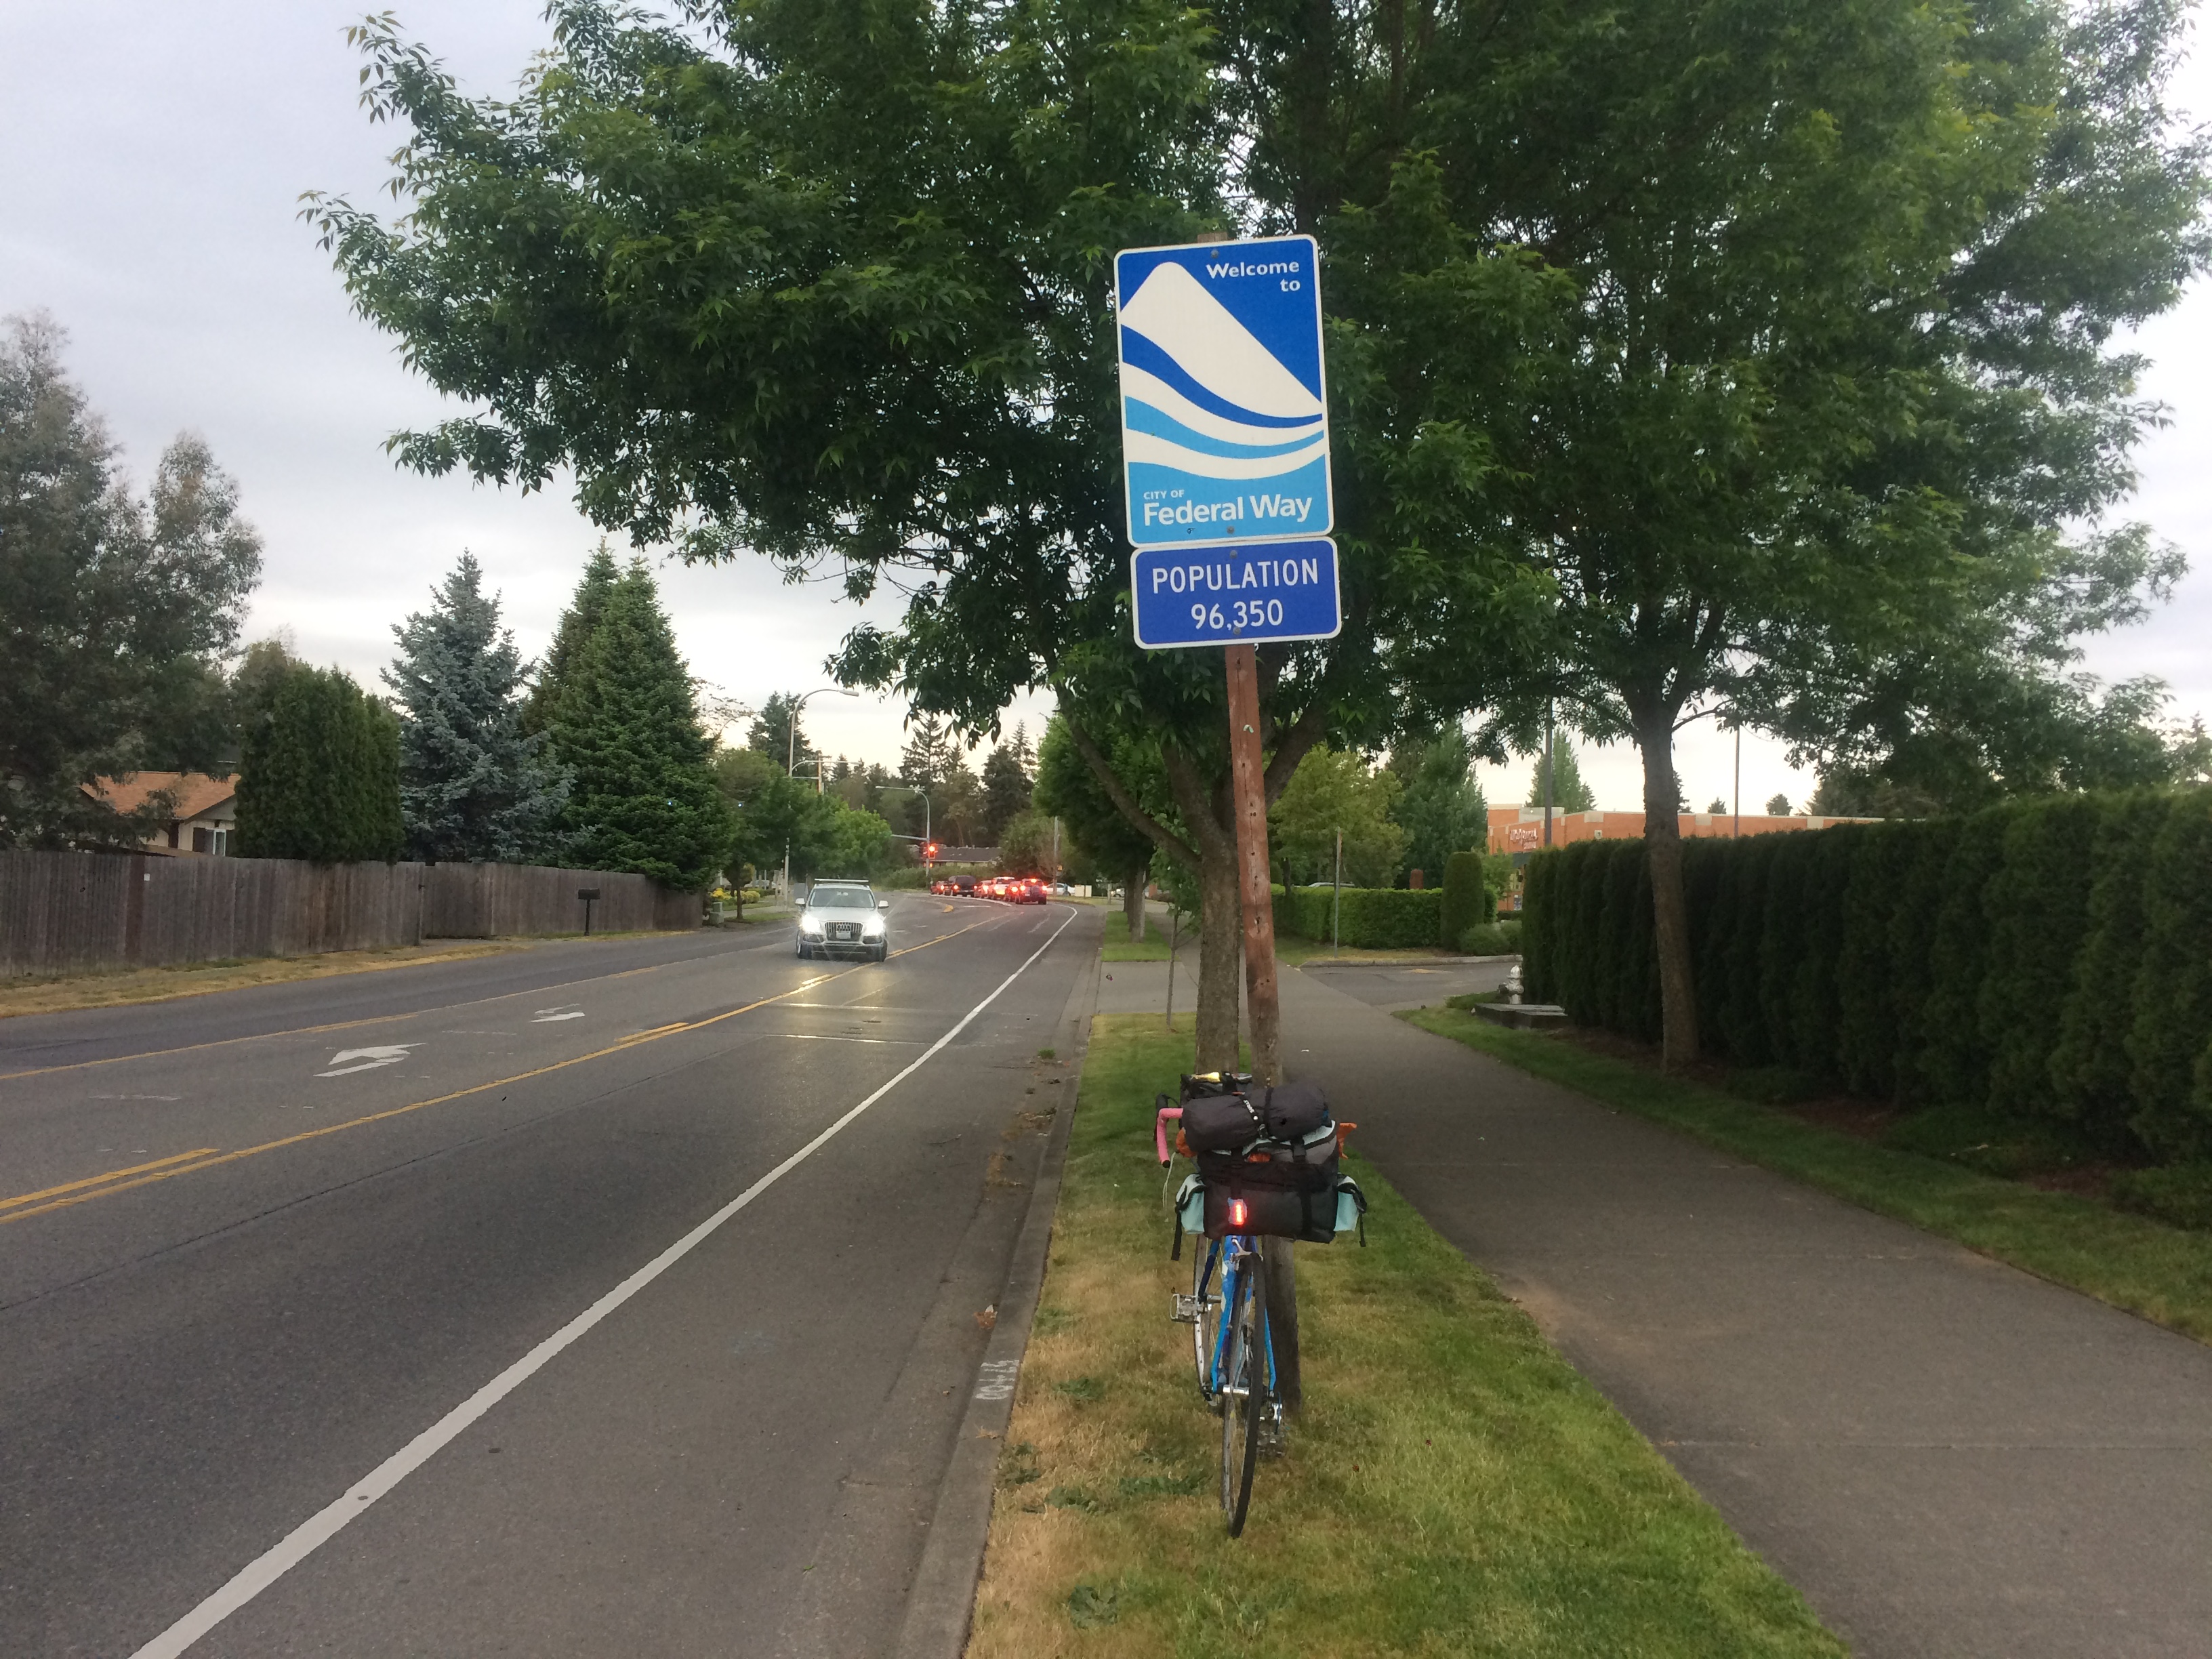
Stub Stewart State Park
A sign soon alerted us we had entered the park, even sooner than we expected to! But we still had a bit of a ride before the turn-off to camping.

We also biked by a sign pointing towards mountain biking. That might be fun to incorporate into a multi-day visit, assuming there’s some beginner stuff.
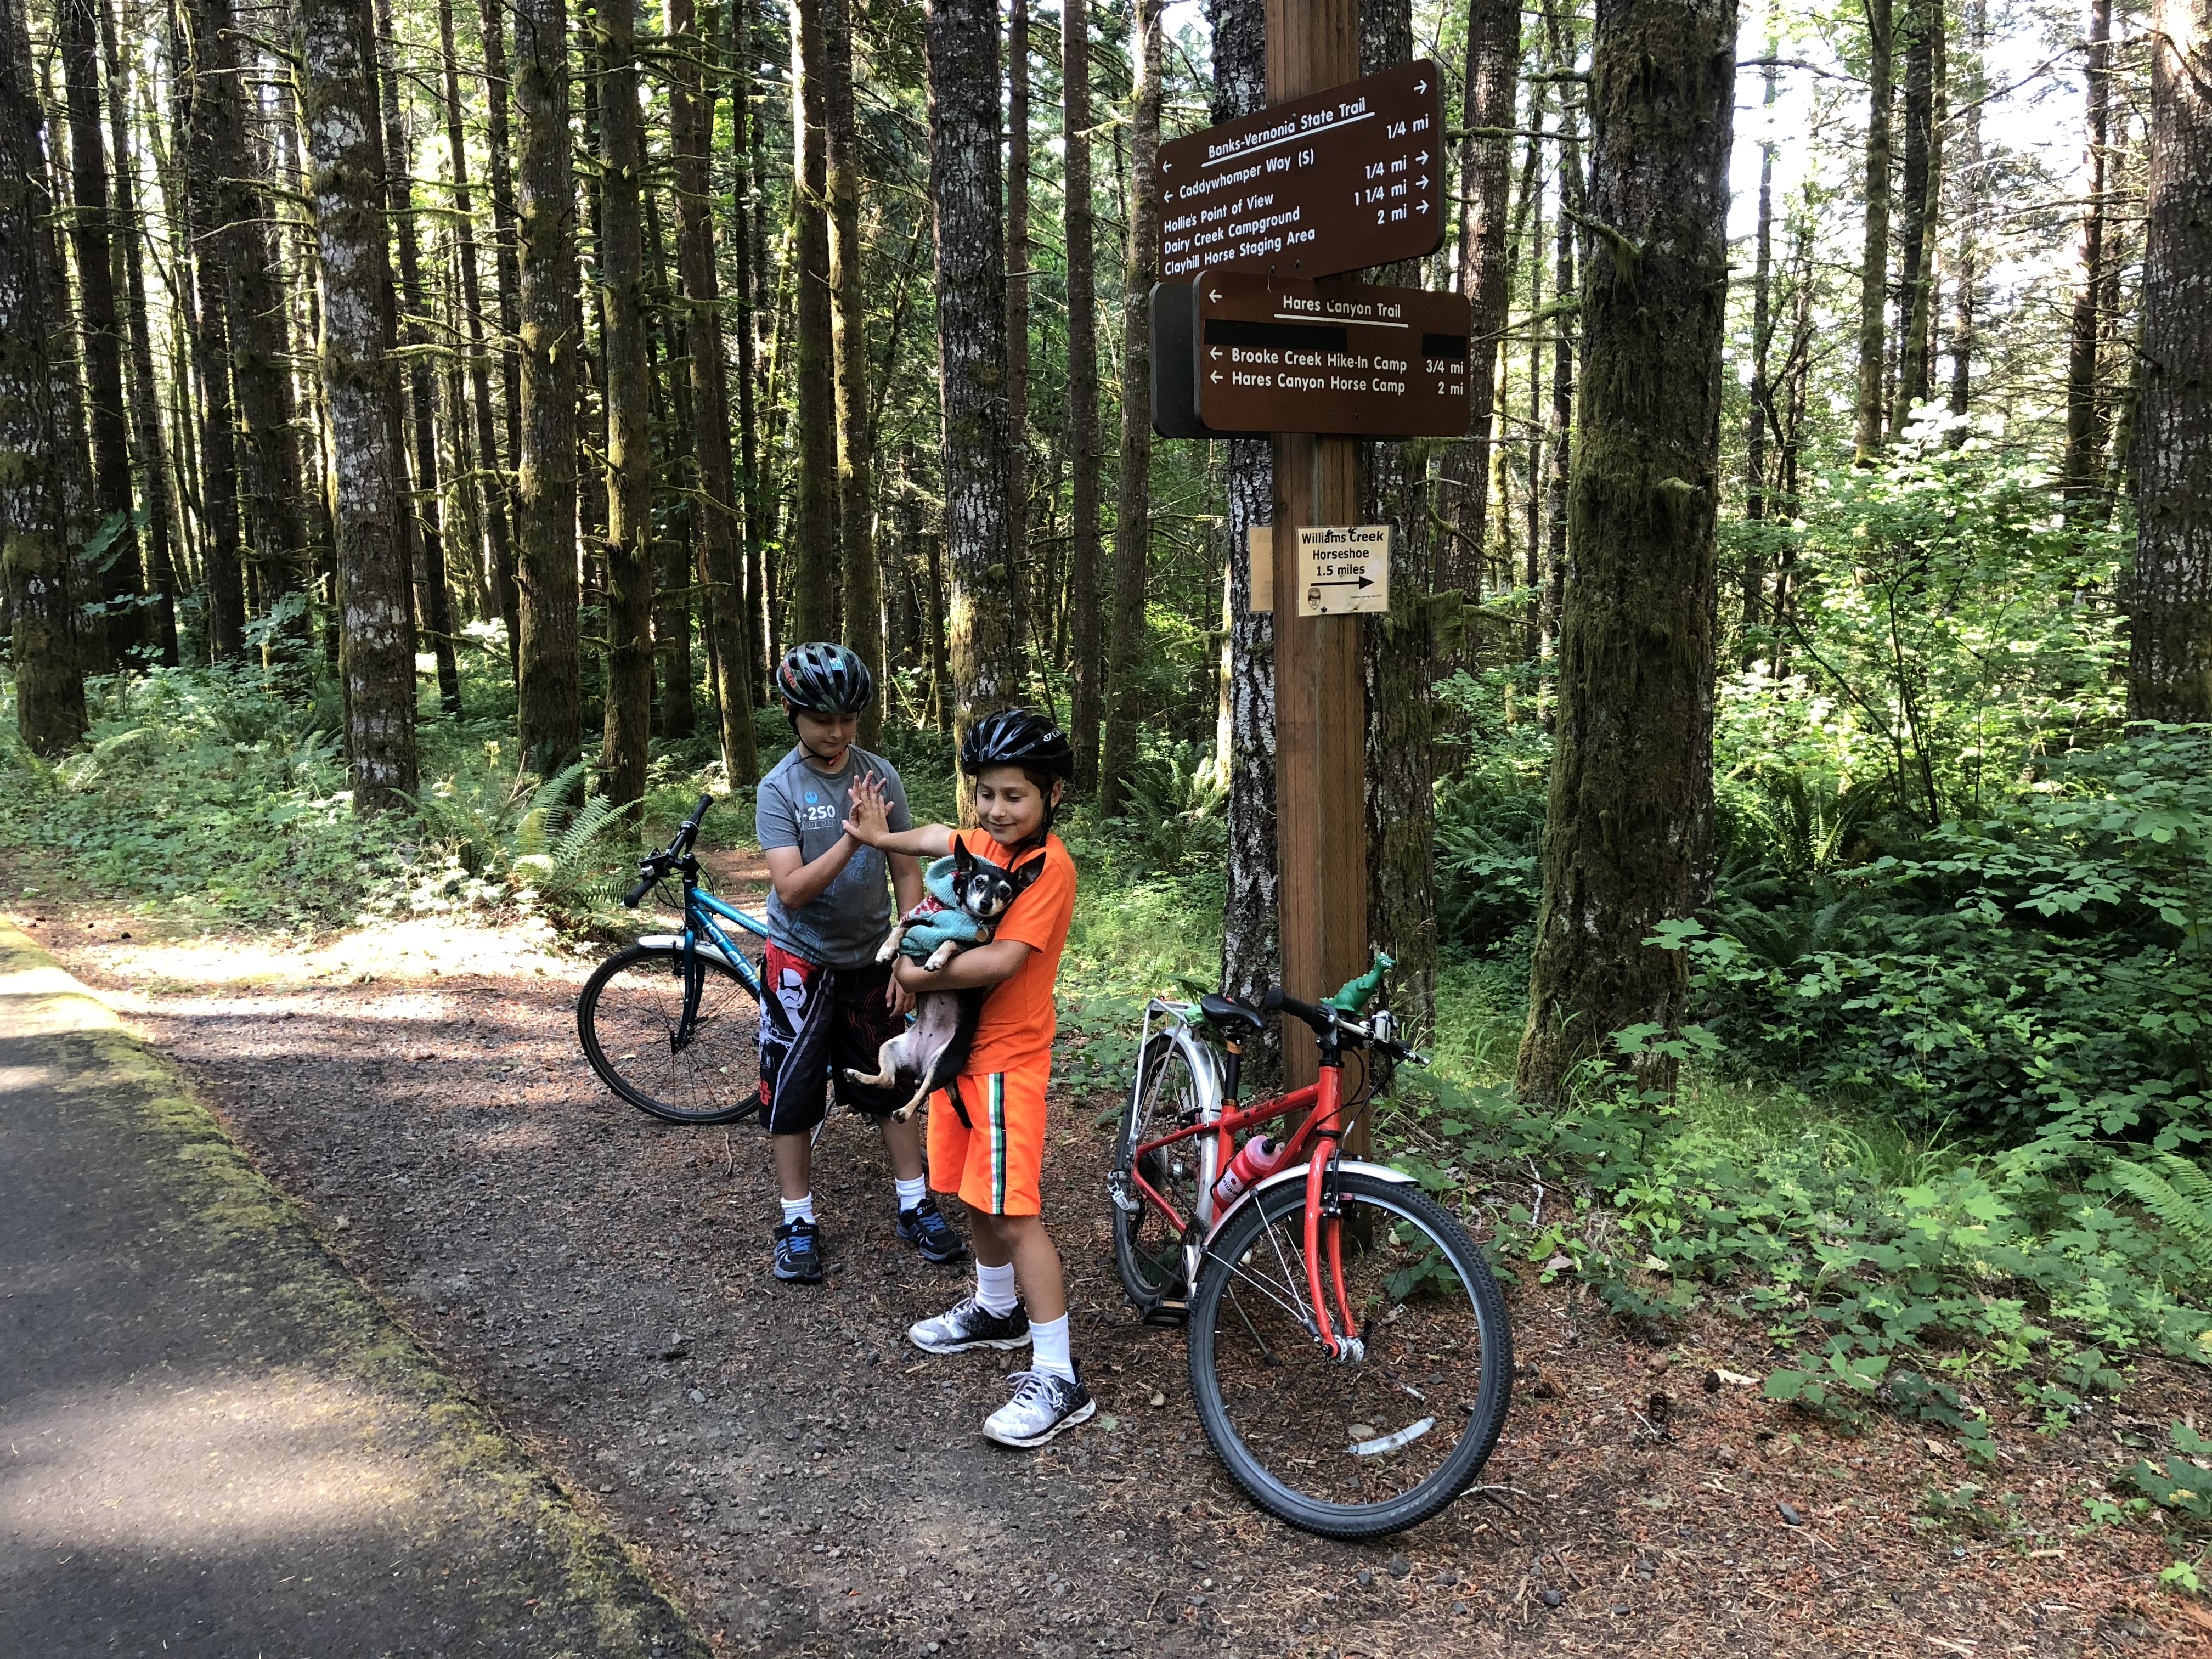
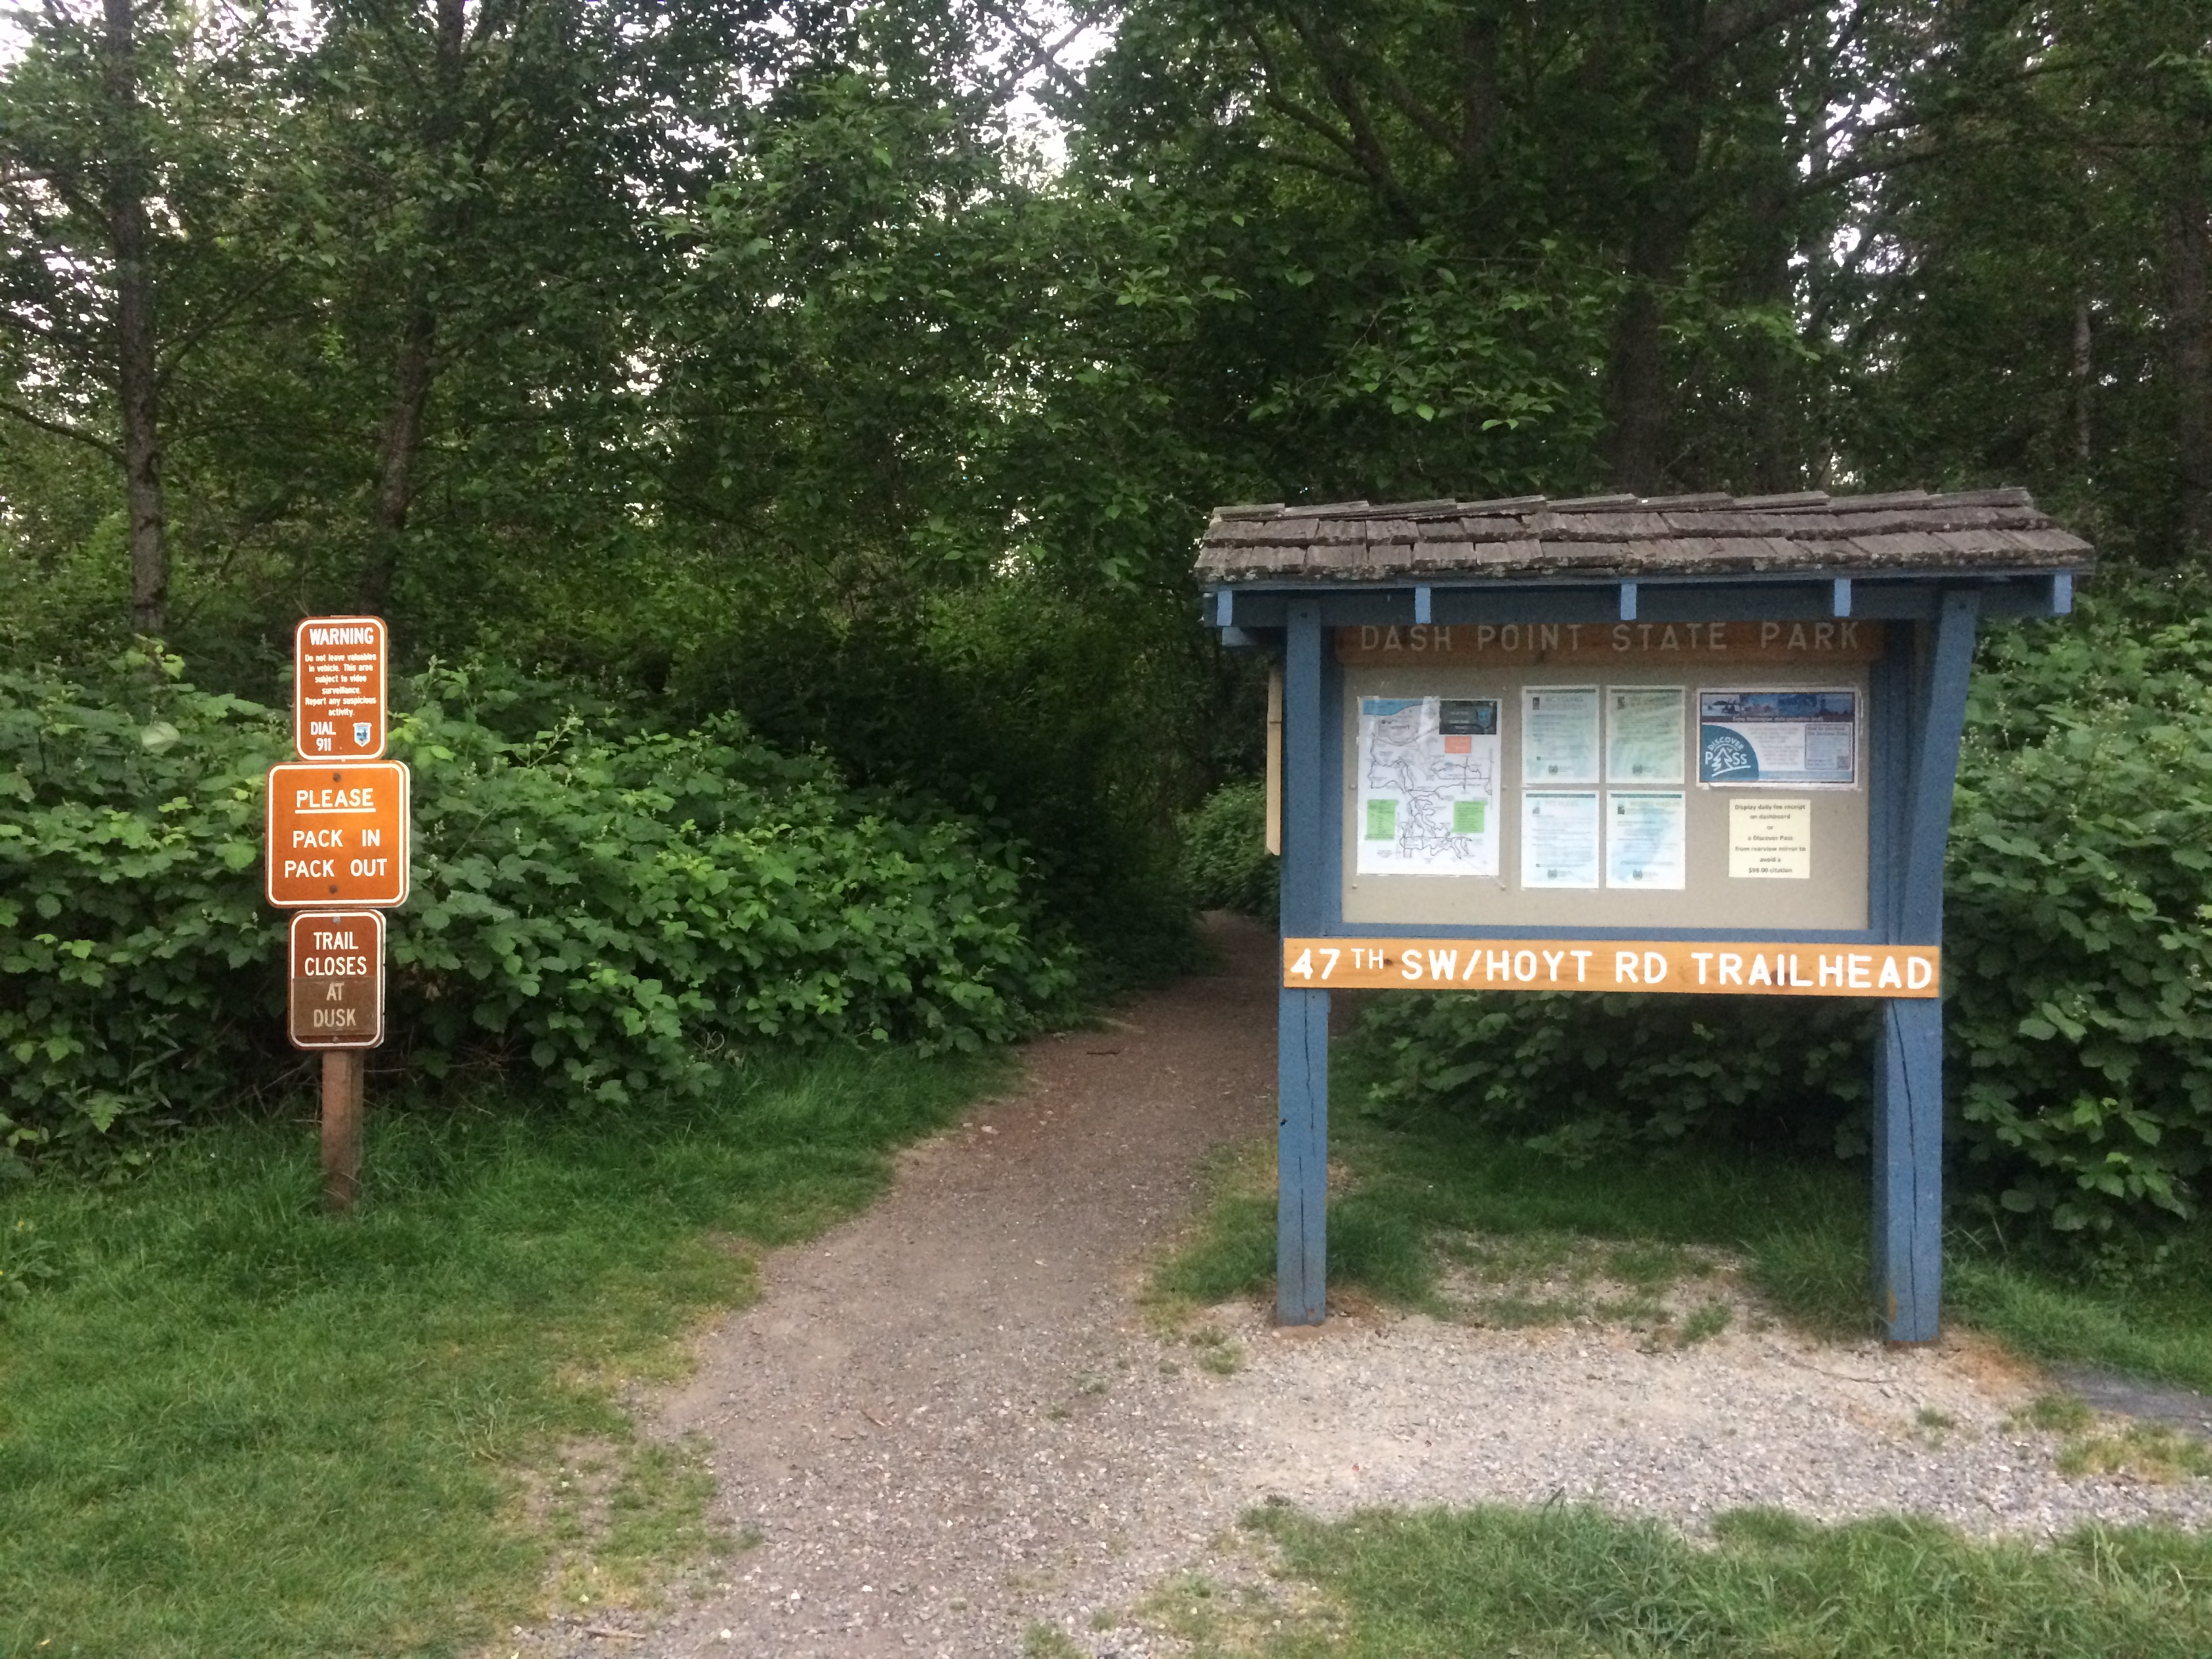
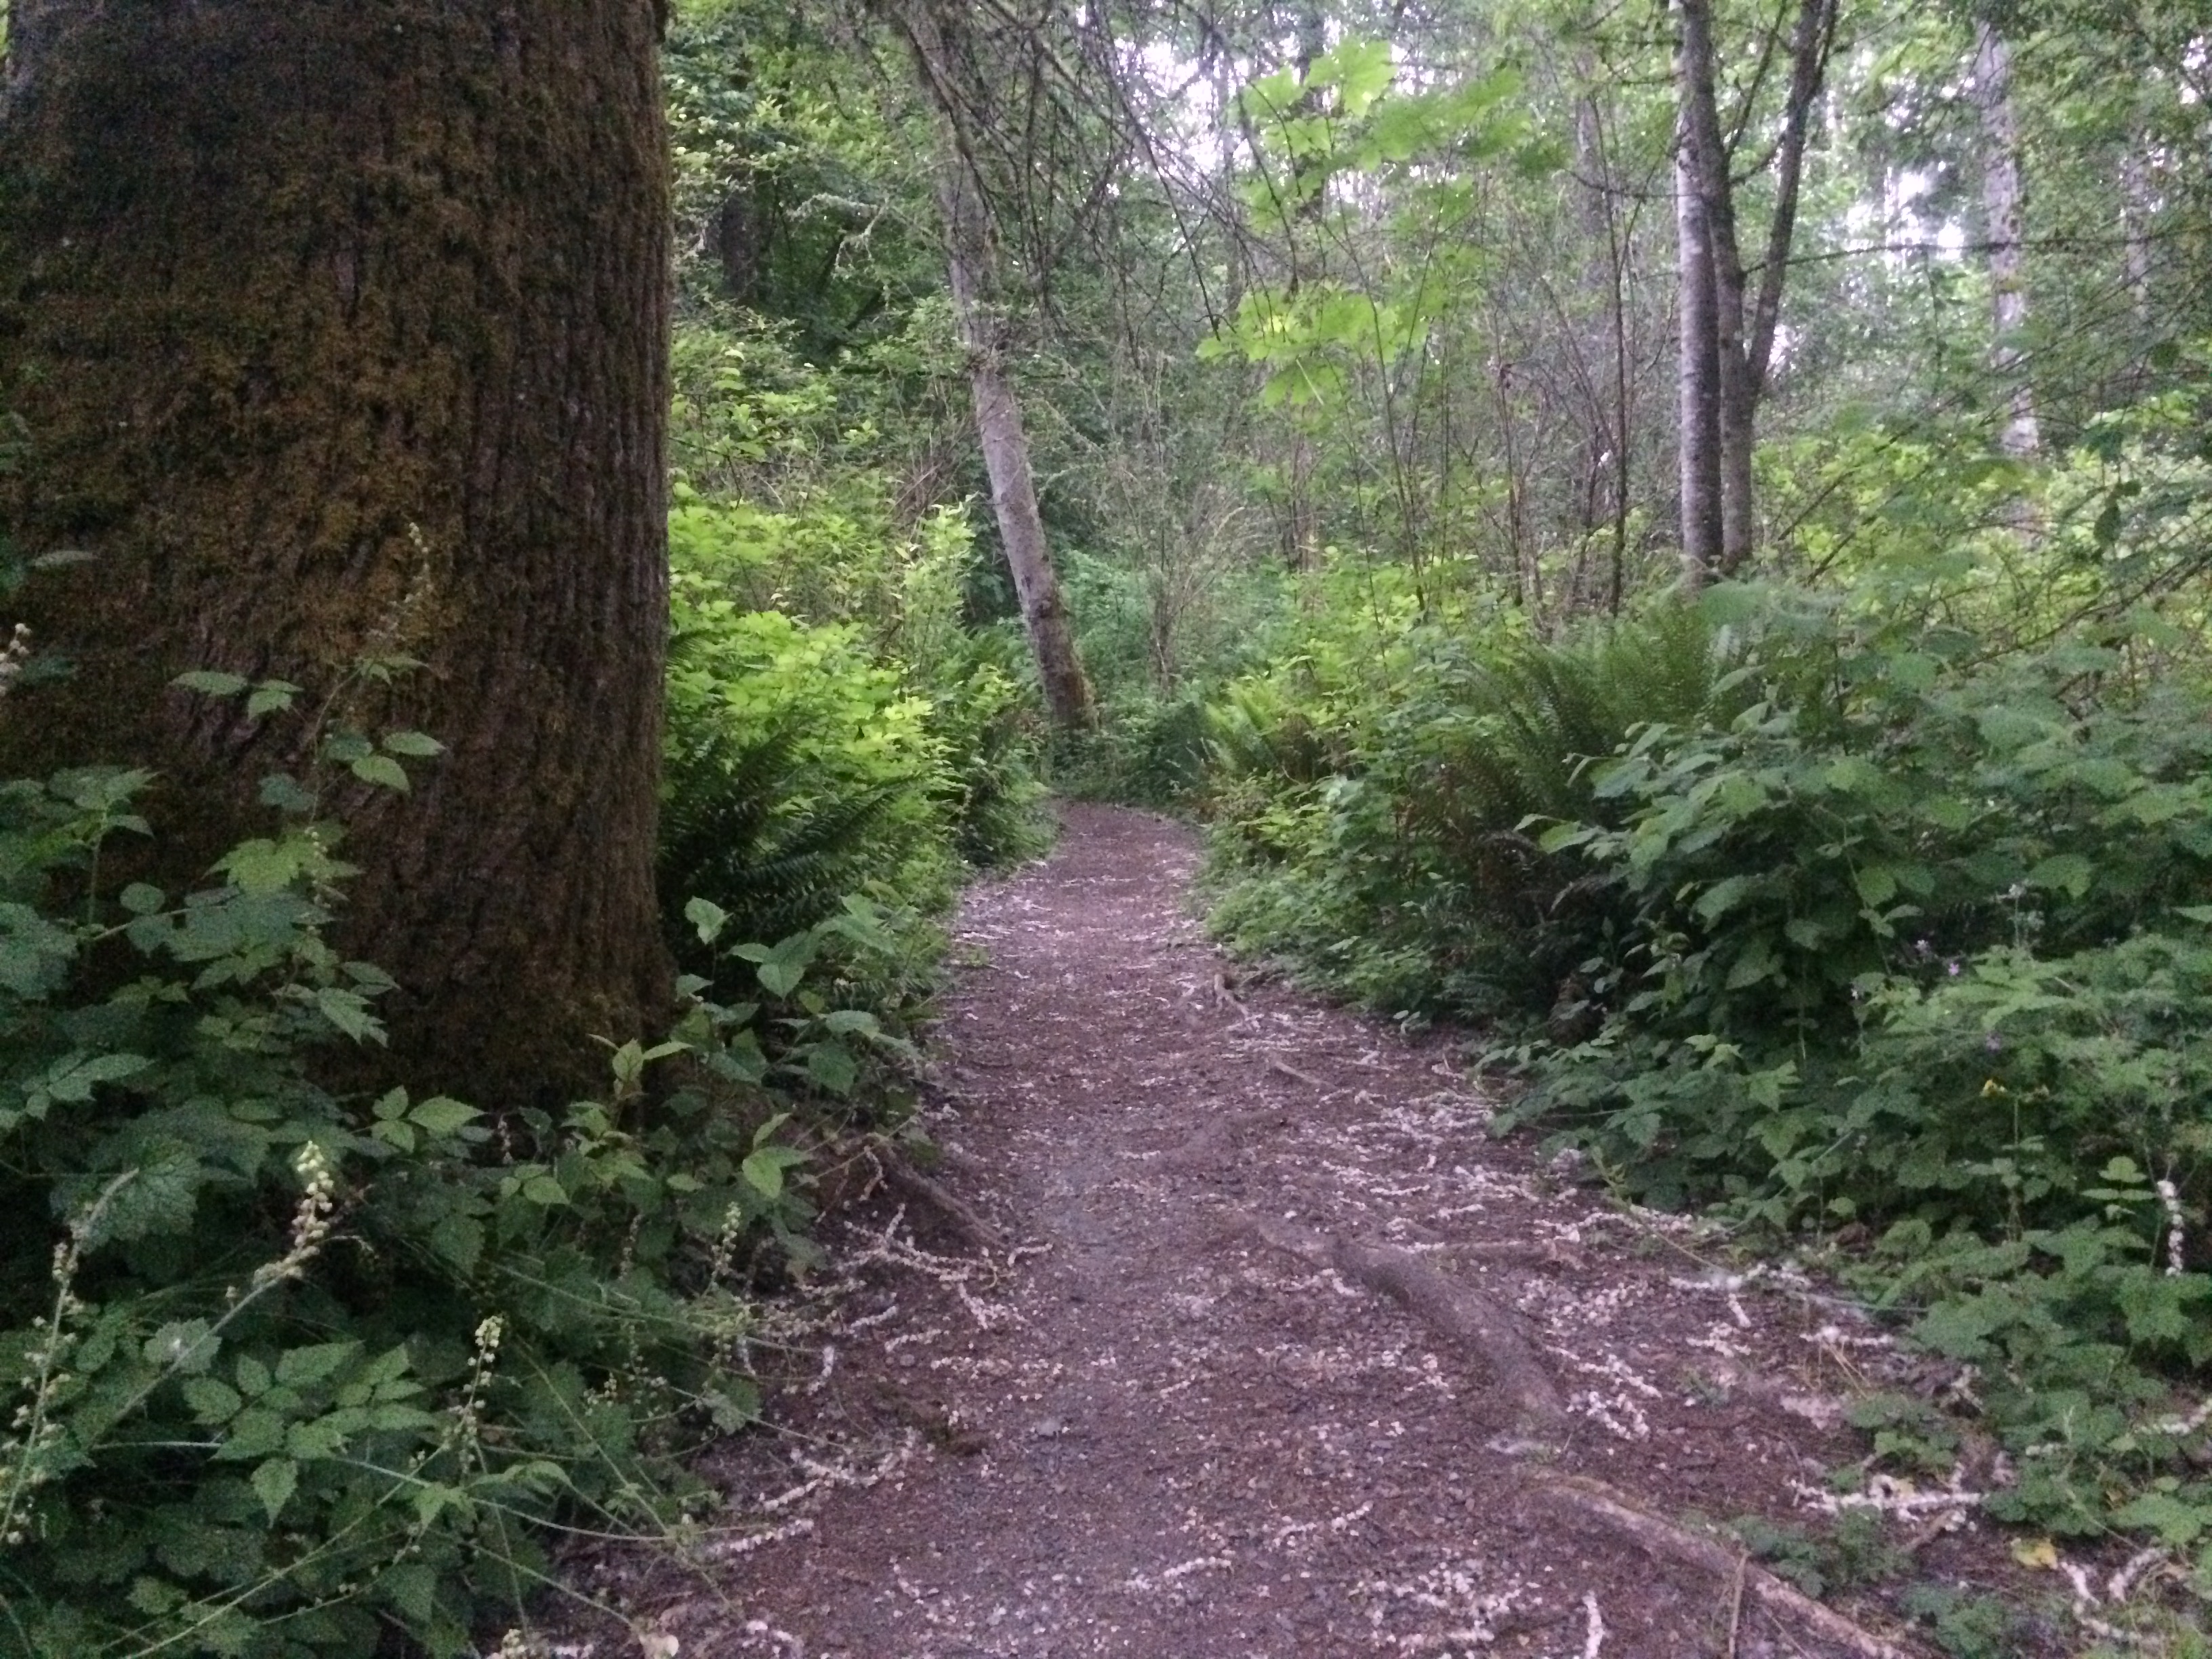
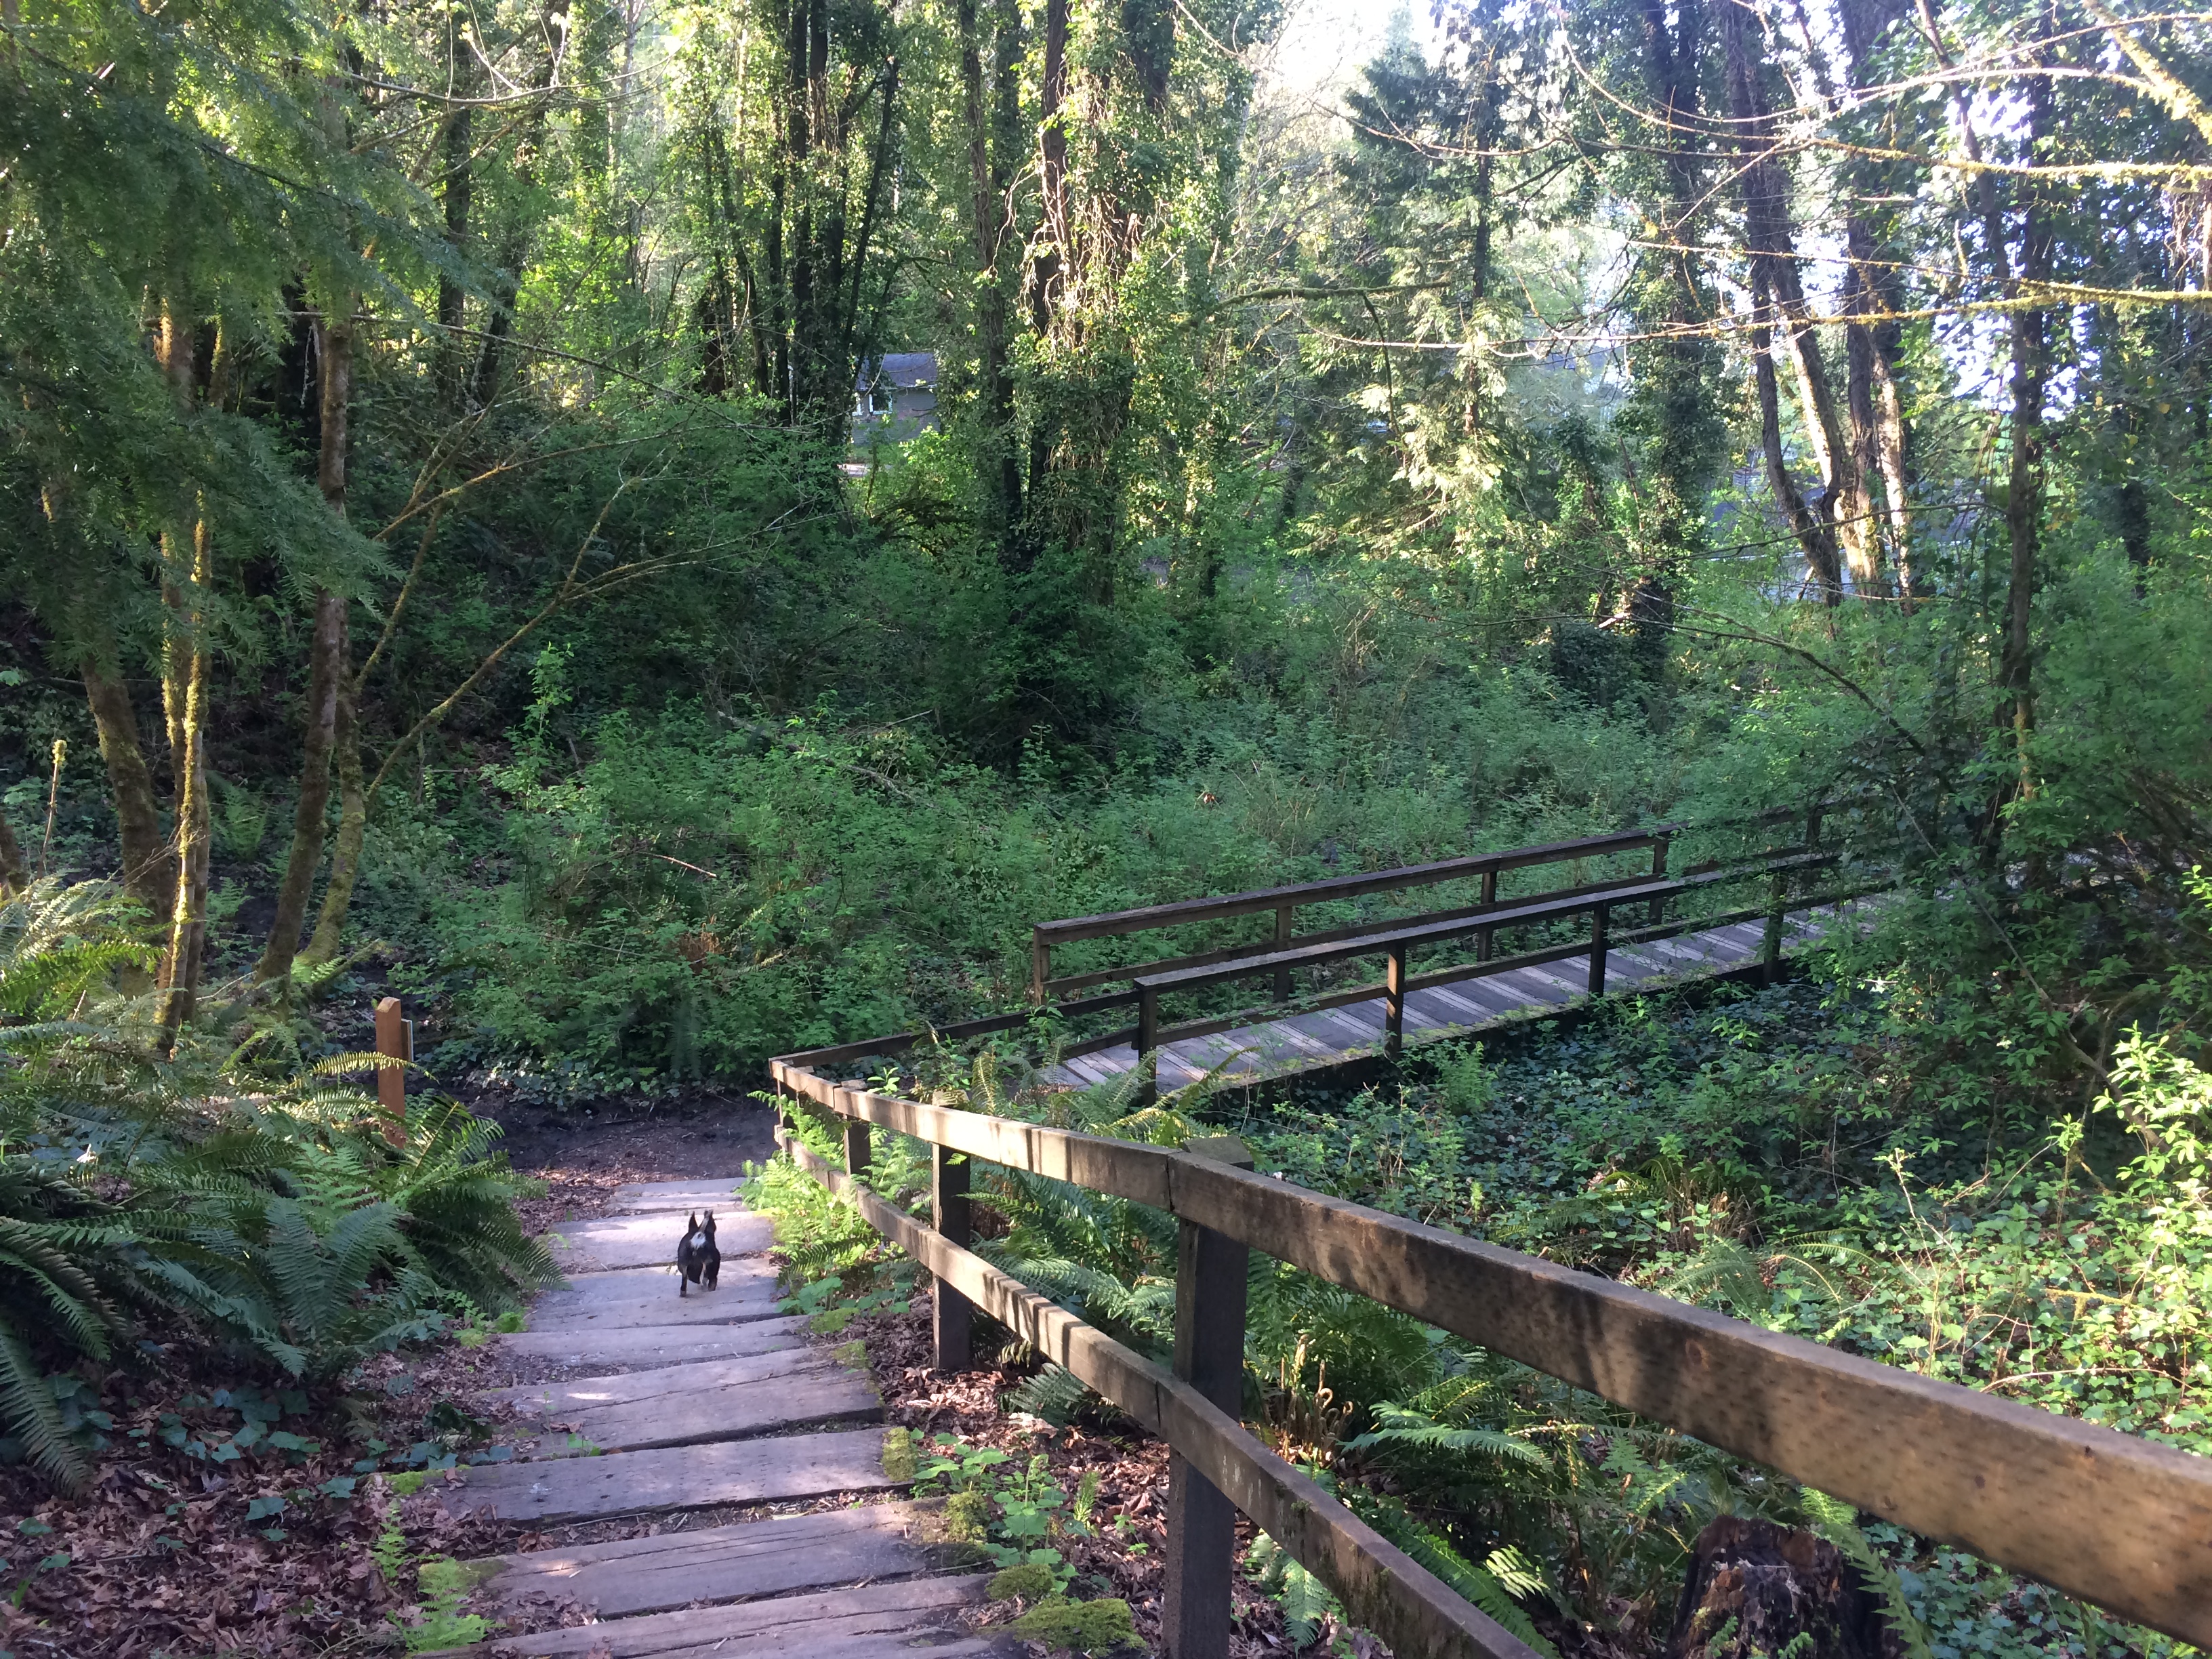
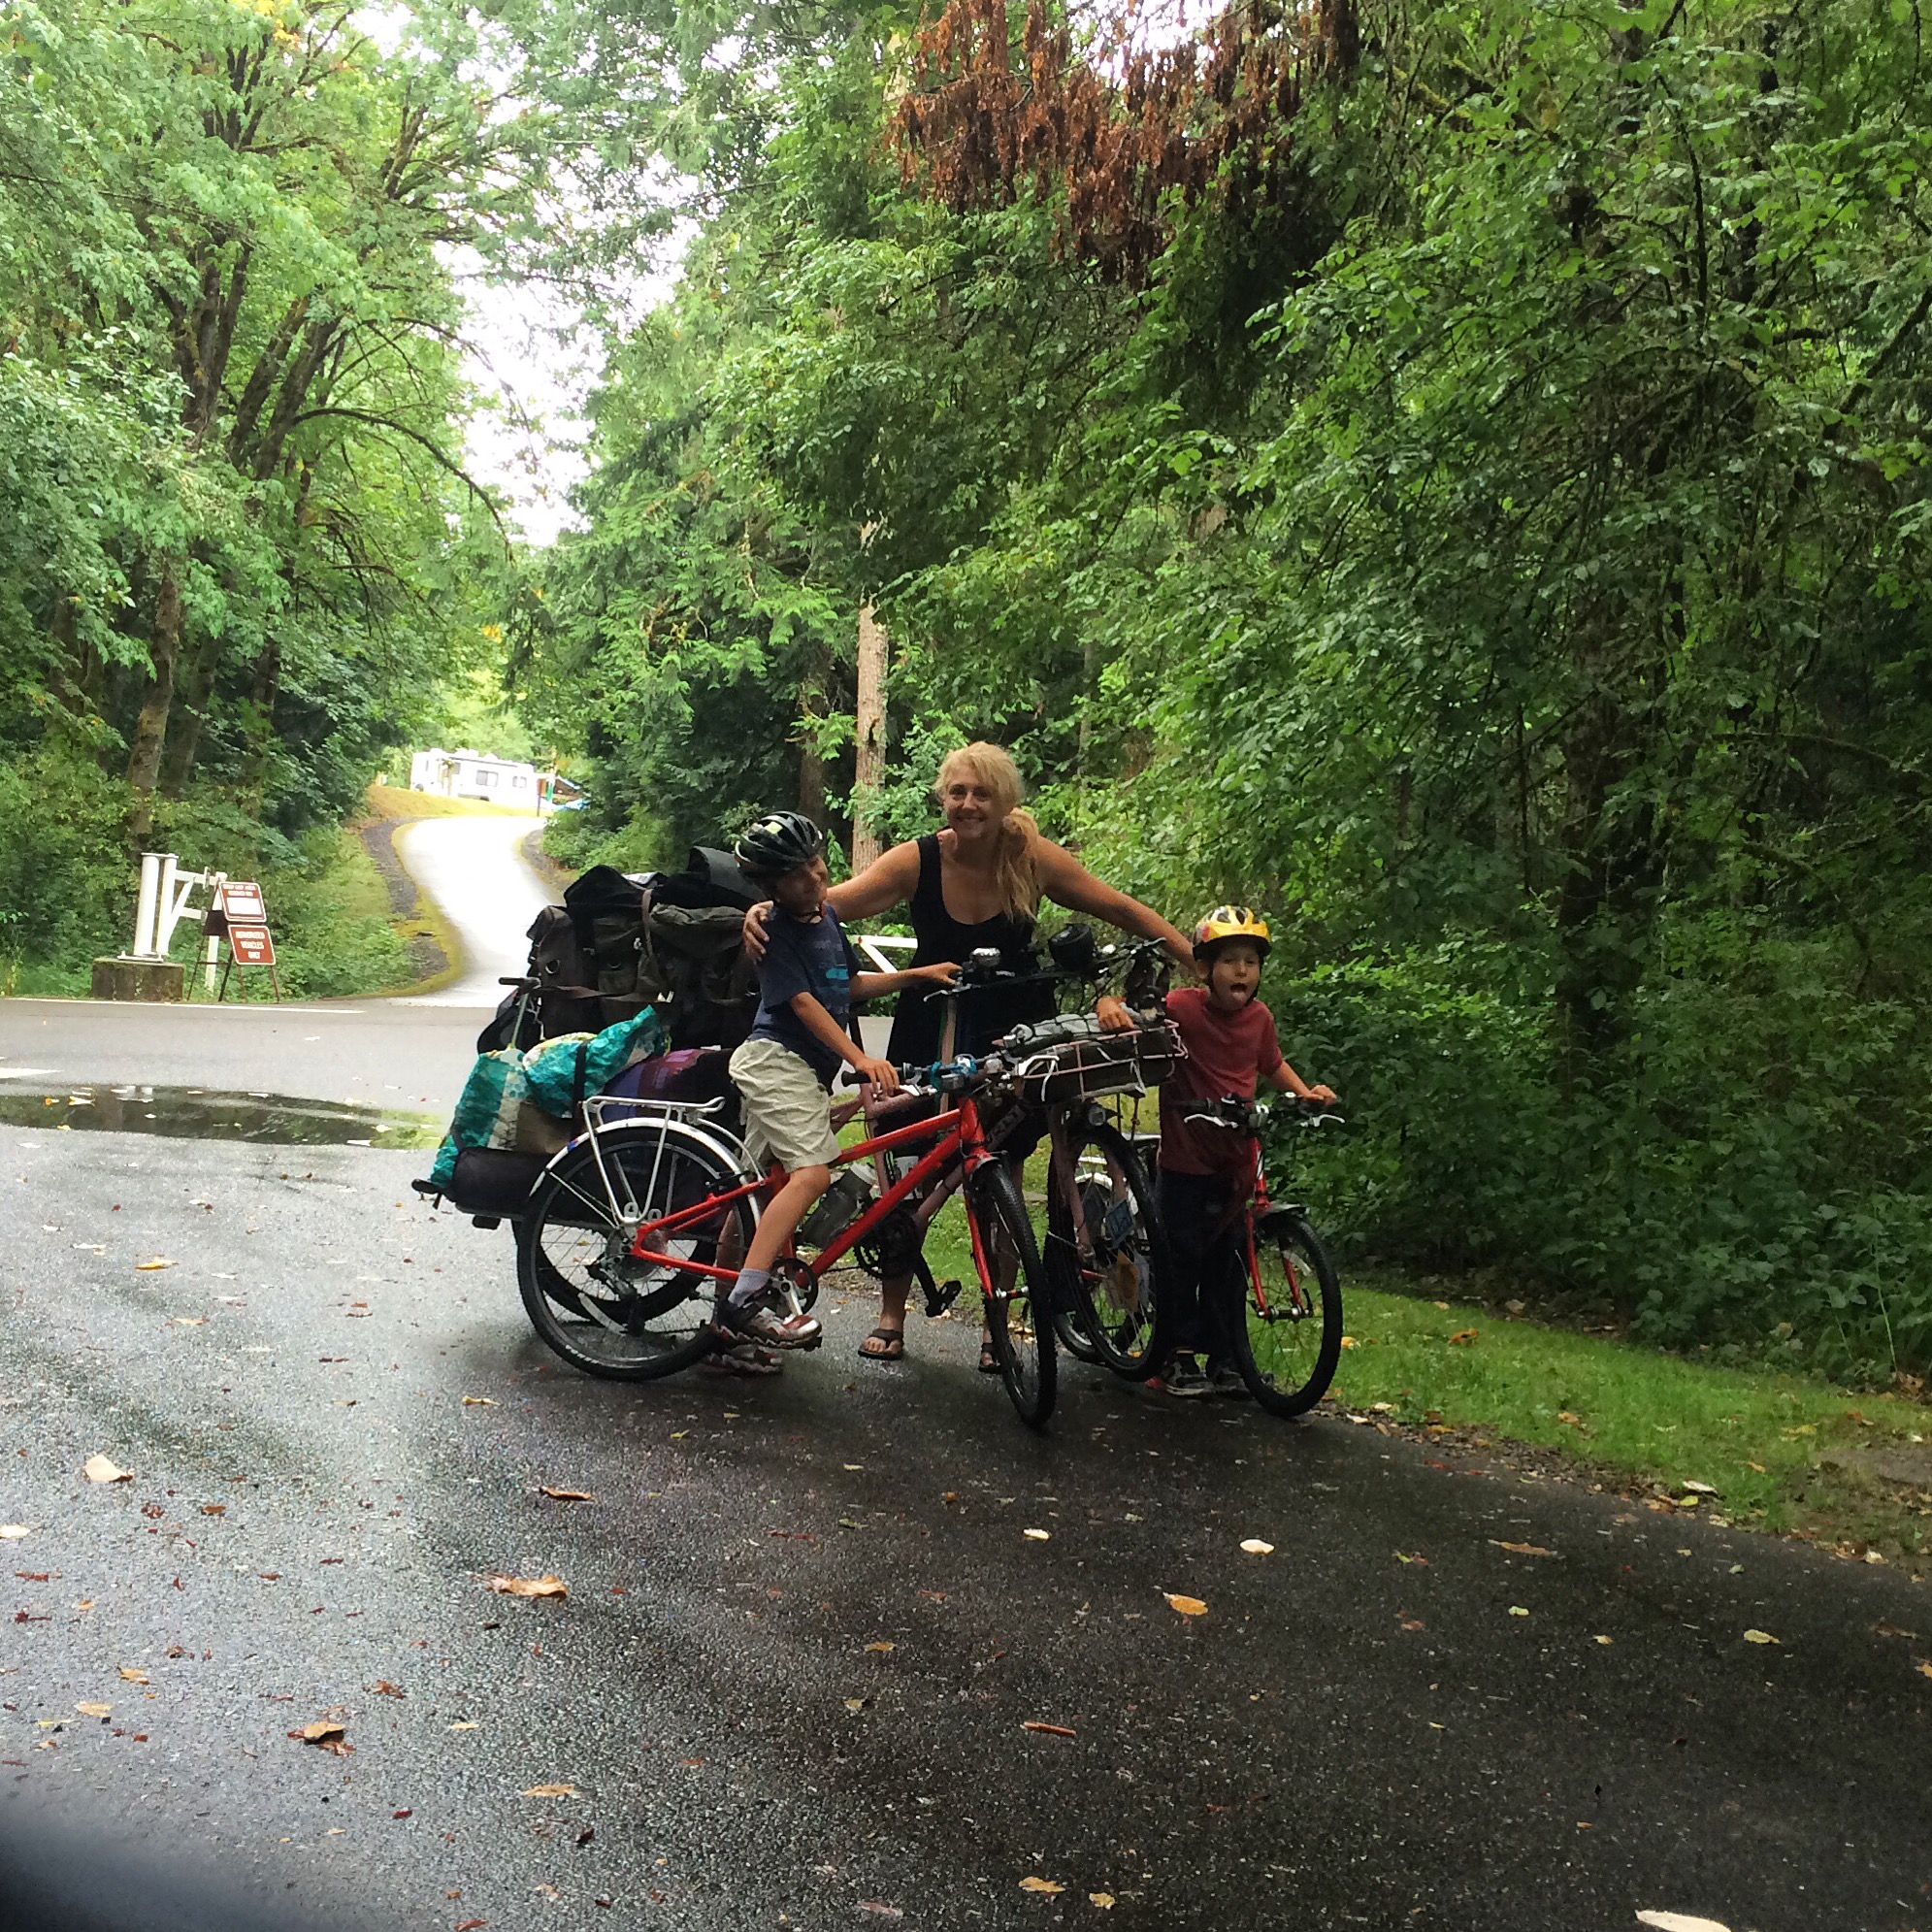
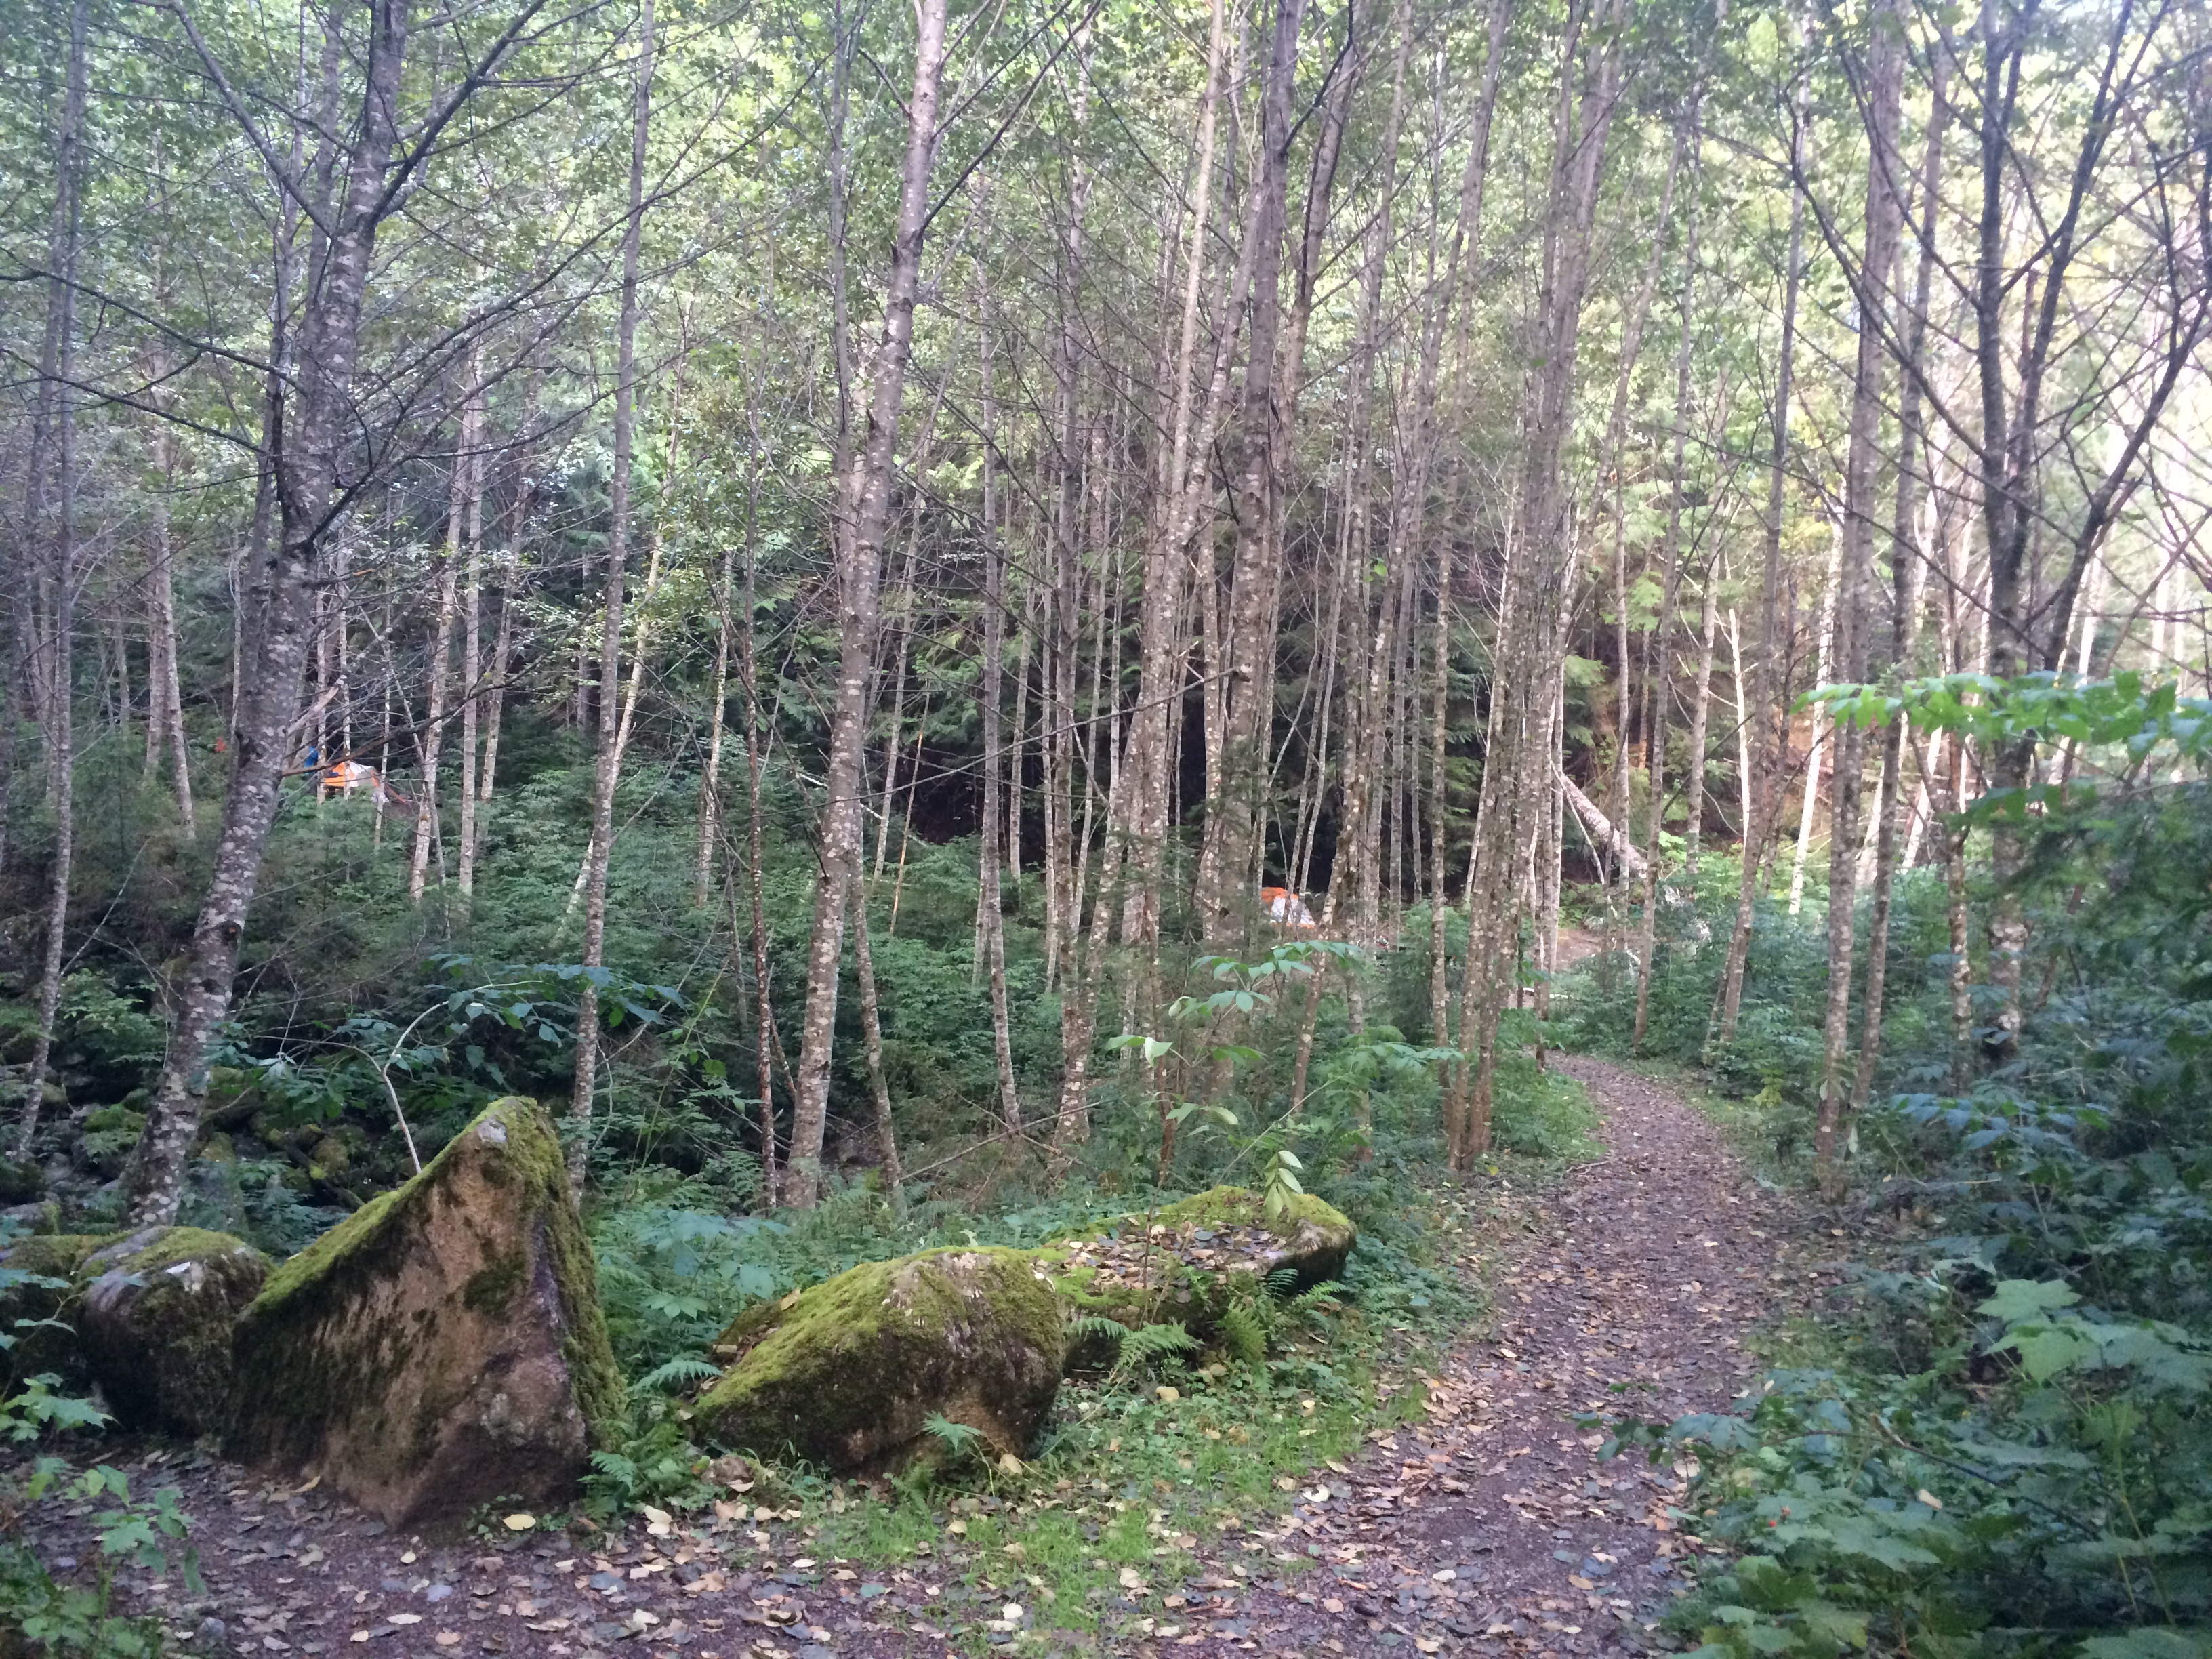
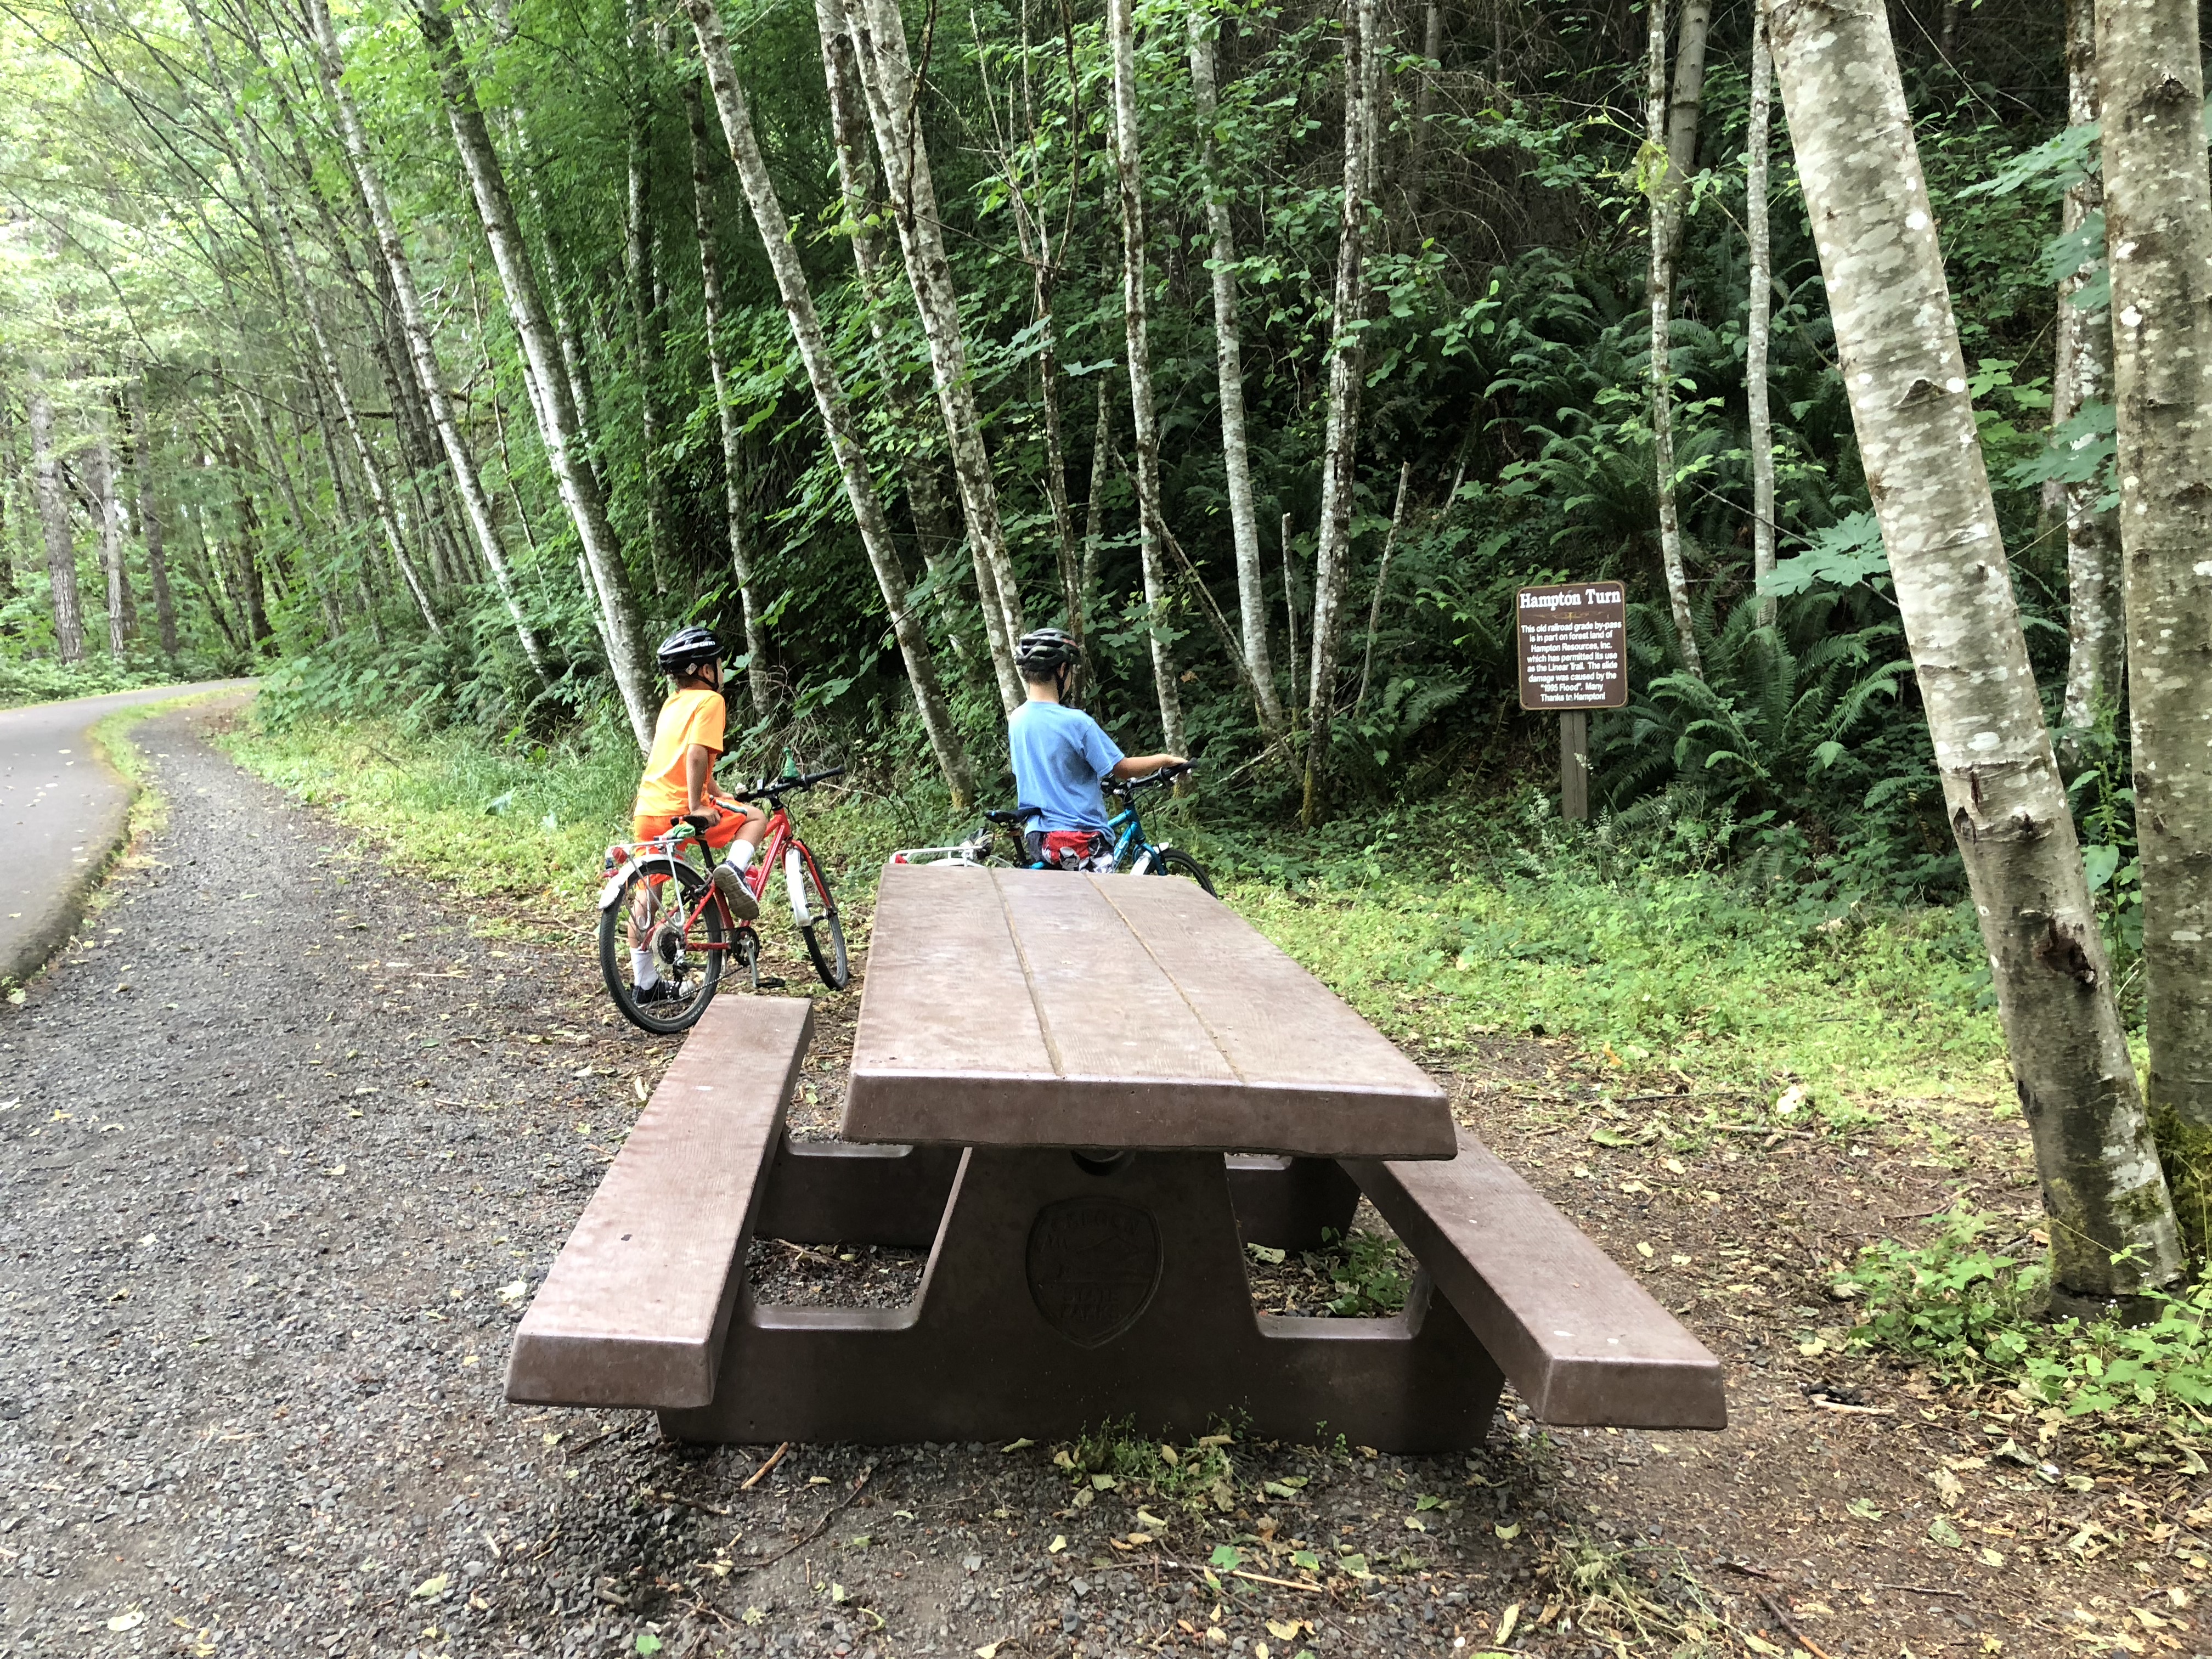
Right around the horse parking lot we bumped into a friend who warned us about the switchbacks leading into the hike-in camp area. That proved helpful because despite the sign indicating the dirt trail turn-off from the main Banks-Vernonia State Trail, I would have worried “bikes don’t belong here!” and possibly backtracked looking for a different entrance (which does indeed exist, though it’s not any better). The first switchback was too steep for me to bike up and also too steep for me to push my bike up alone so one of the kids parked his bike and helped shove from the back. The second switchback and last switchback were also too steep for me to bike up, but I could push alone. The dirt devolved into fairly big rocks (big compared to gravel, that is) embedded in the ground with grass growing around them. It made for a bumpy but doable ride. It also made us want to compare the other entrance so we rode to that the following morning.

We biked (without gear, yay!) to the visitors center to see the entrance the drive-then-hike-in campers used. The gravel was more straightforward, but it was a big downhill and then a big uphill. I was glad not to test it with a loaded bike, but that means I can’t accurately compare the two. I think I would have had trouble pushing my bike up this hill and we’ll stick to using the switchbacks. Wheelbarrows are available for people to bring gear from their cars, which reminded me of Ruckle Park on Salt Spring Island, but this was better since we didn’t need to bike through the parking lot and hadn’t been near cars for hours.
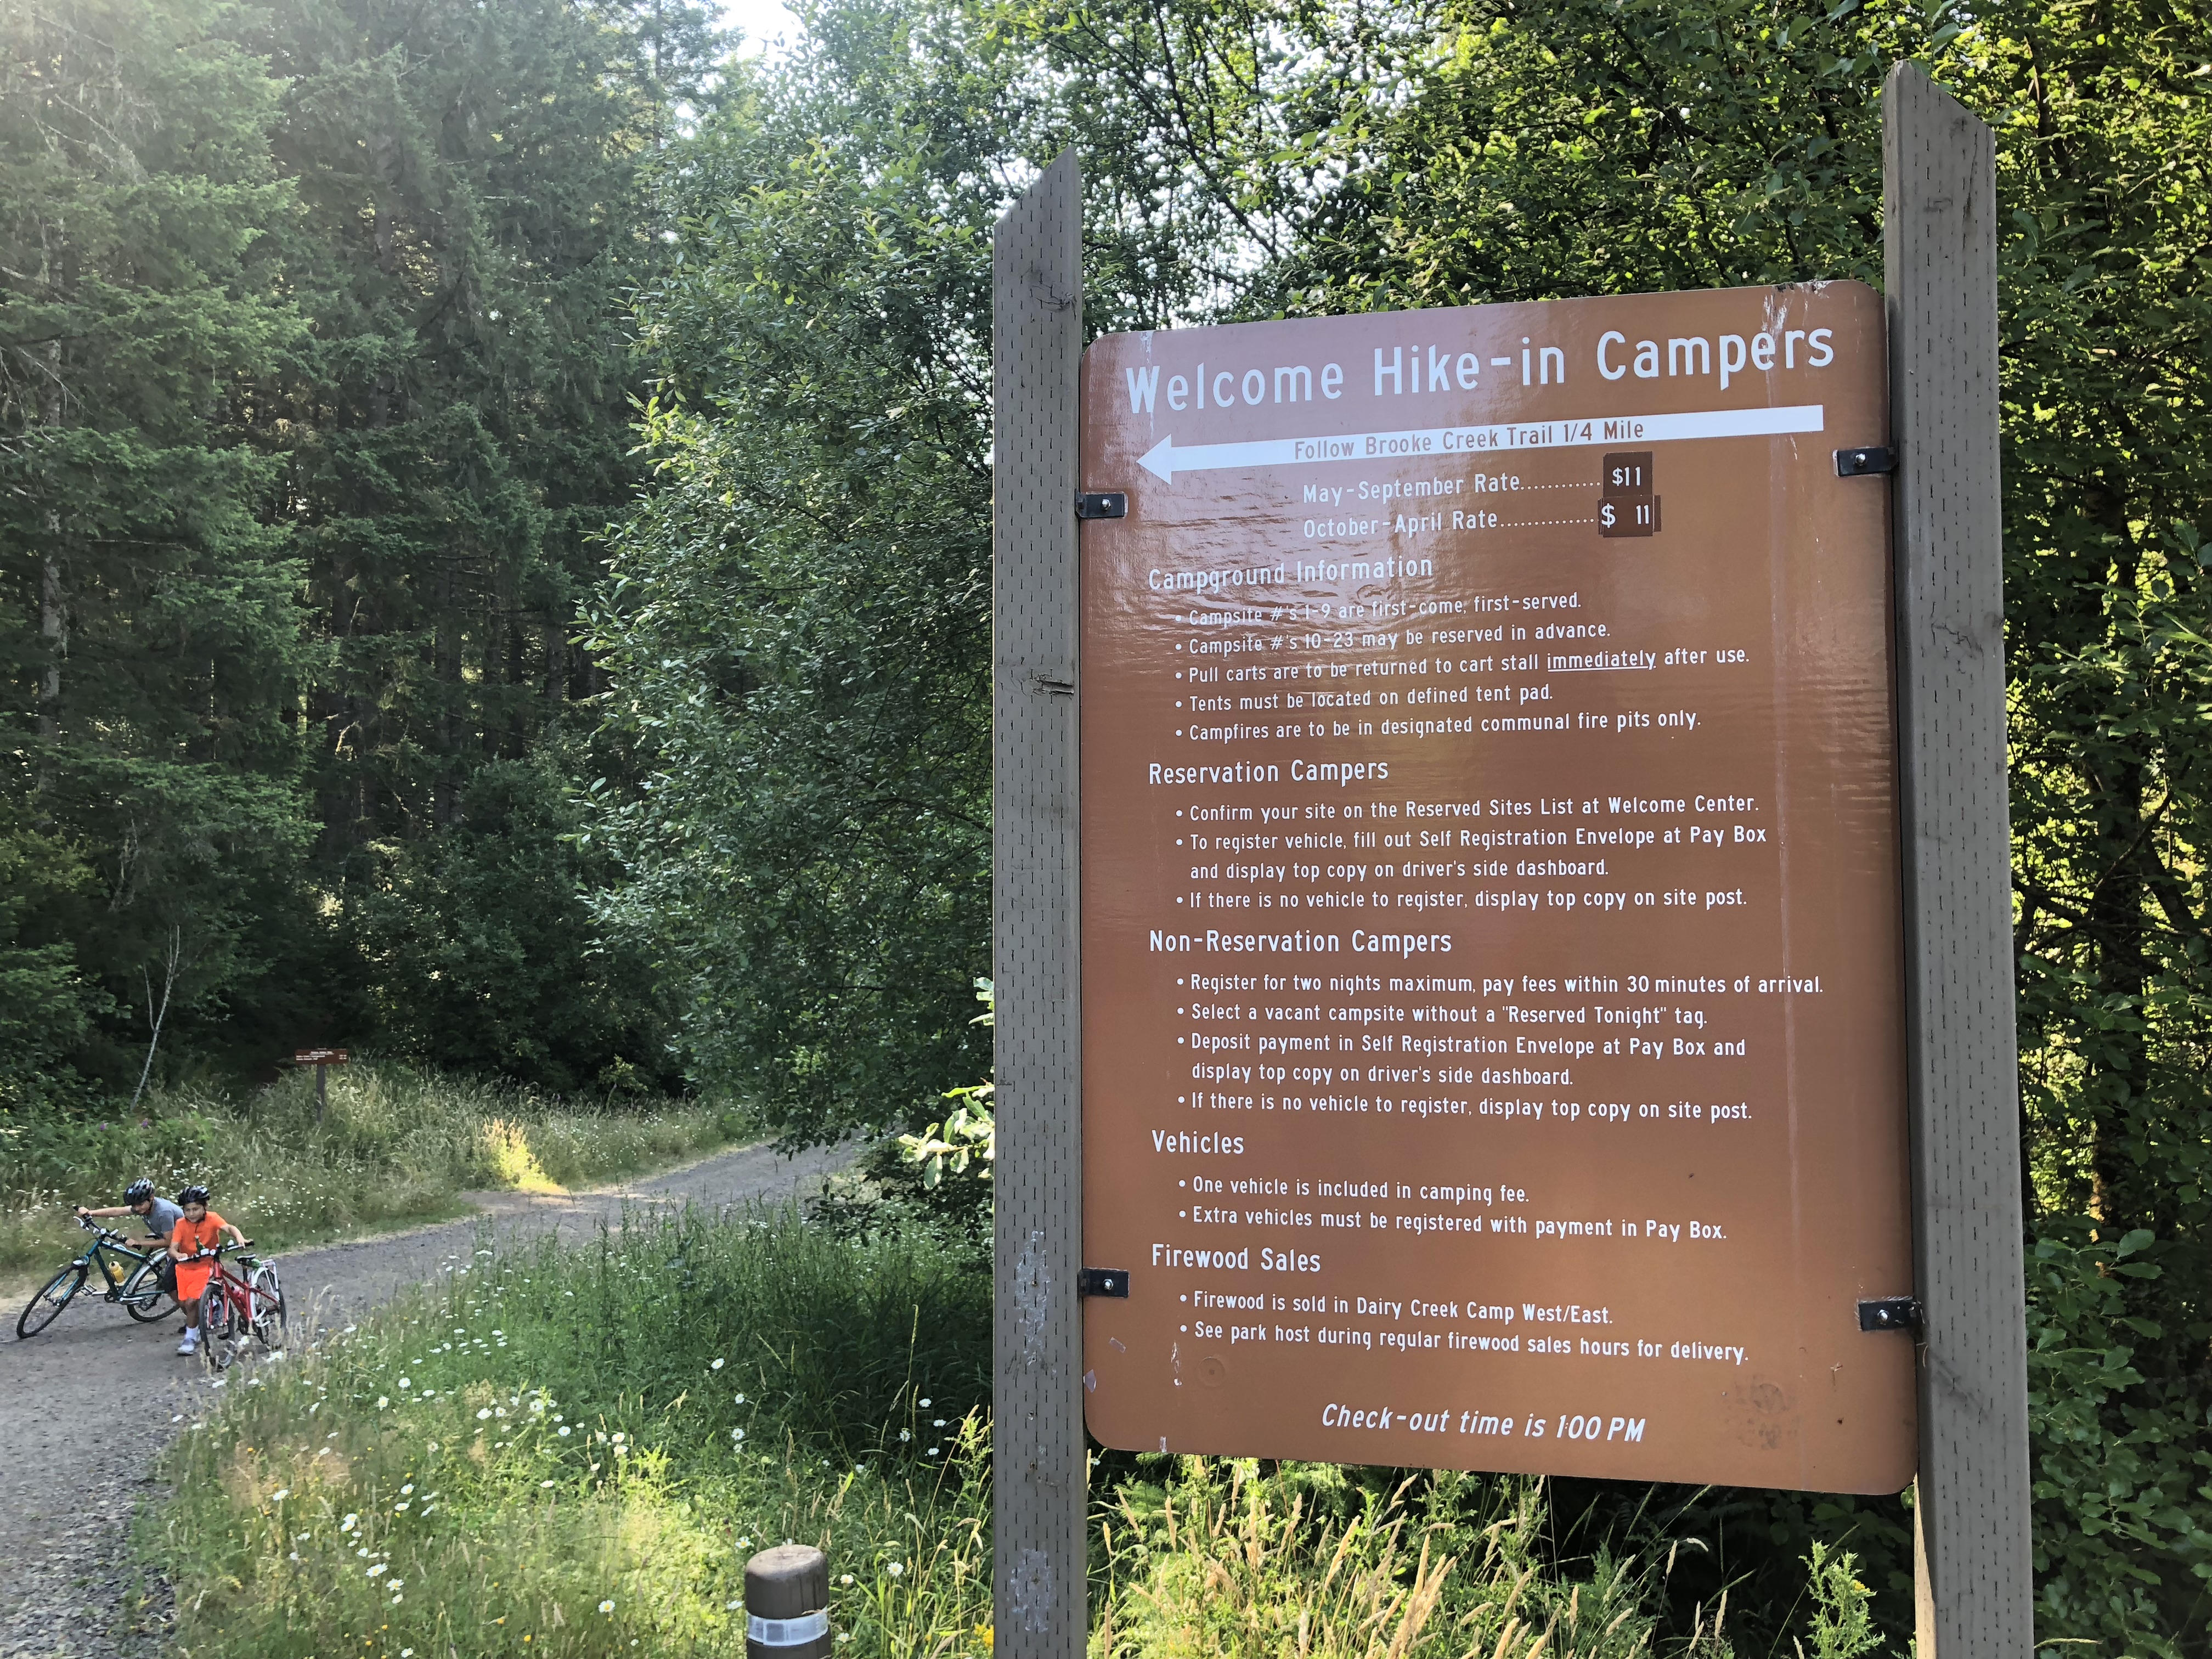
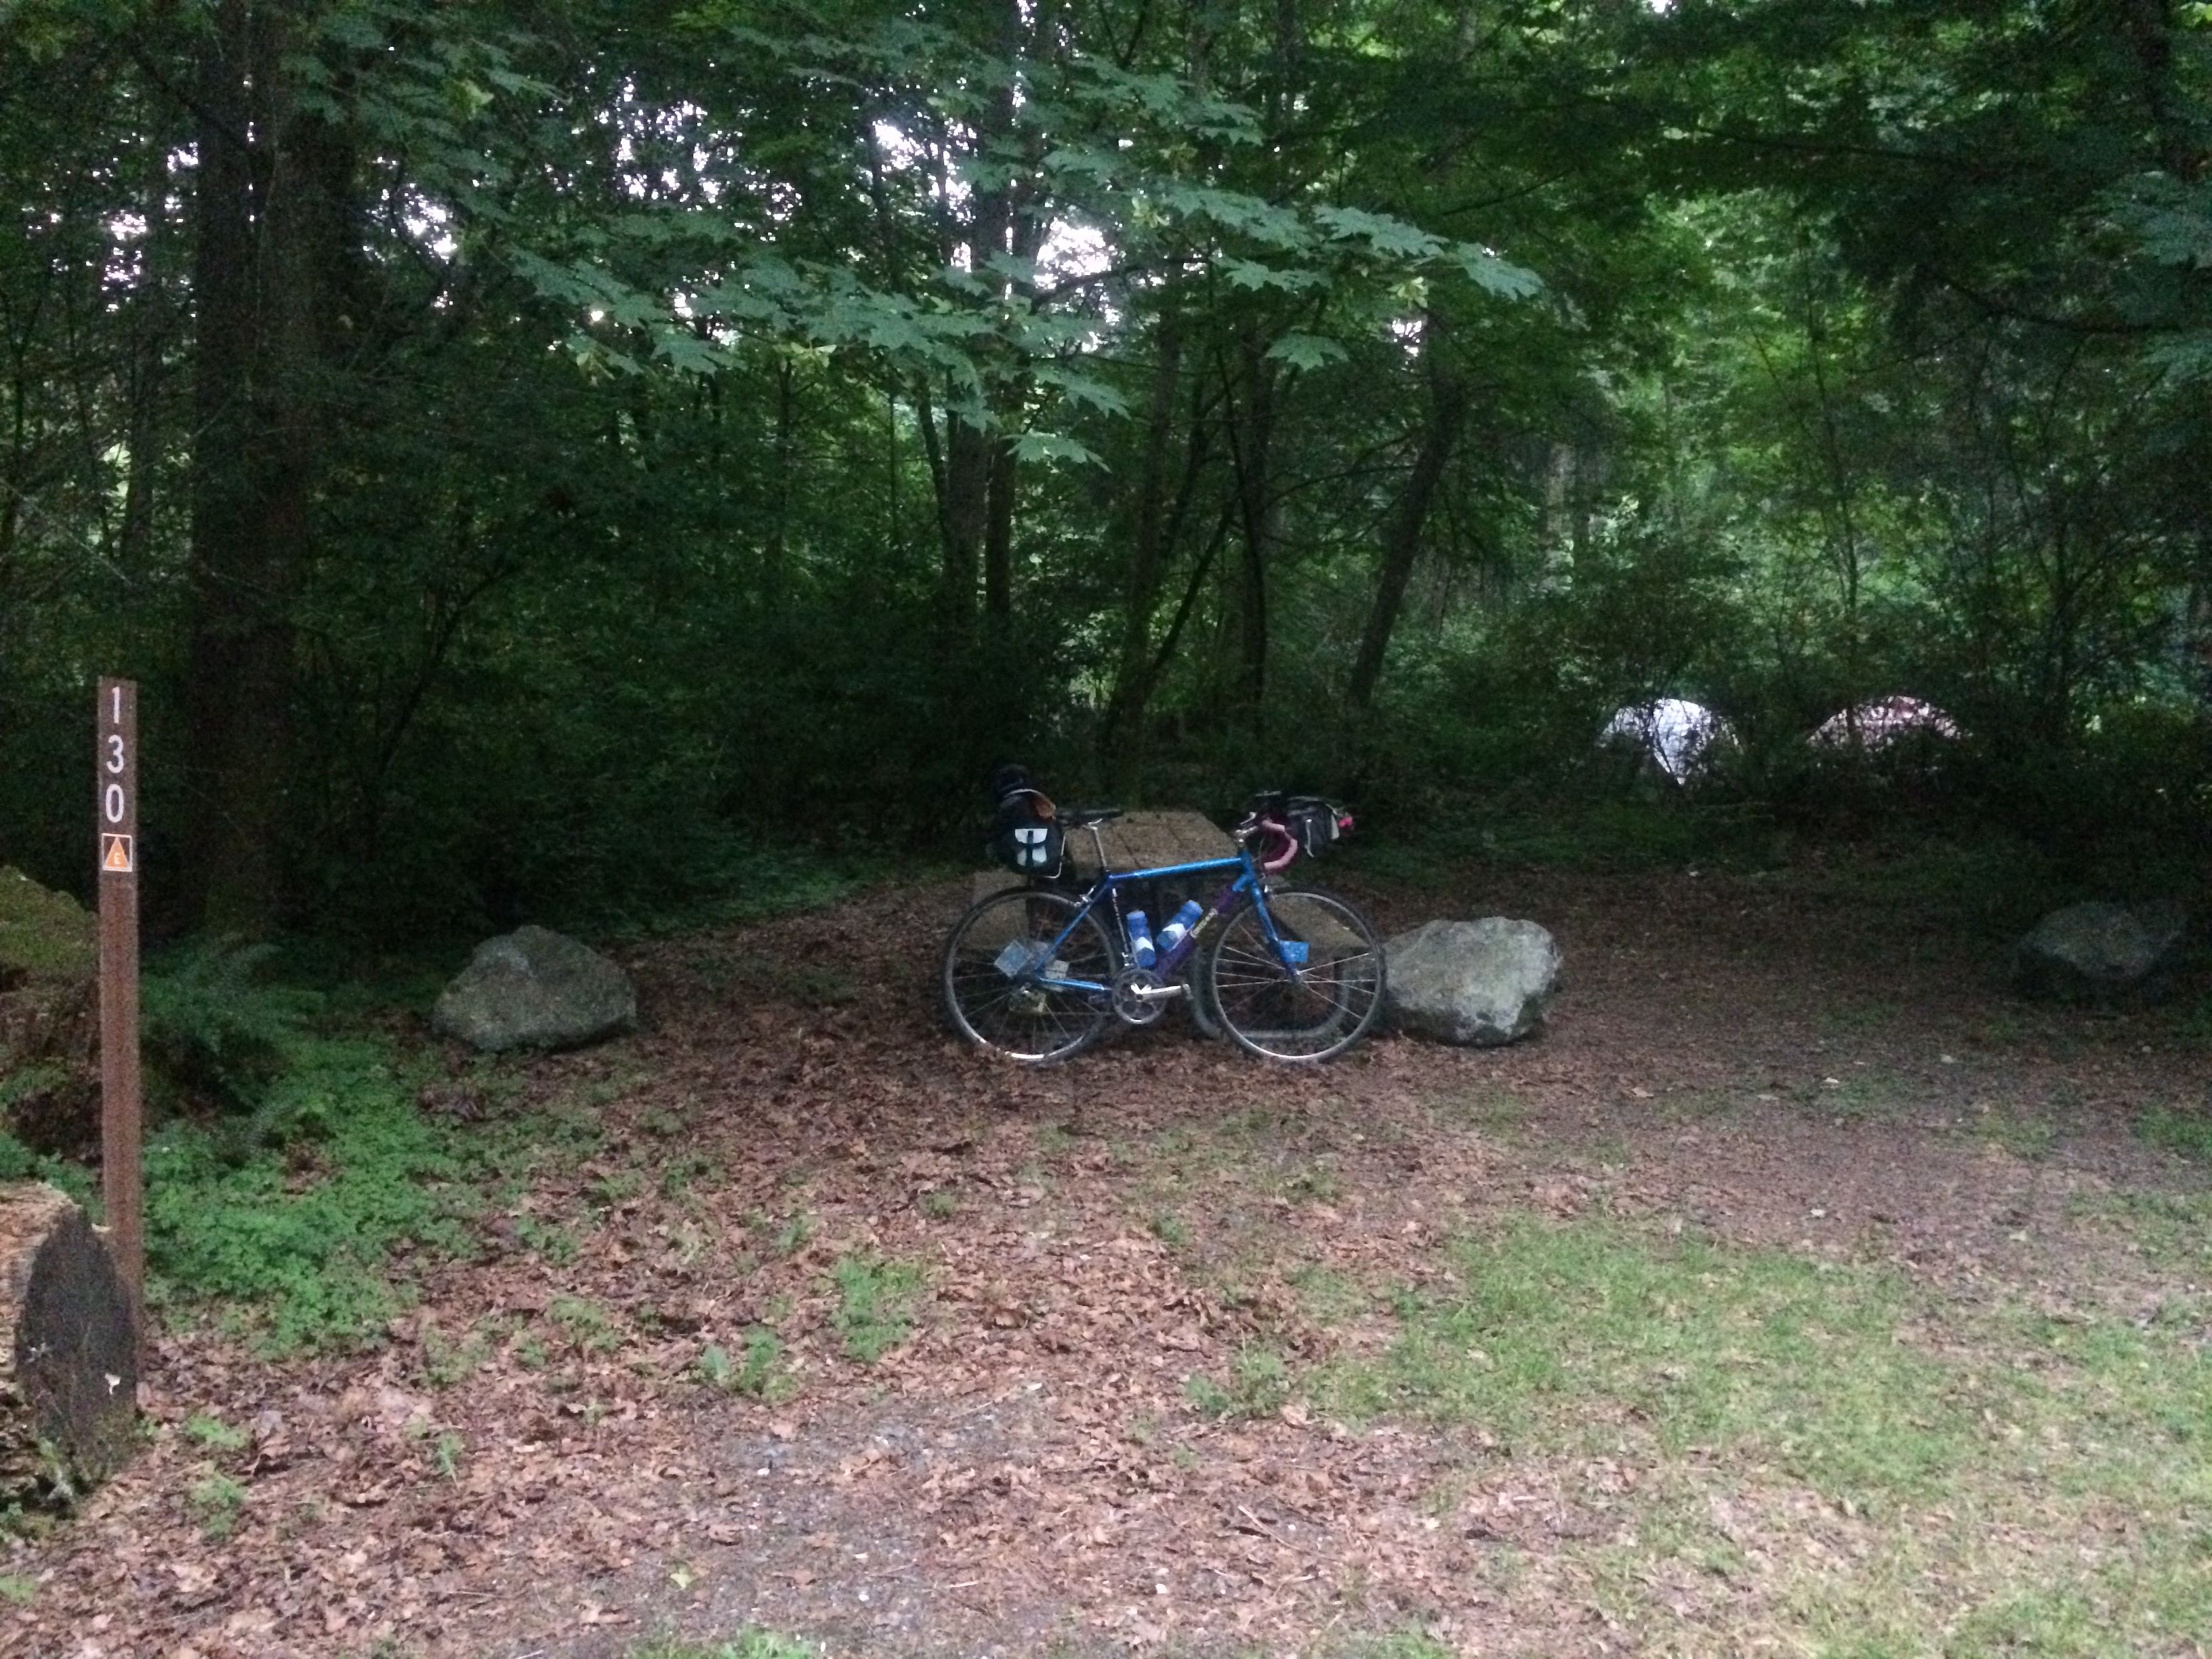
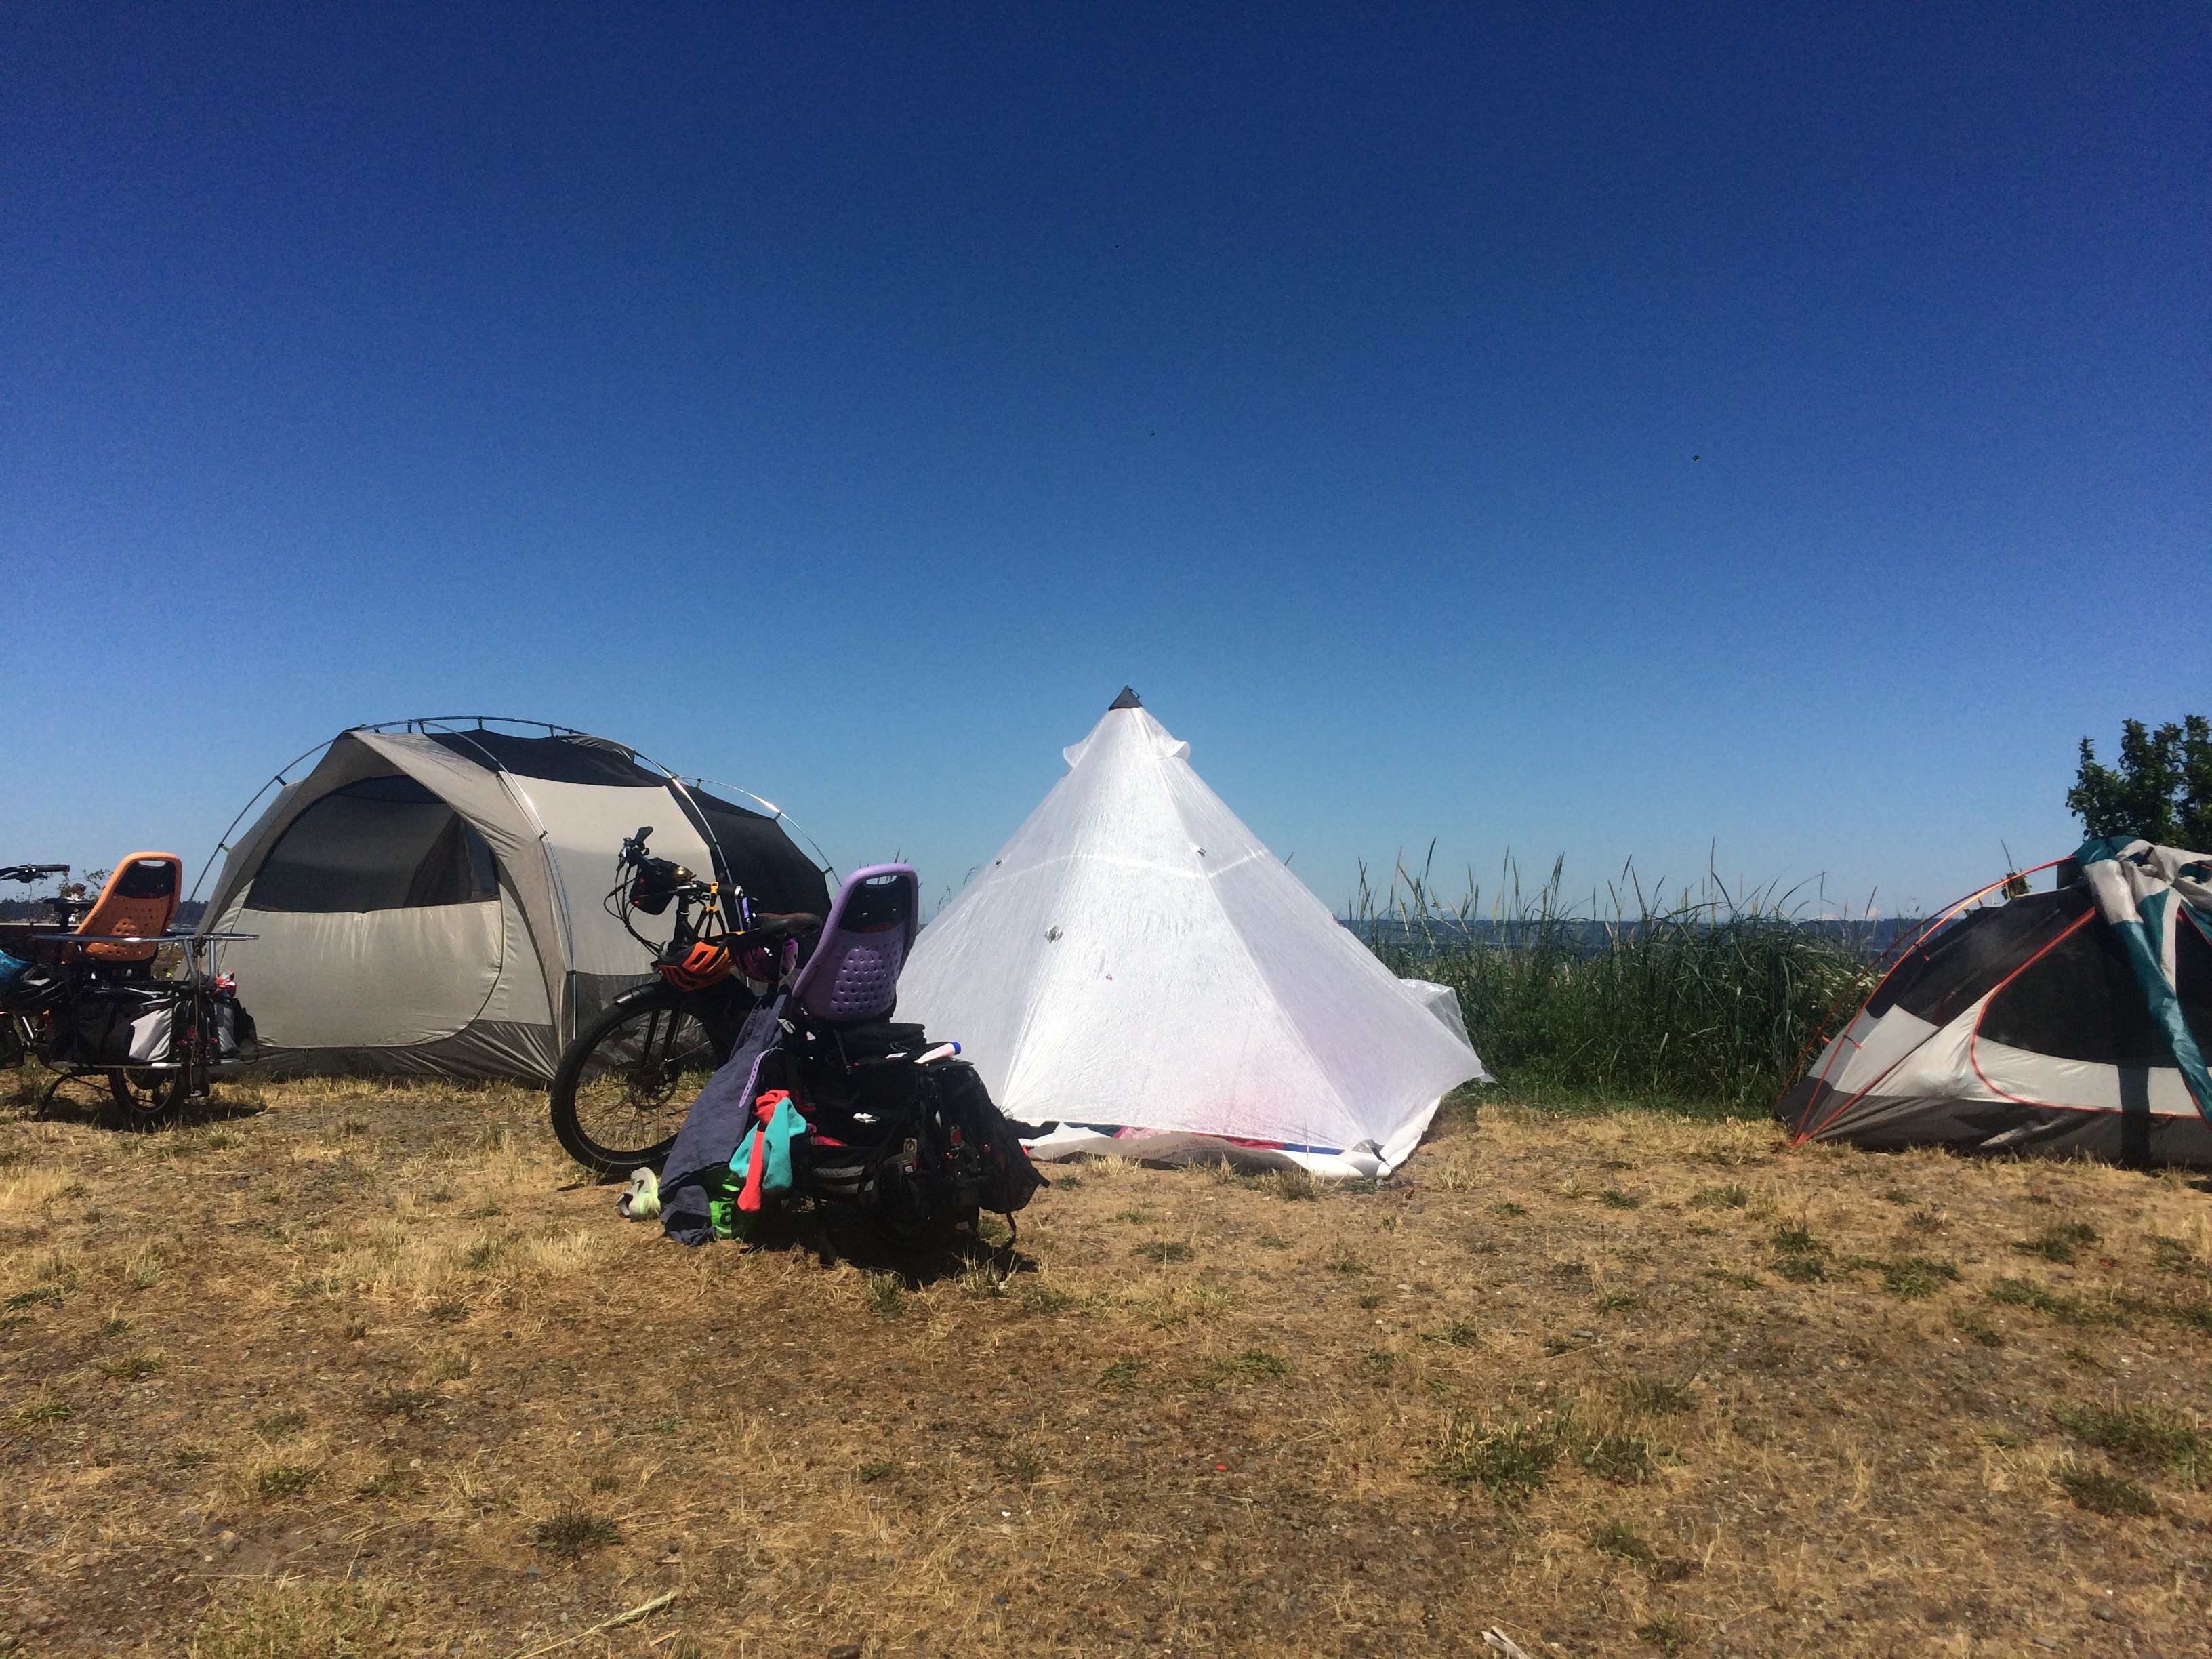
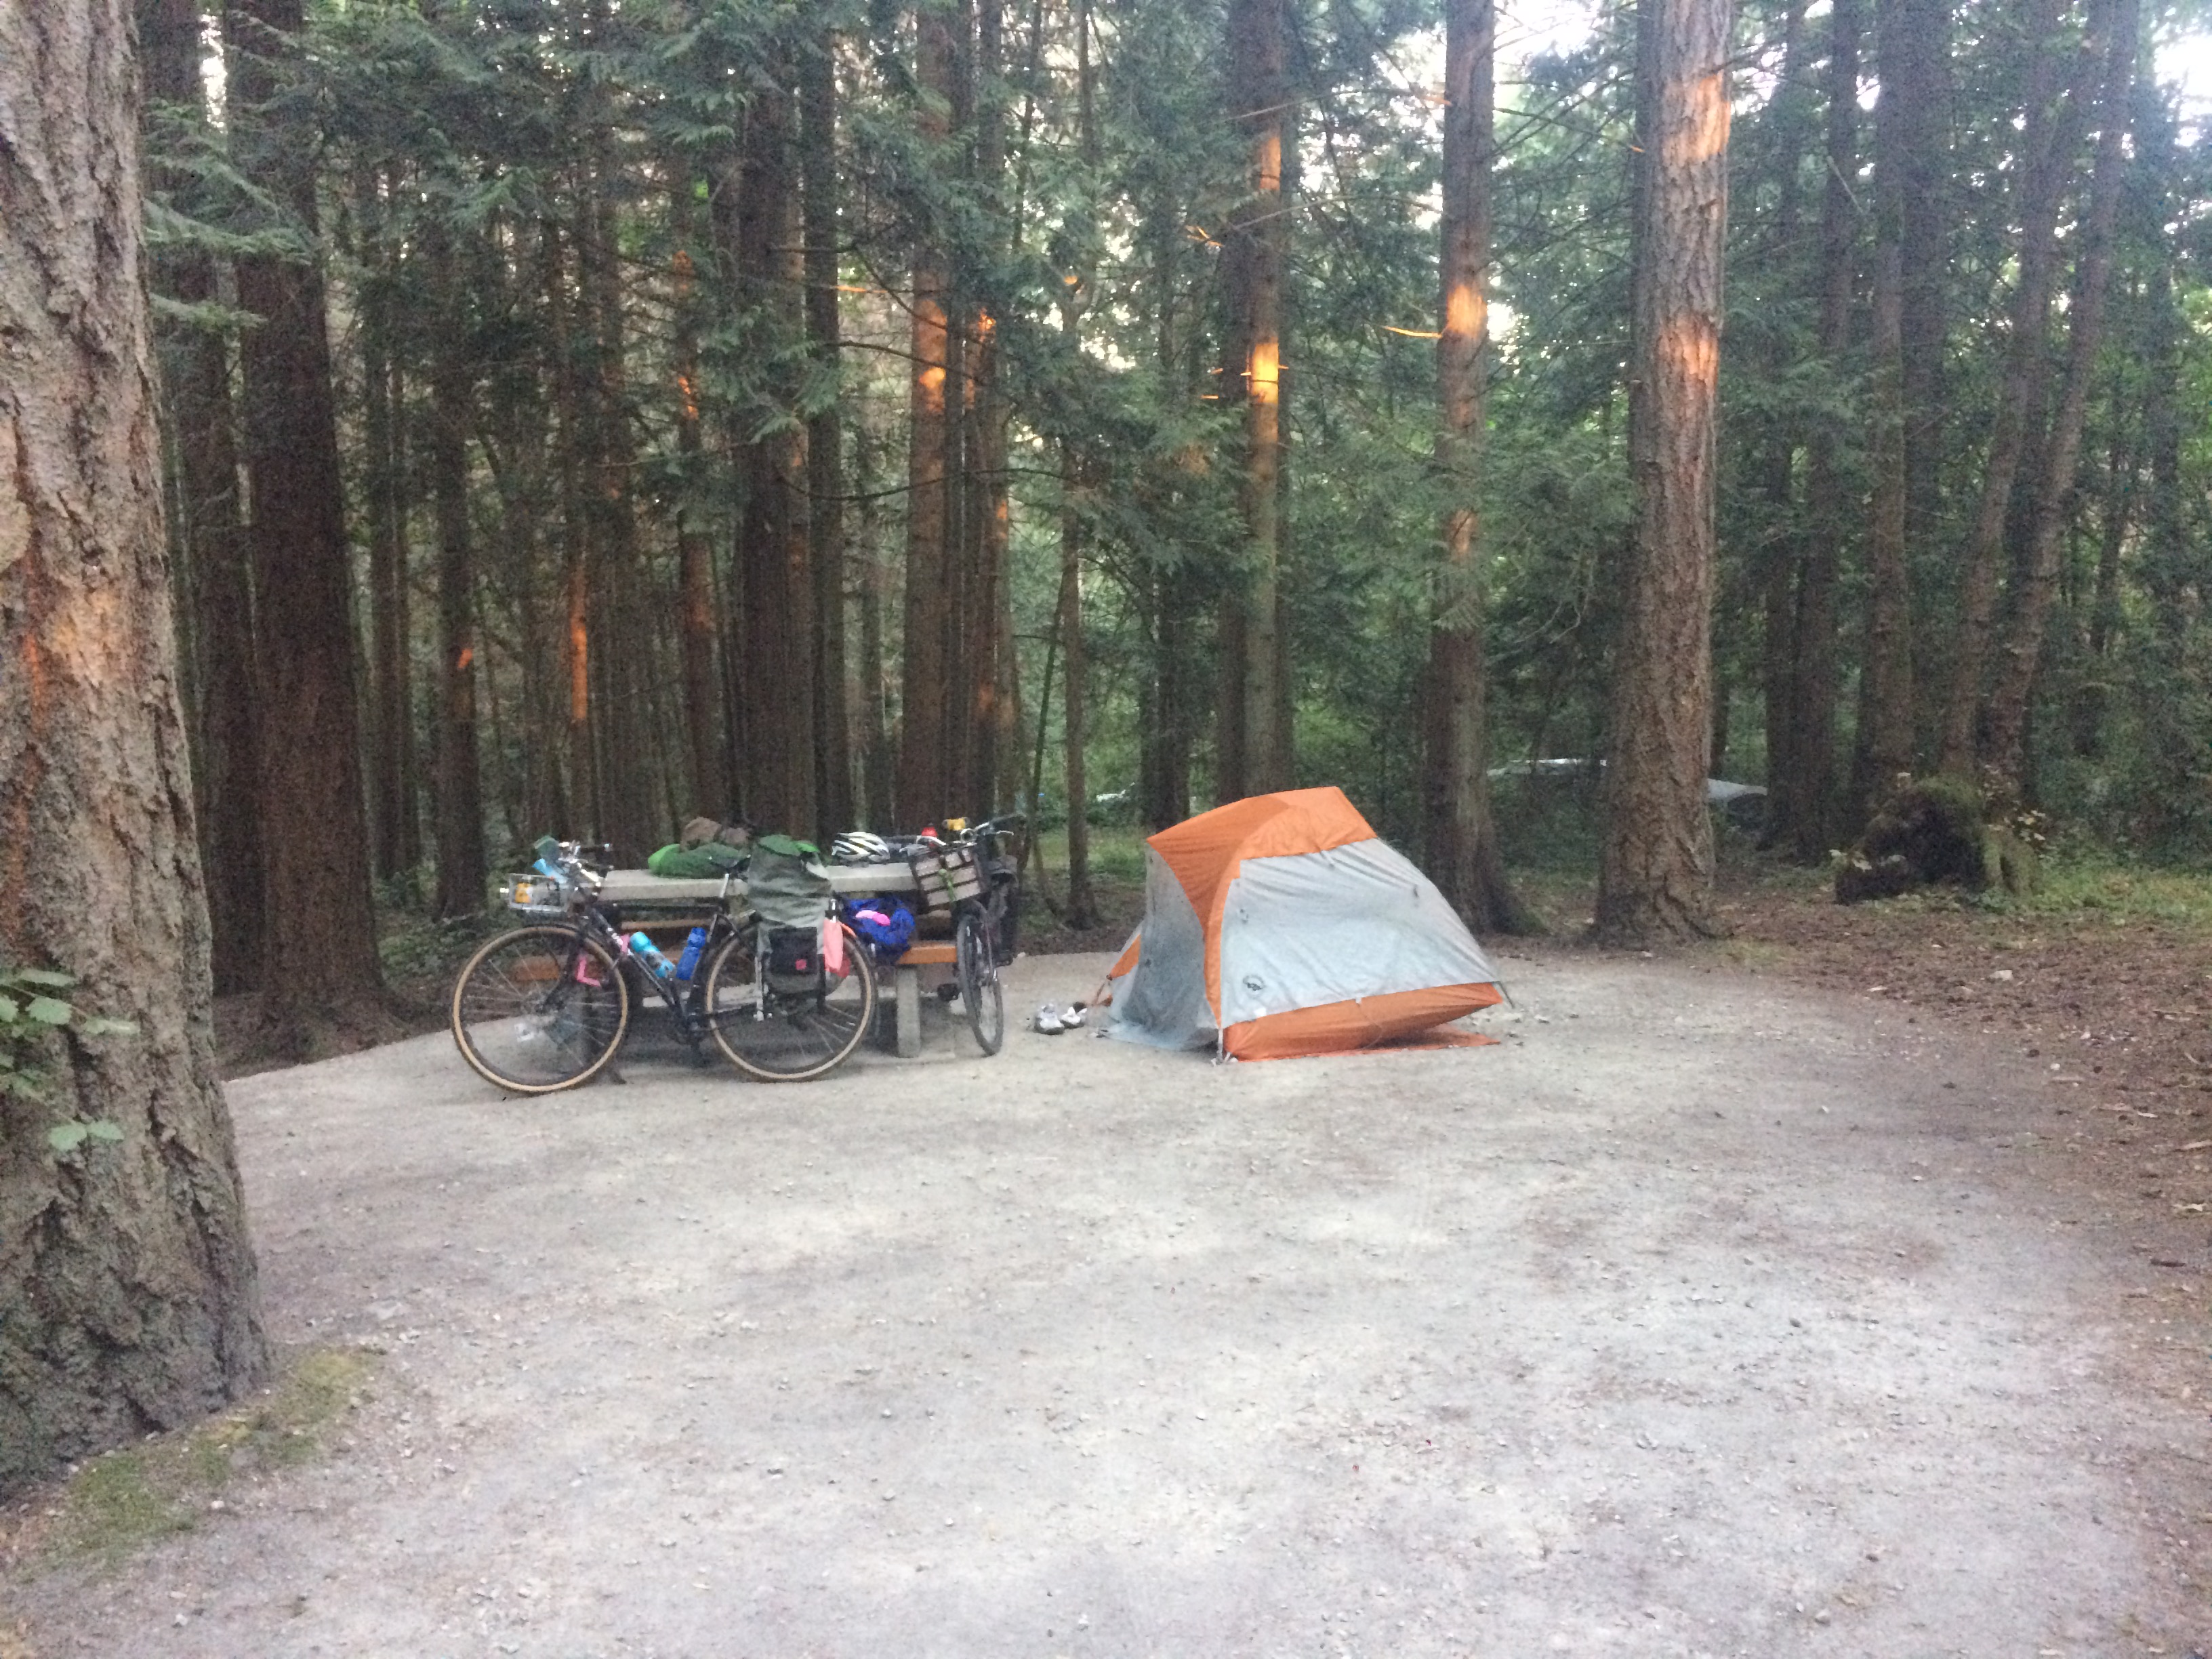
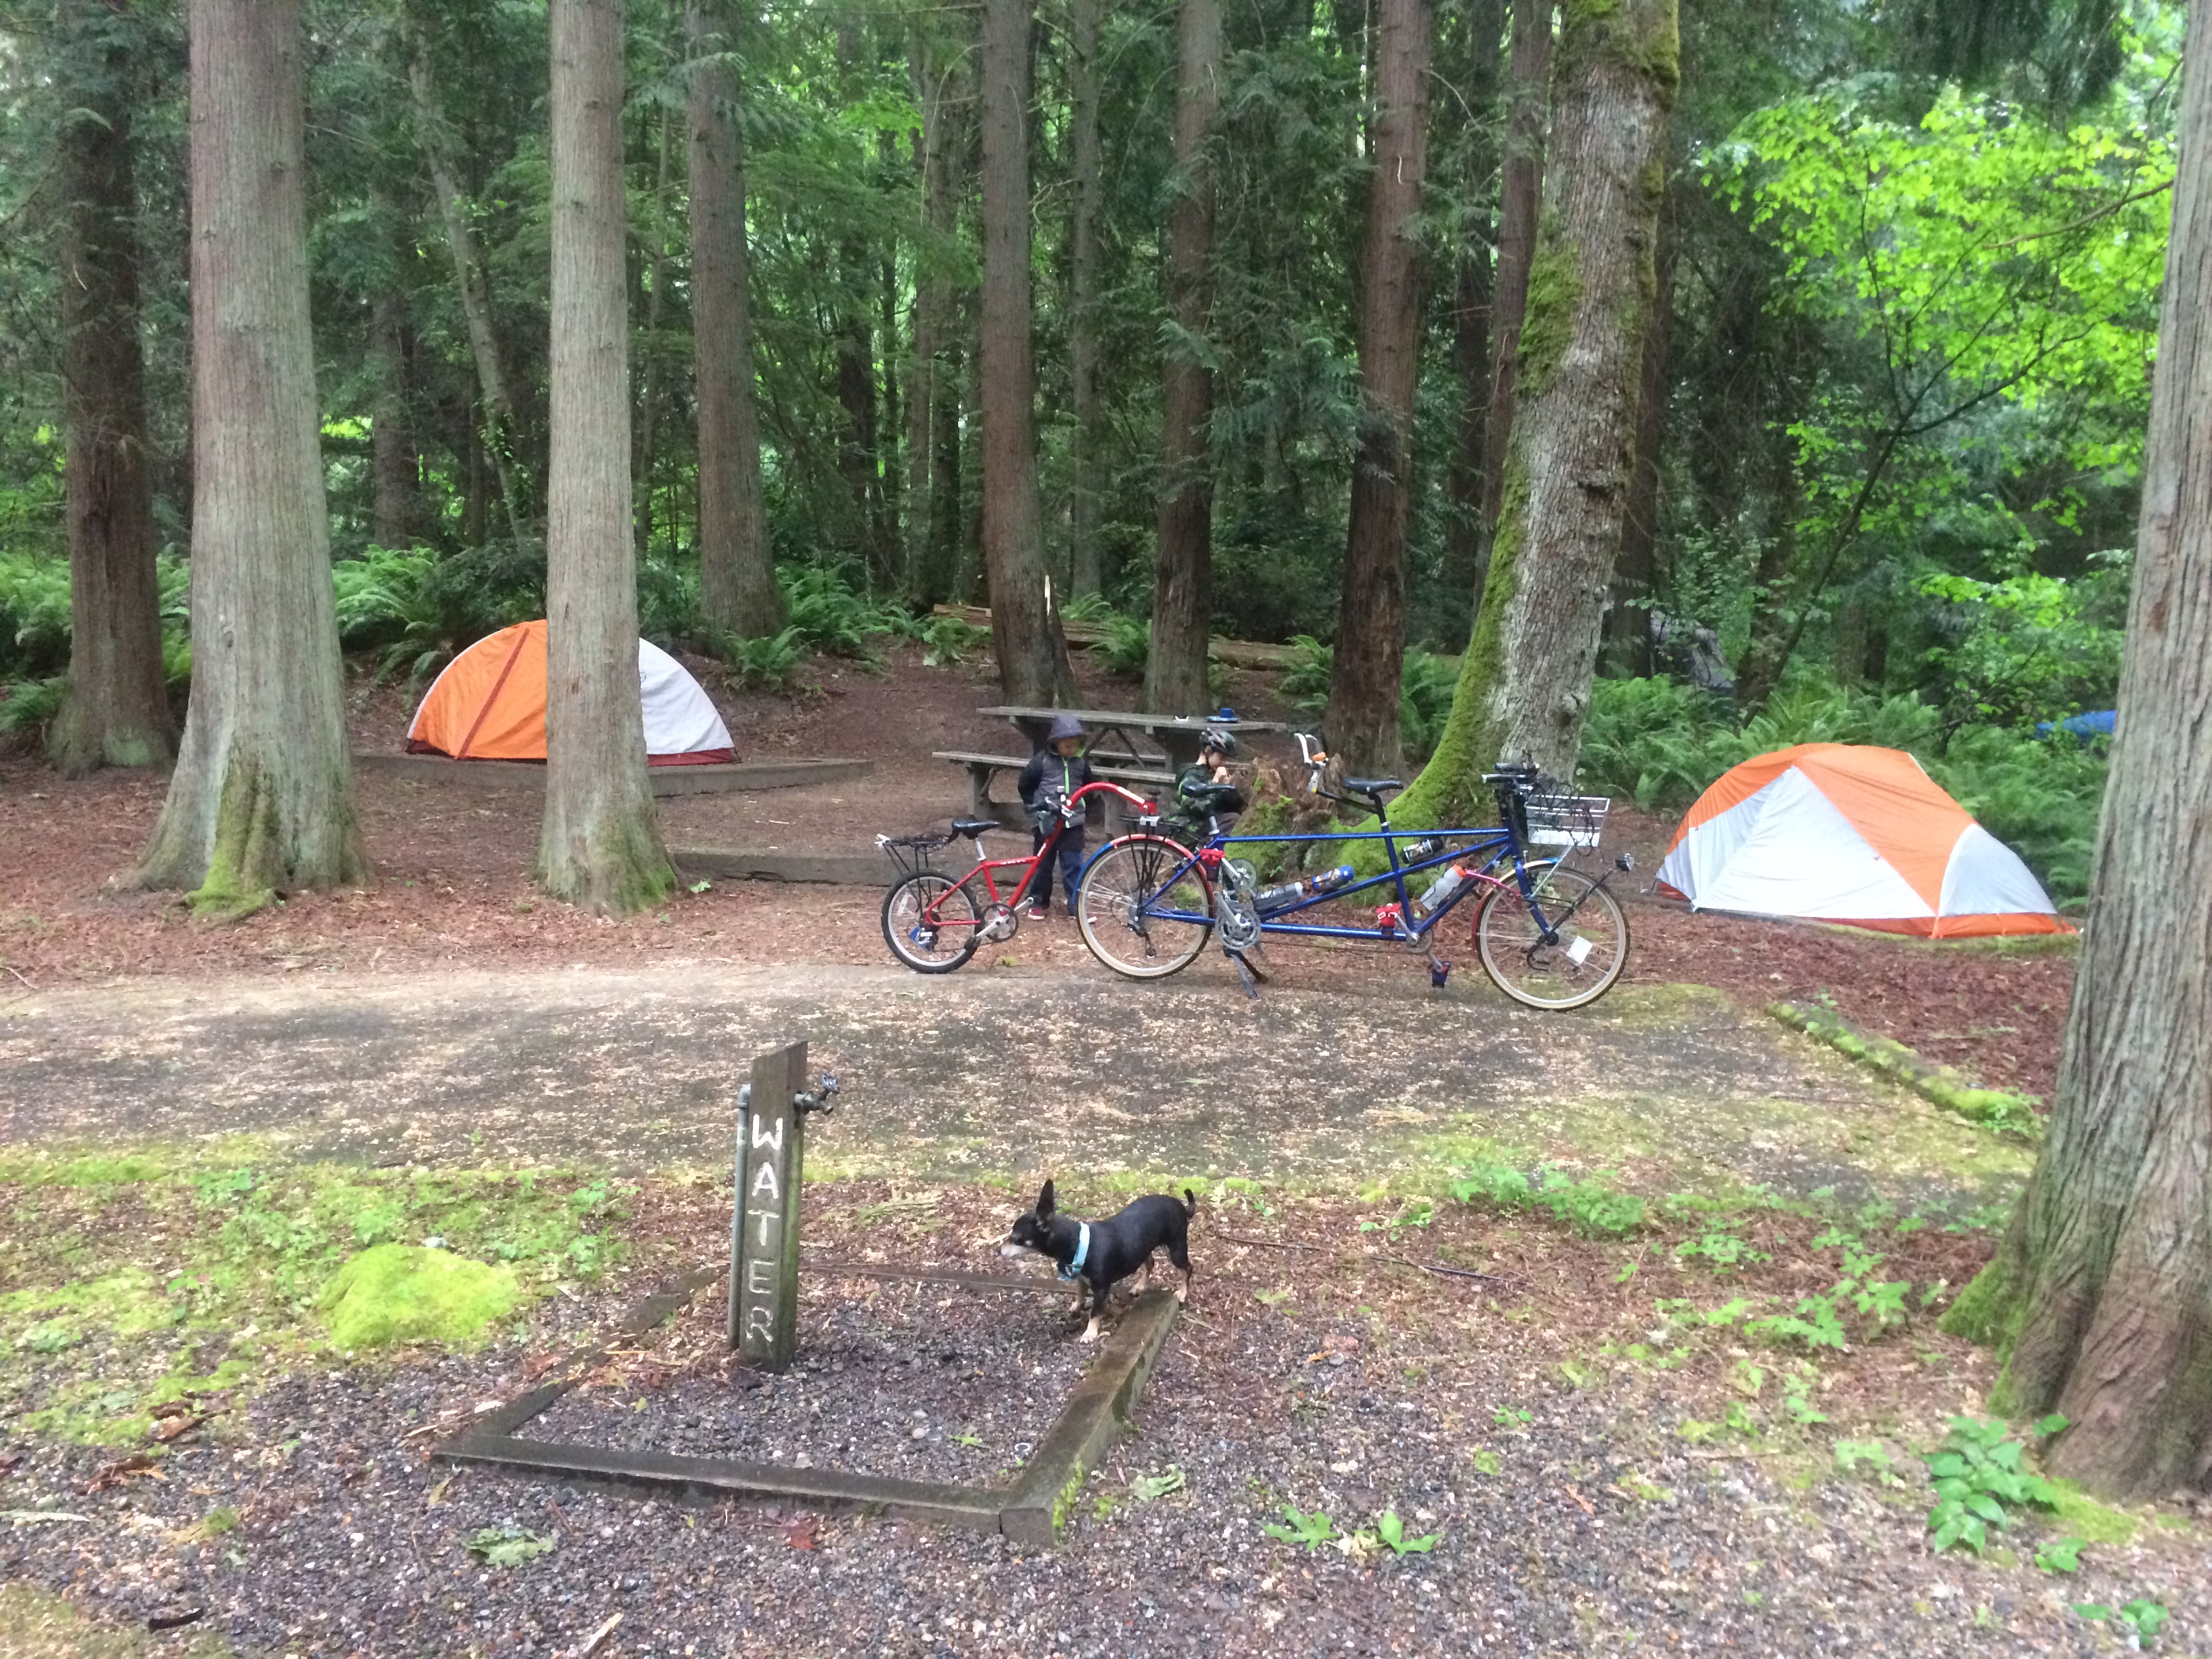
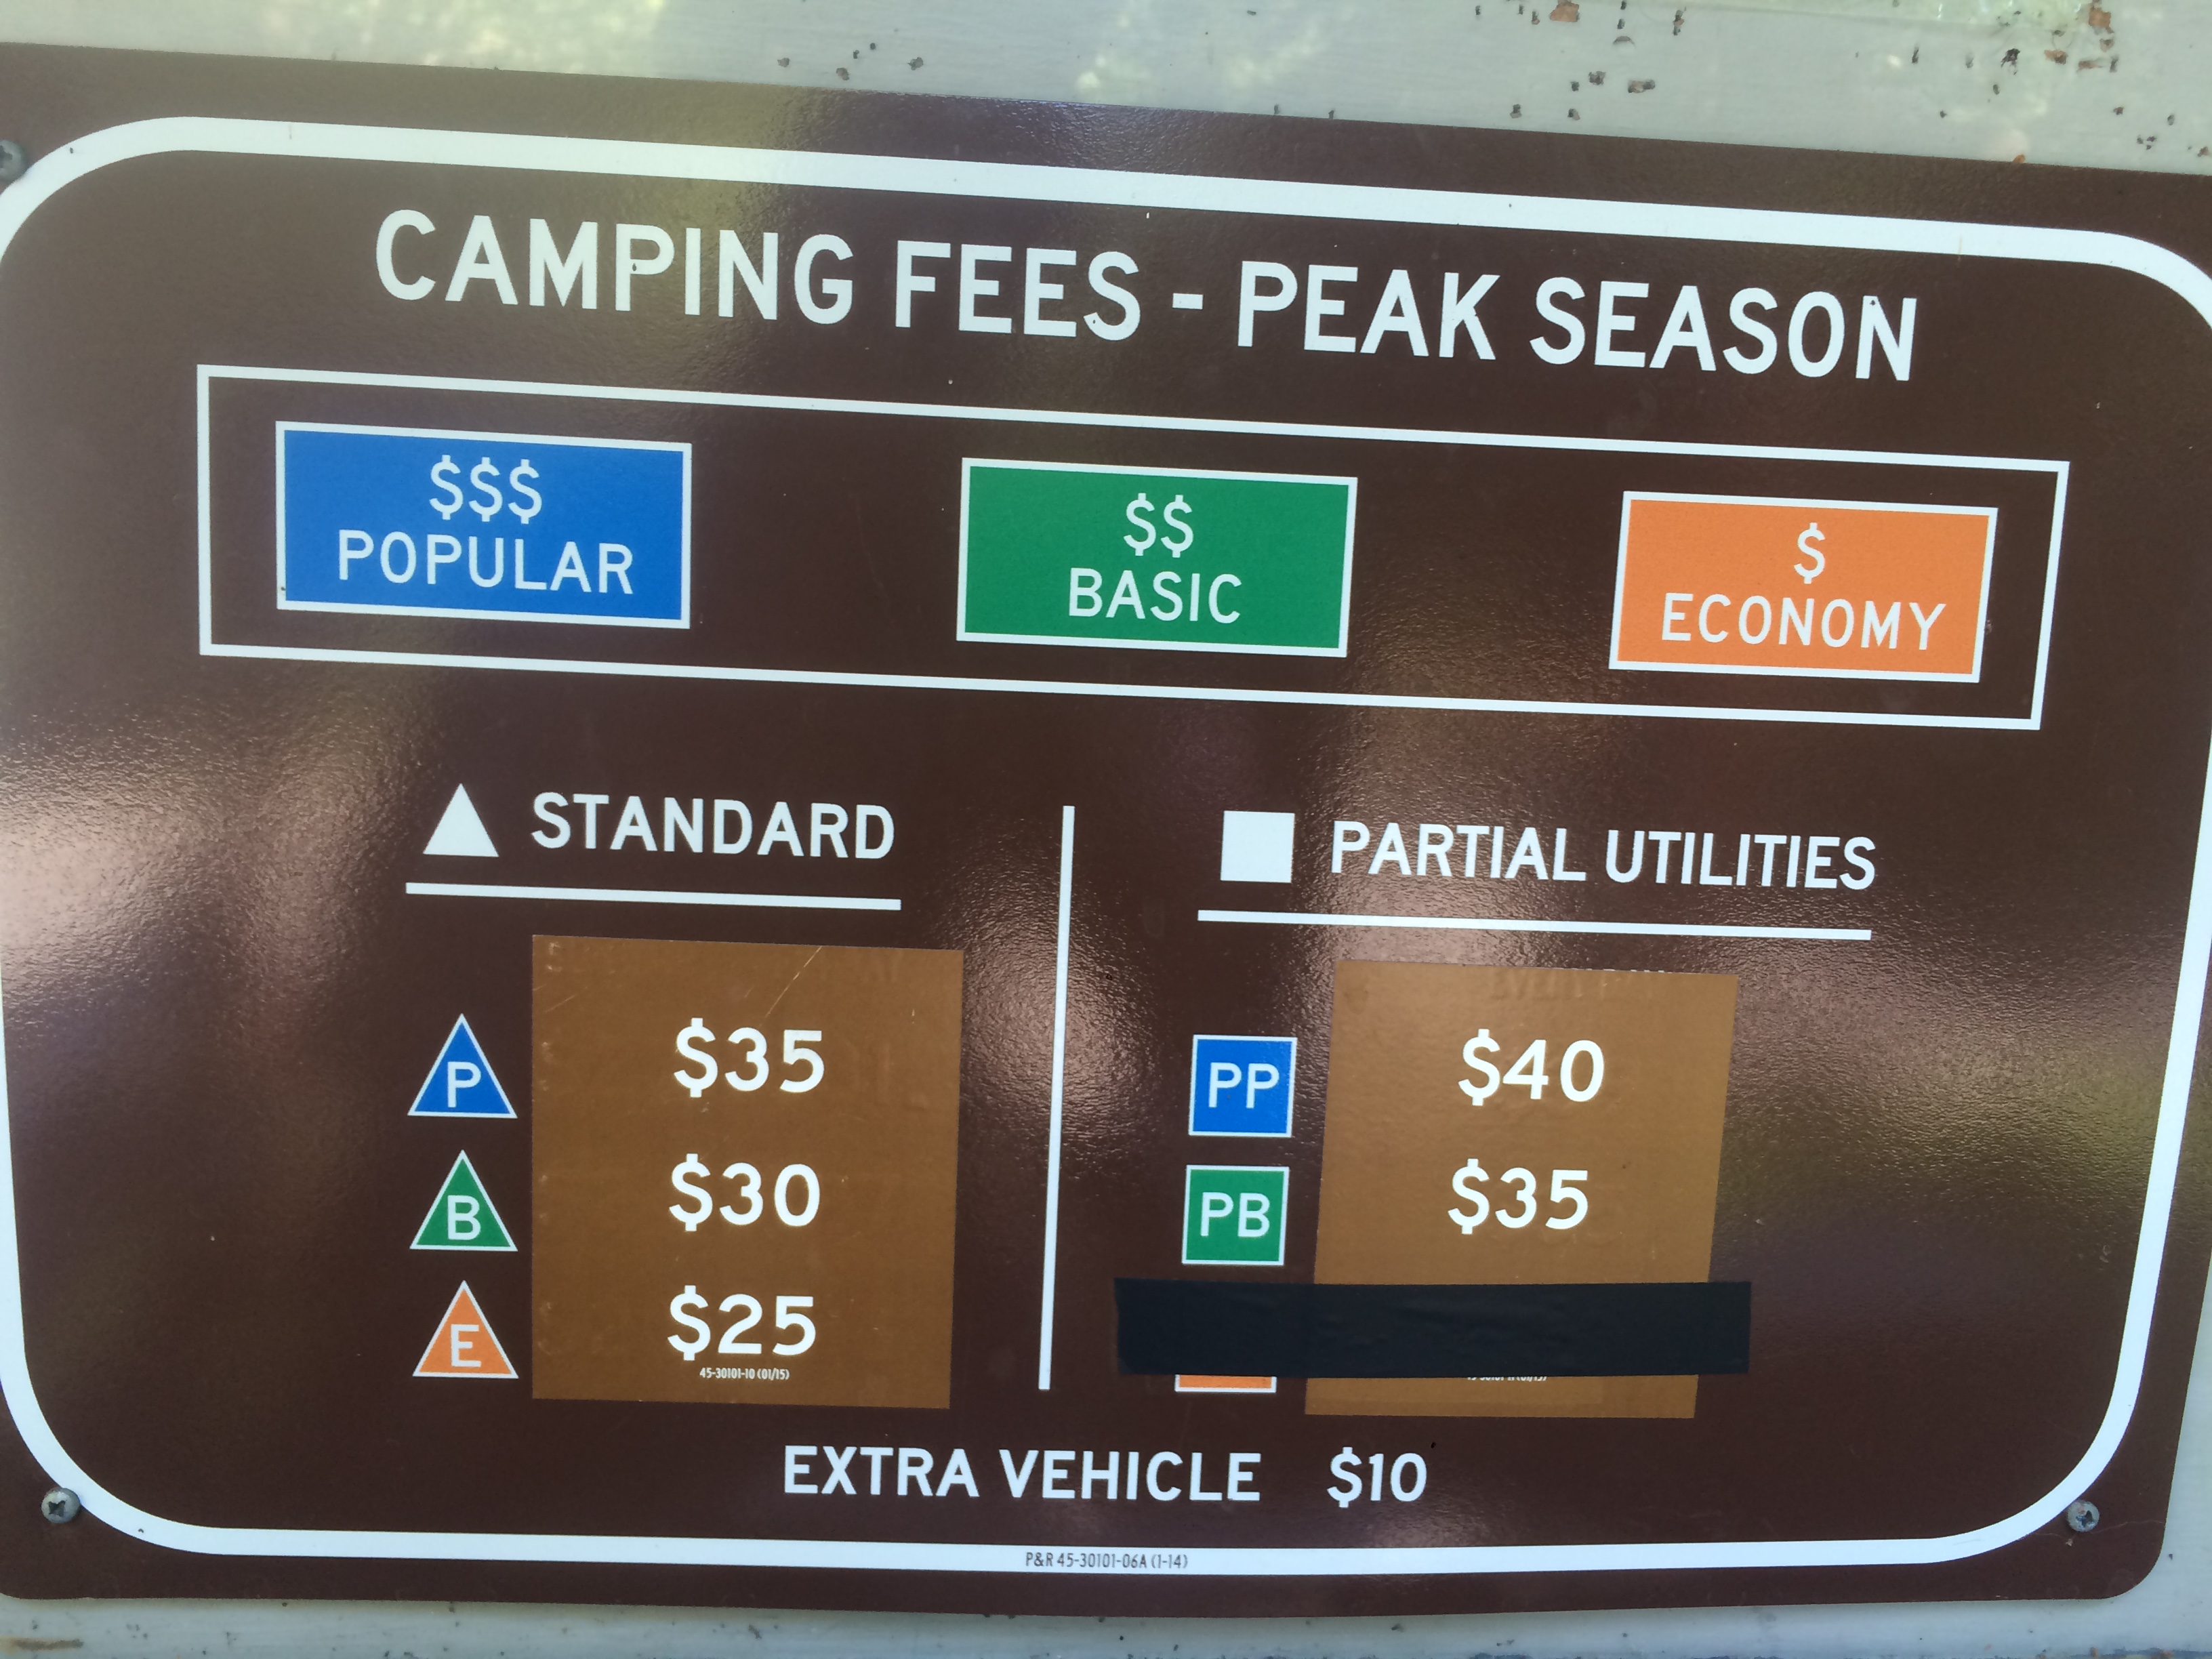
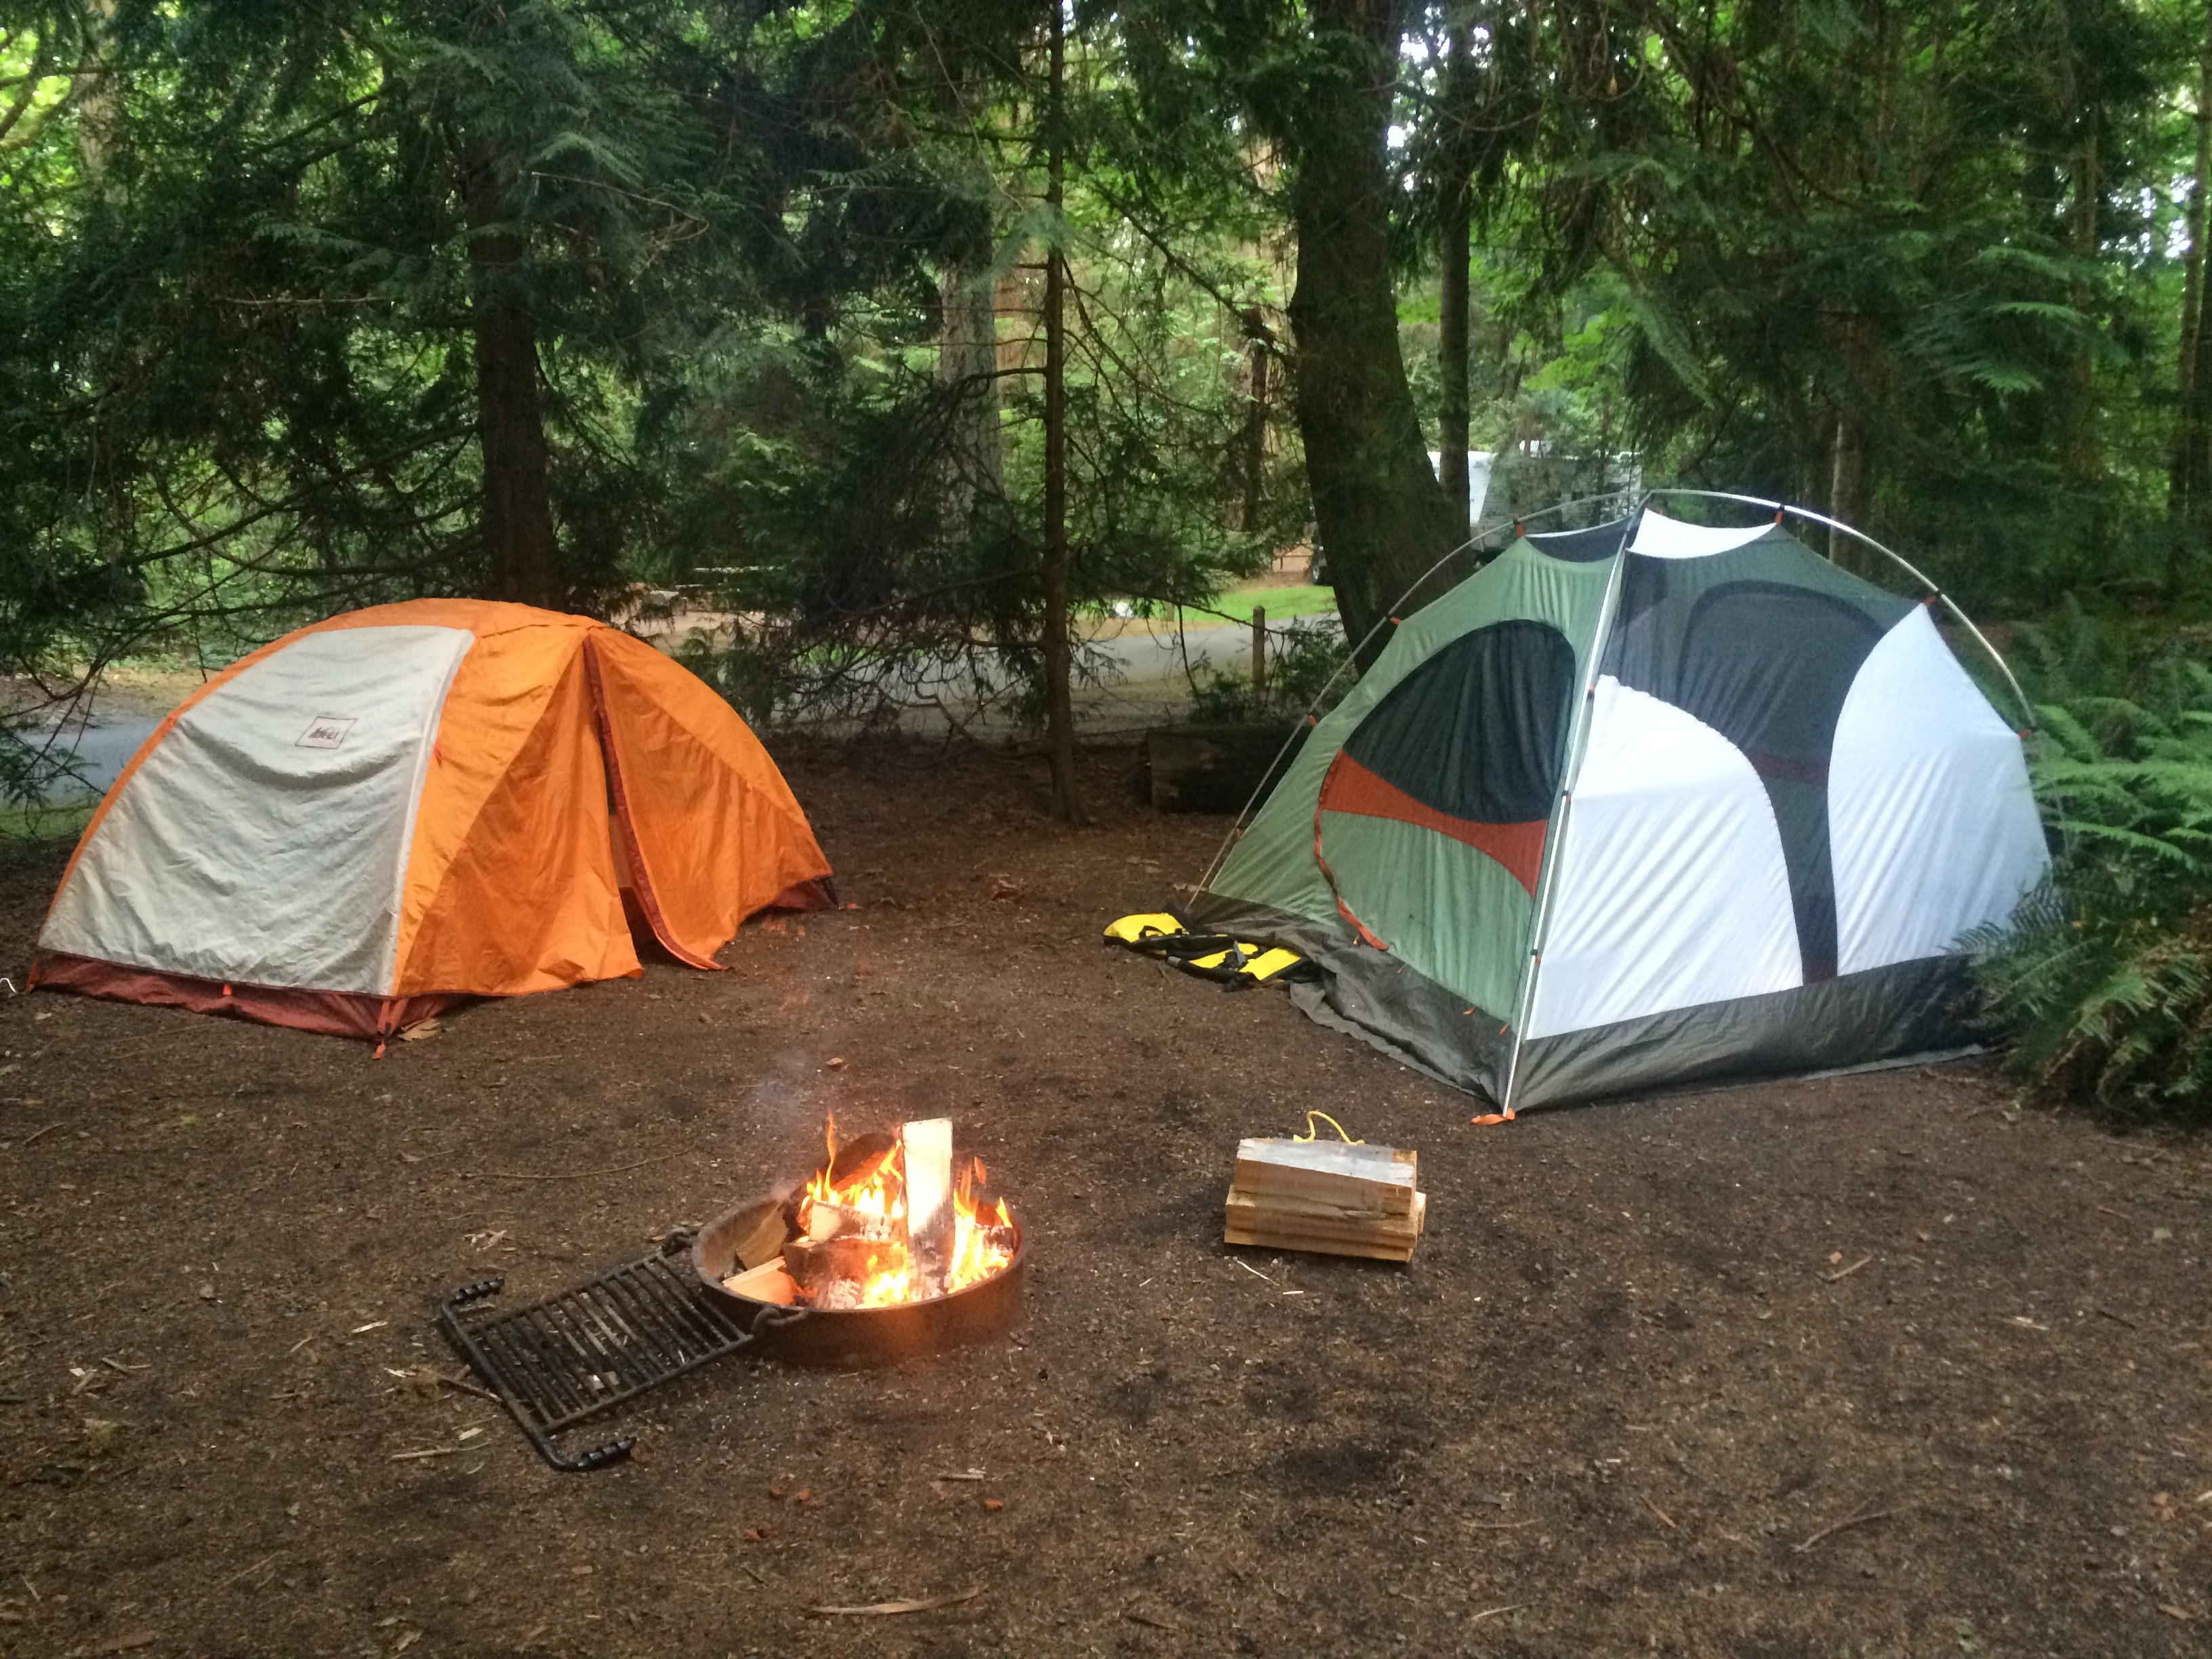
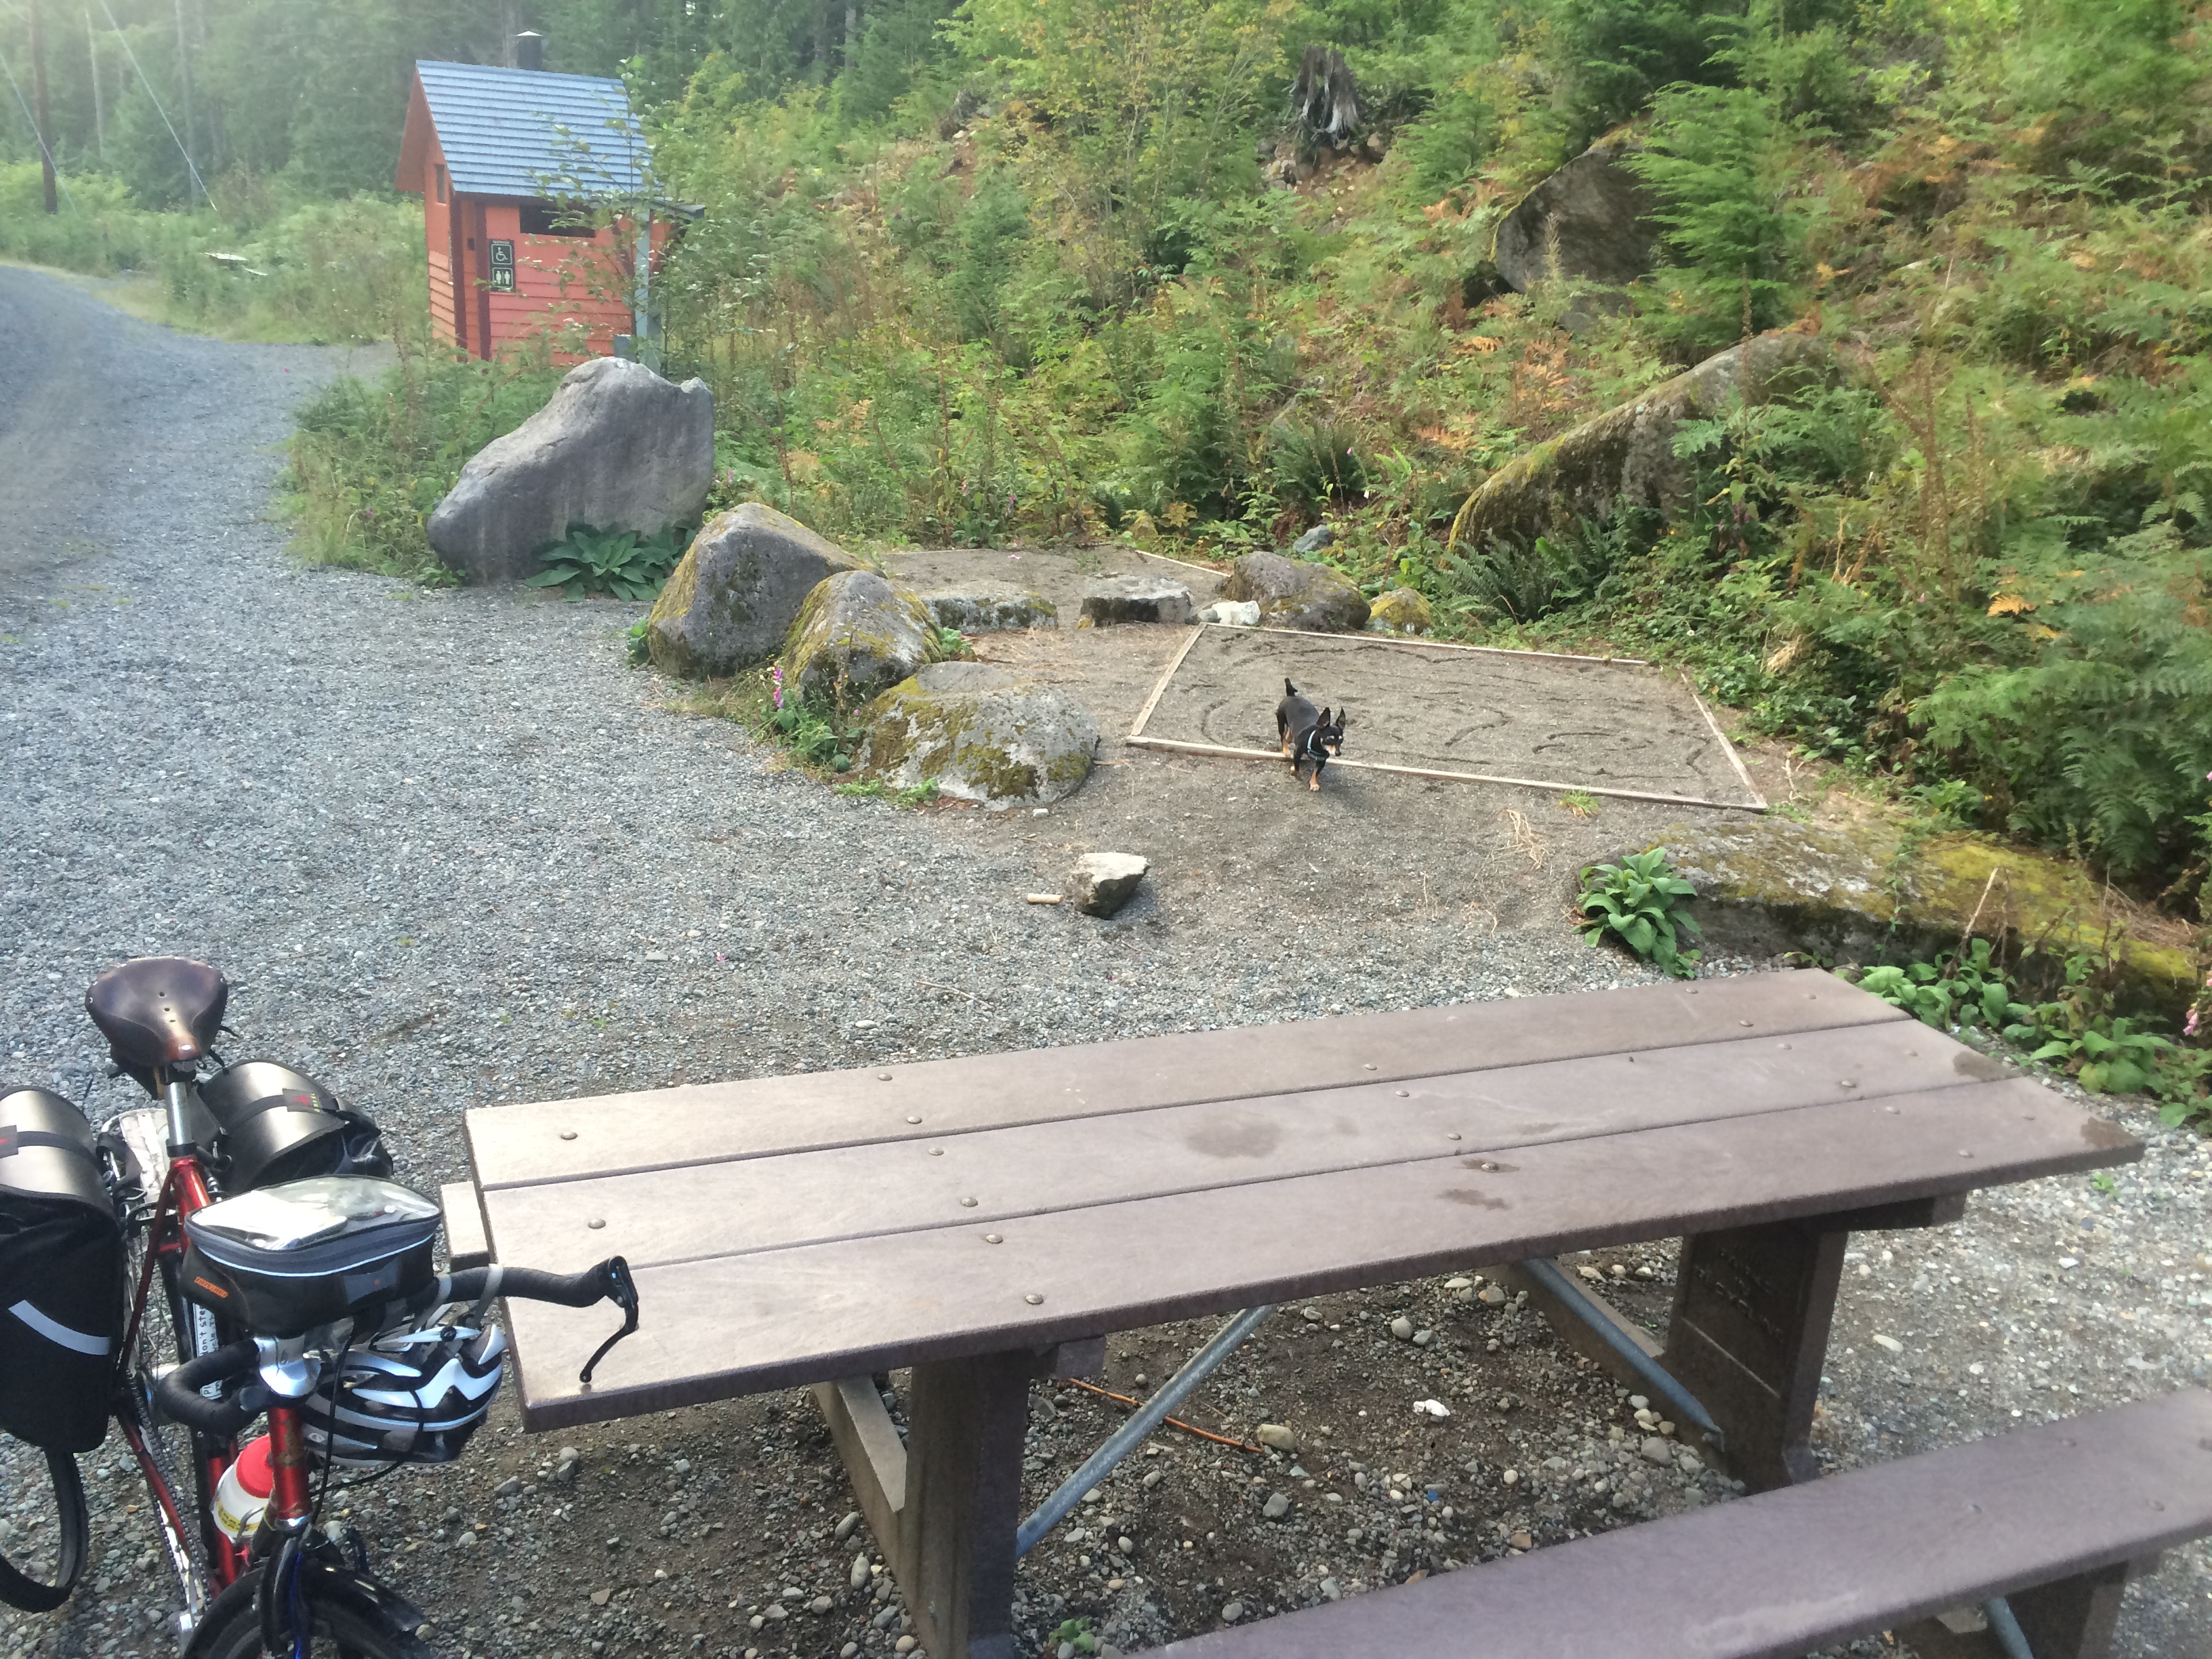
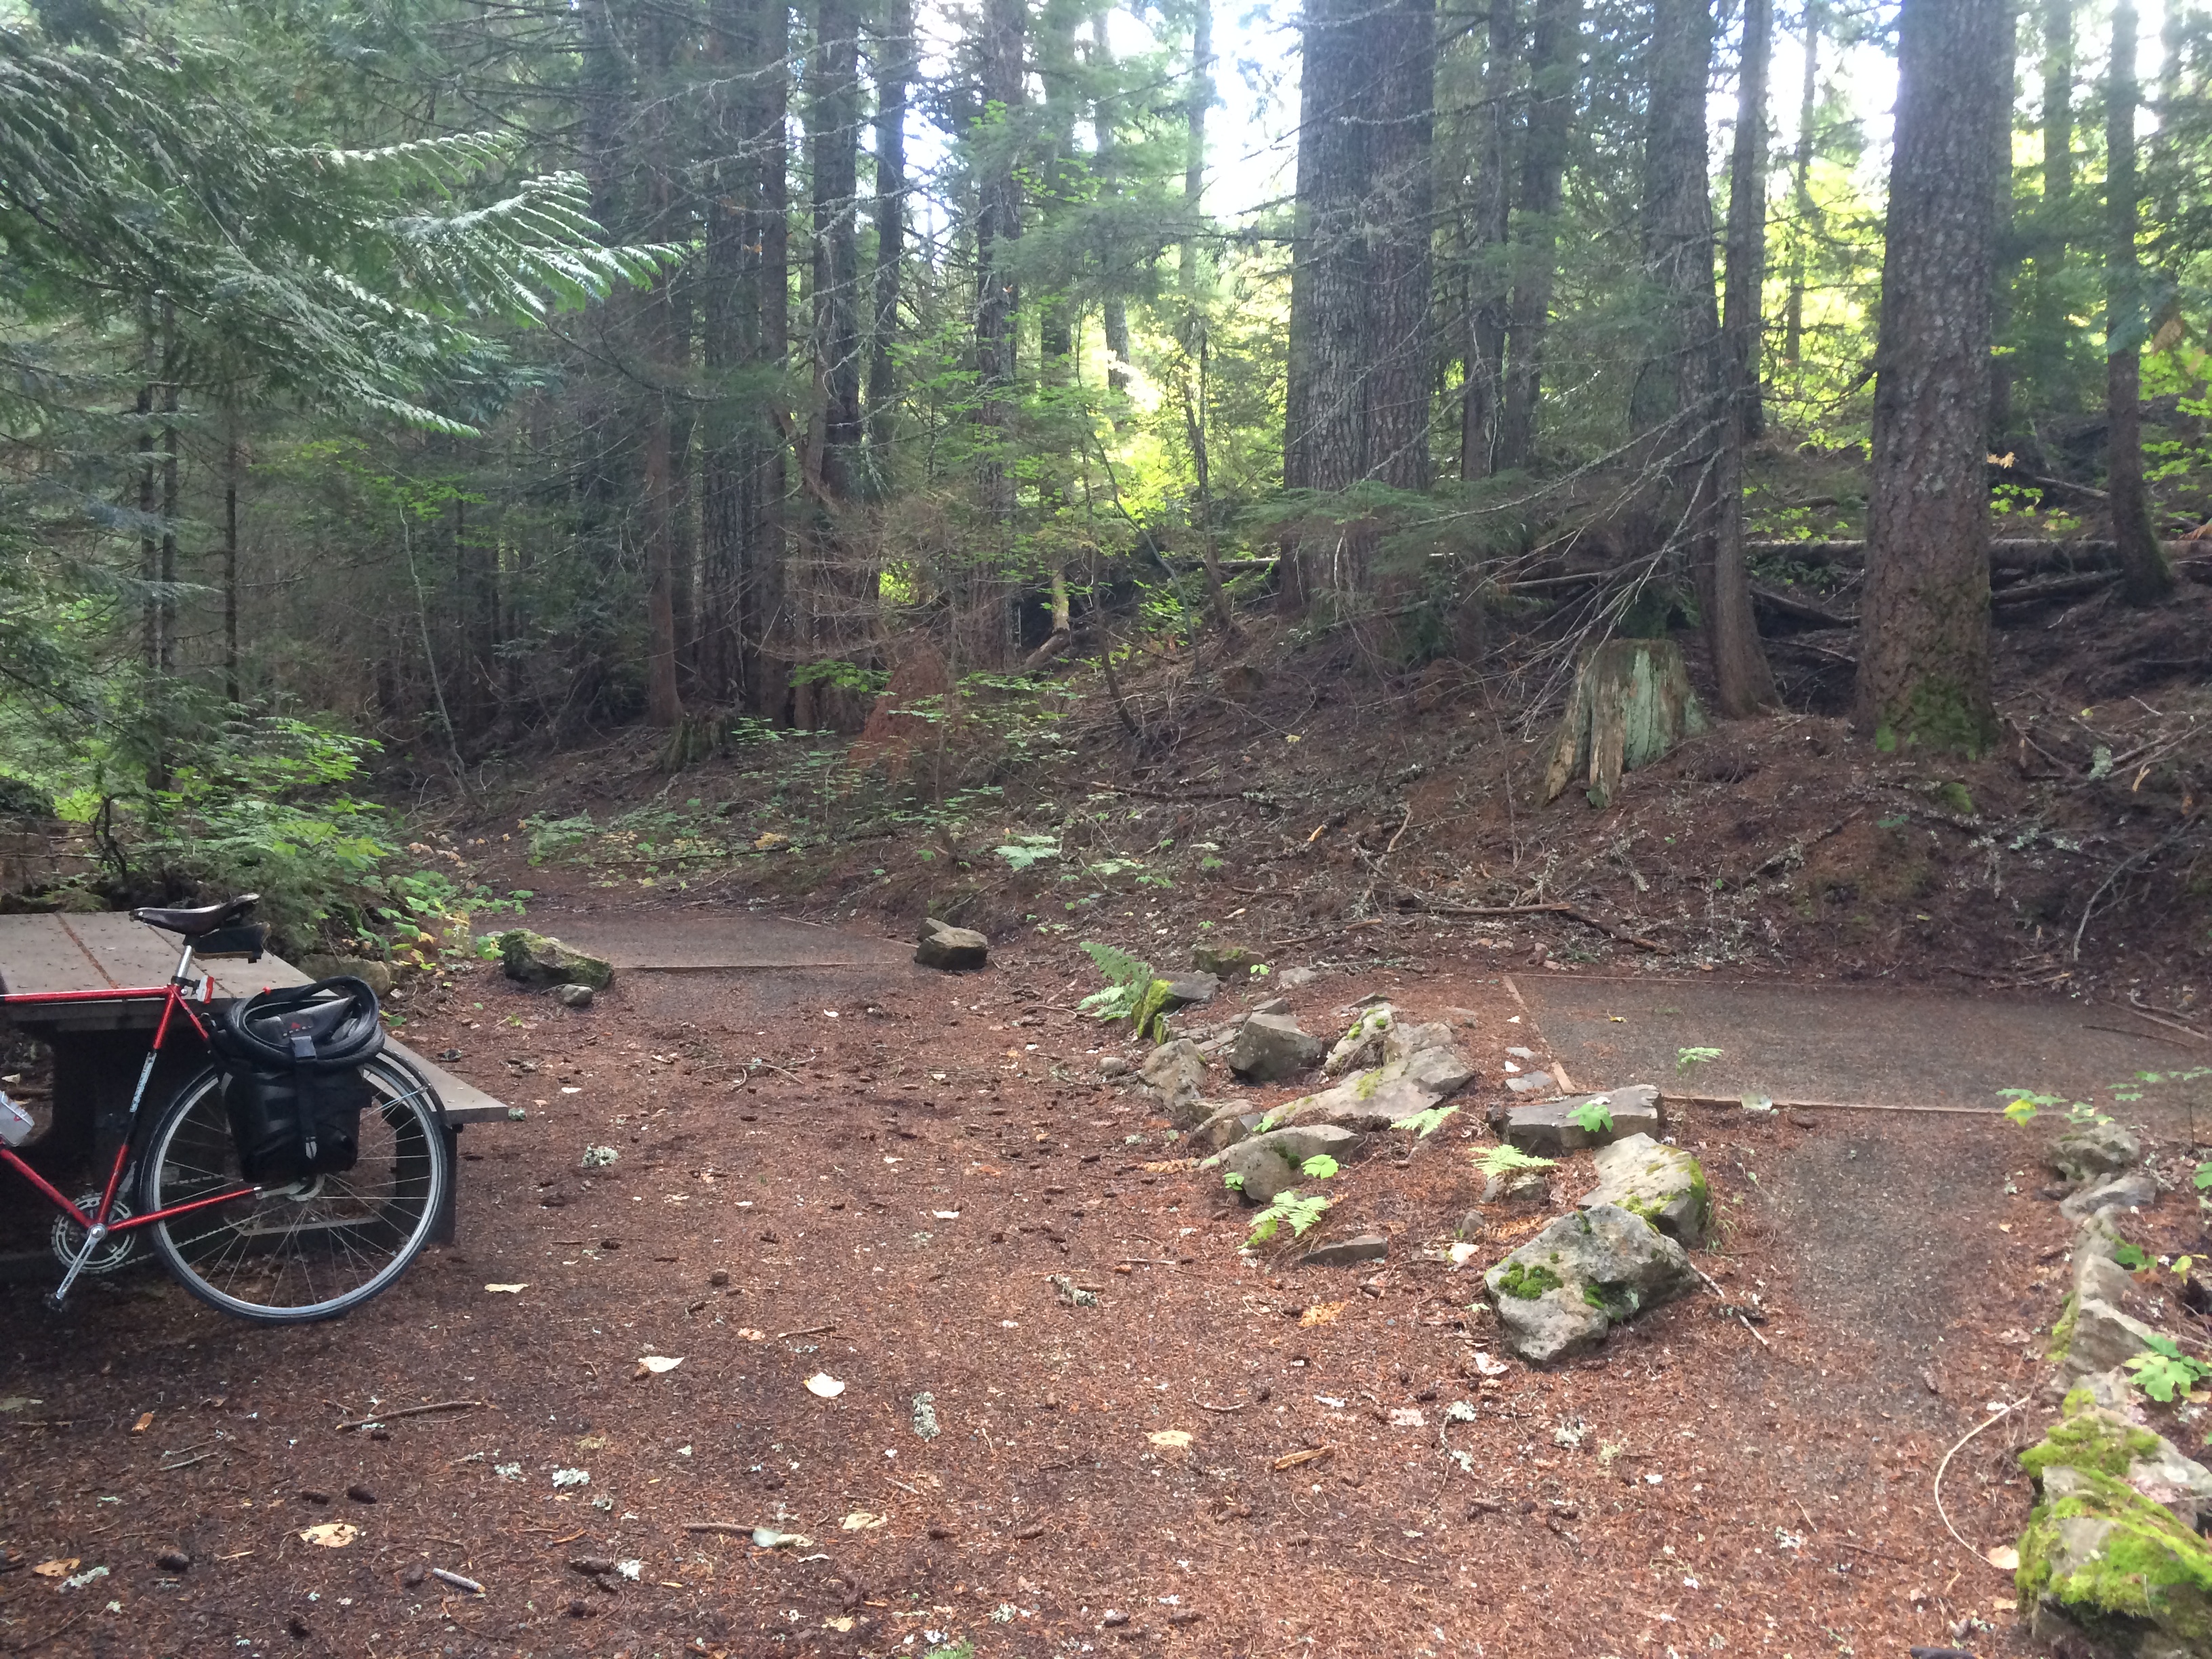
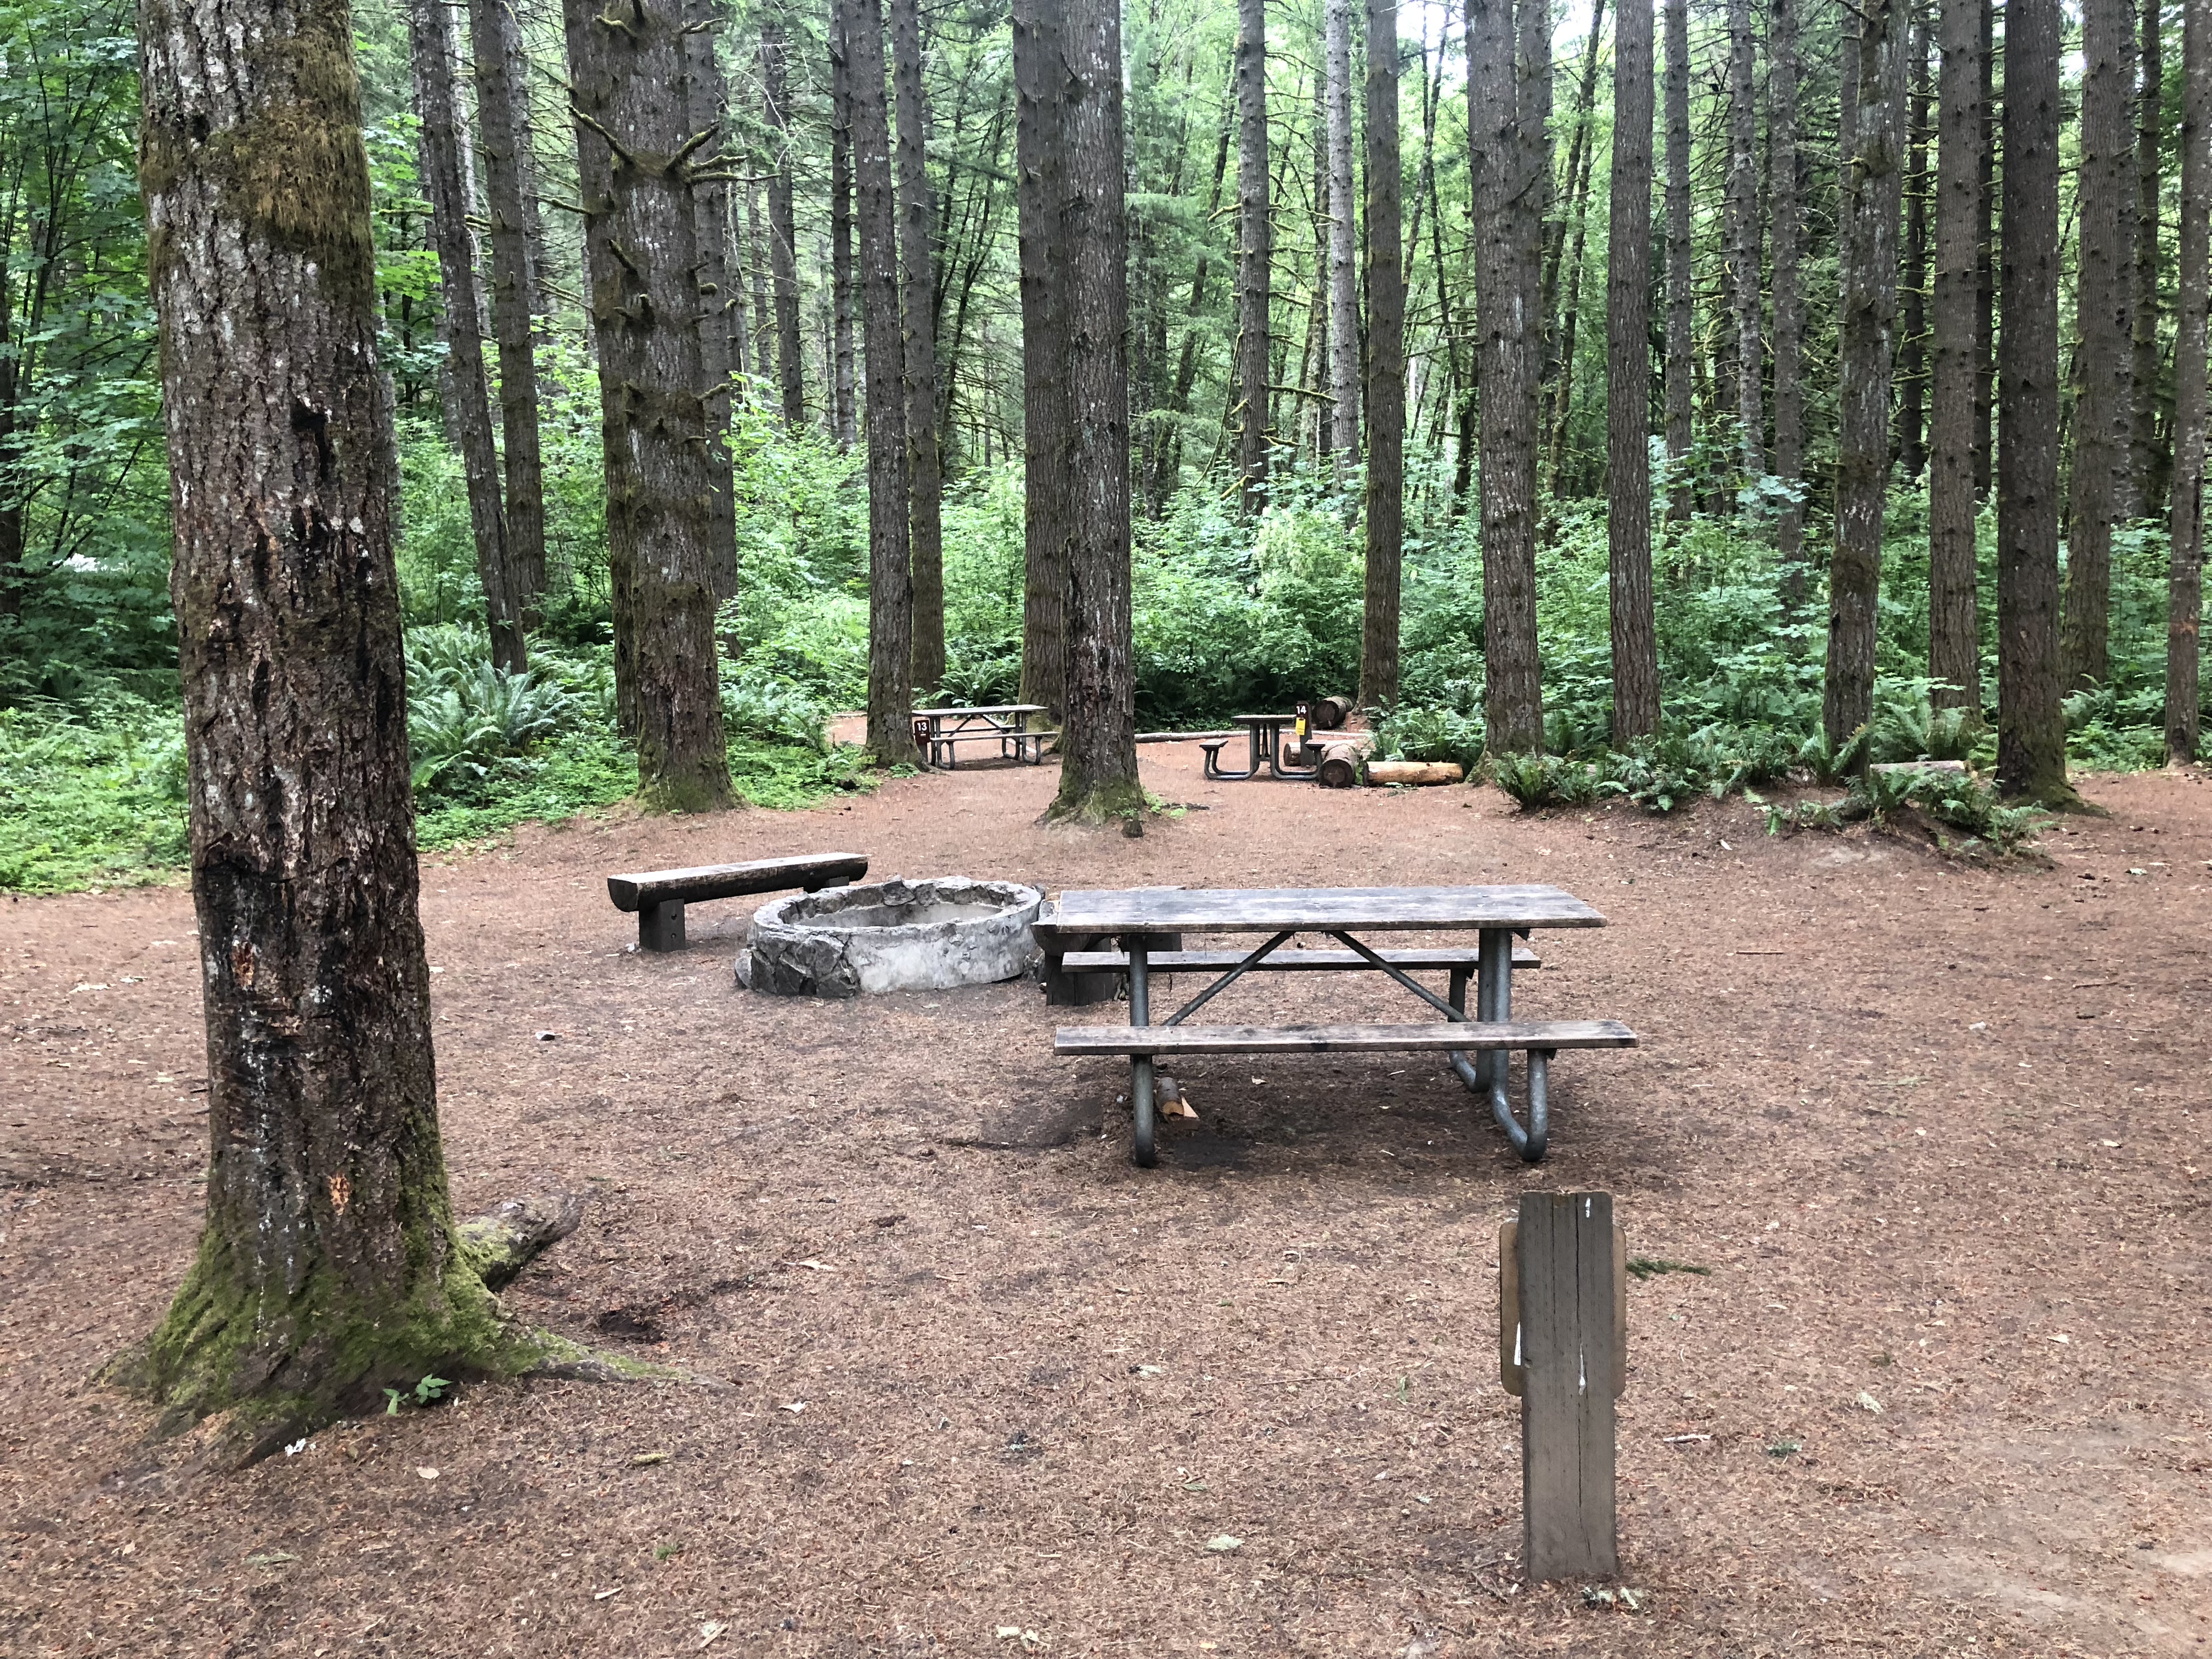
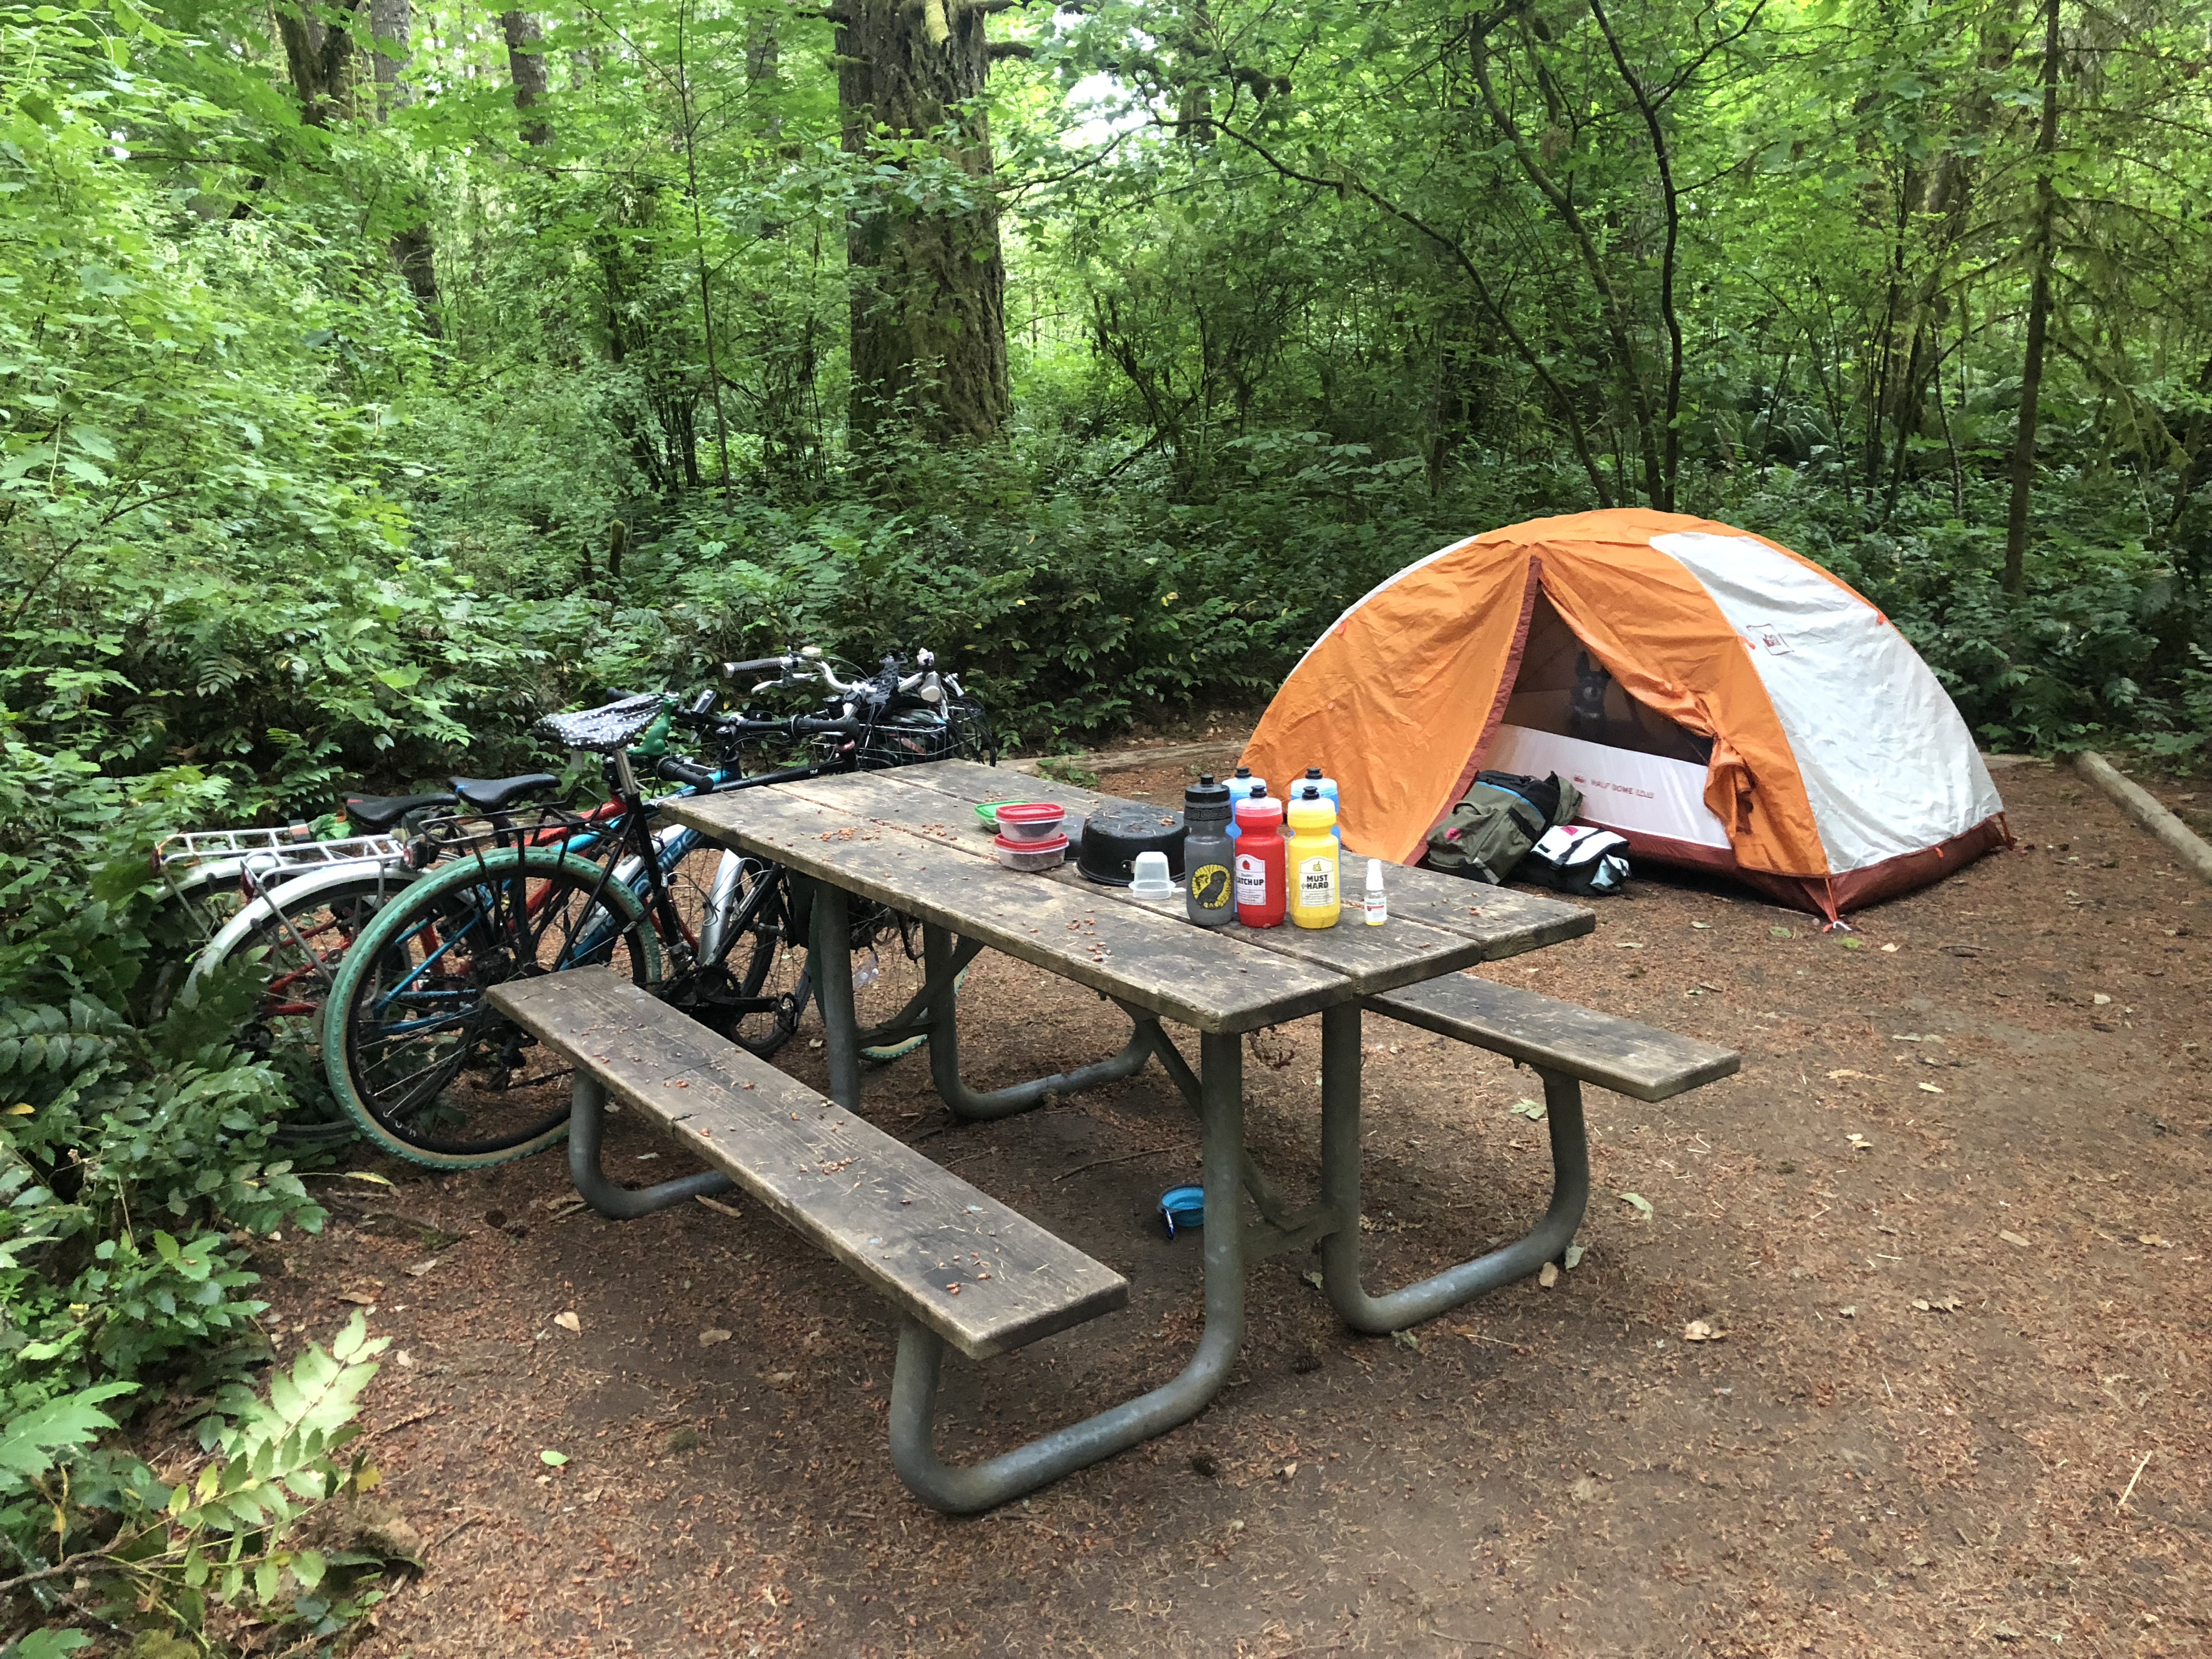
There are car camping spots, but those were $22 and the hike-in was $11. I also heard there was better tree coverage for shade at the hike-in sites. Turns out those trees were also good for rain coverage. It started drizzling as we hit the switchbacks, which felt great, but didn’t touch us much thanks to the trees. We also stayed dry at our site when the rain got a bit heavier. There are also cabins that seem very popular, but those probably fill up more quickly and cost even more. I have no idea where the cabins and car sites were in relation to our hike-in area.
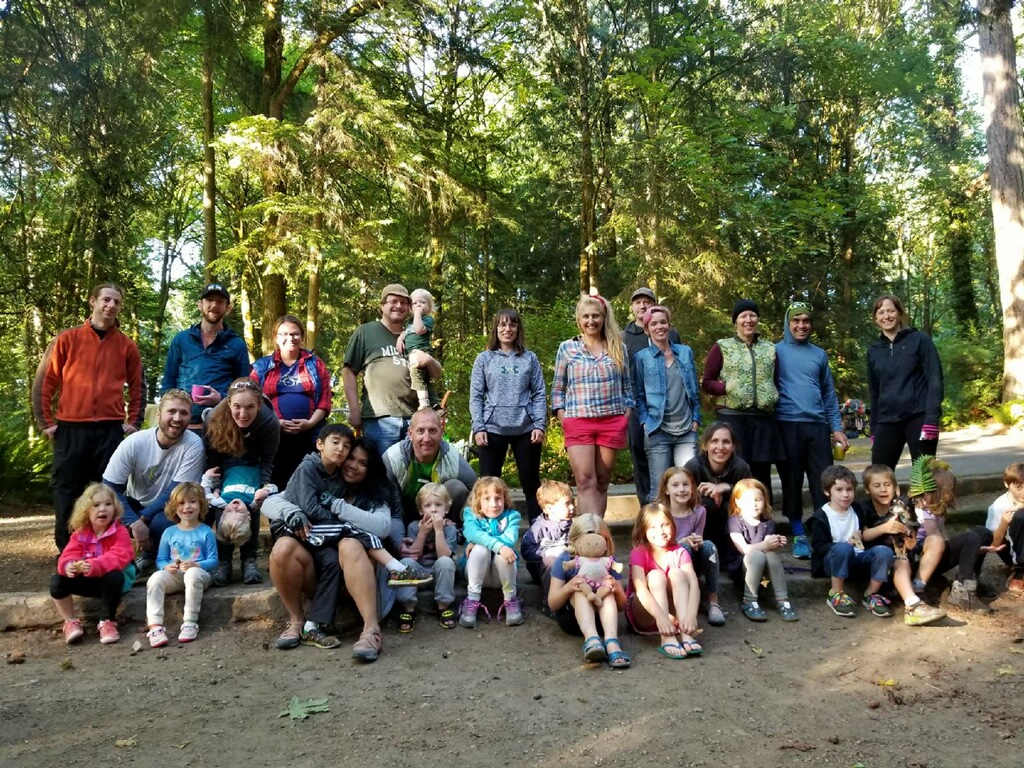
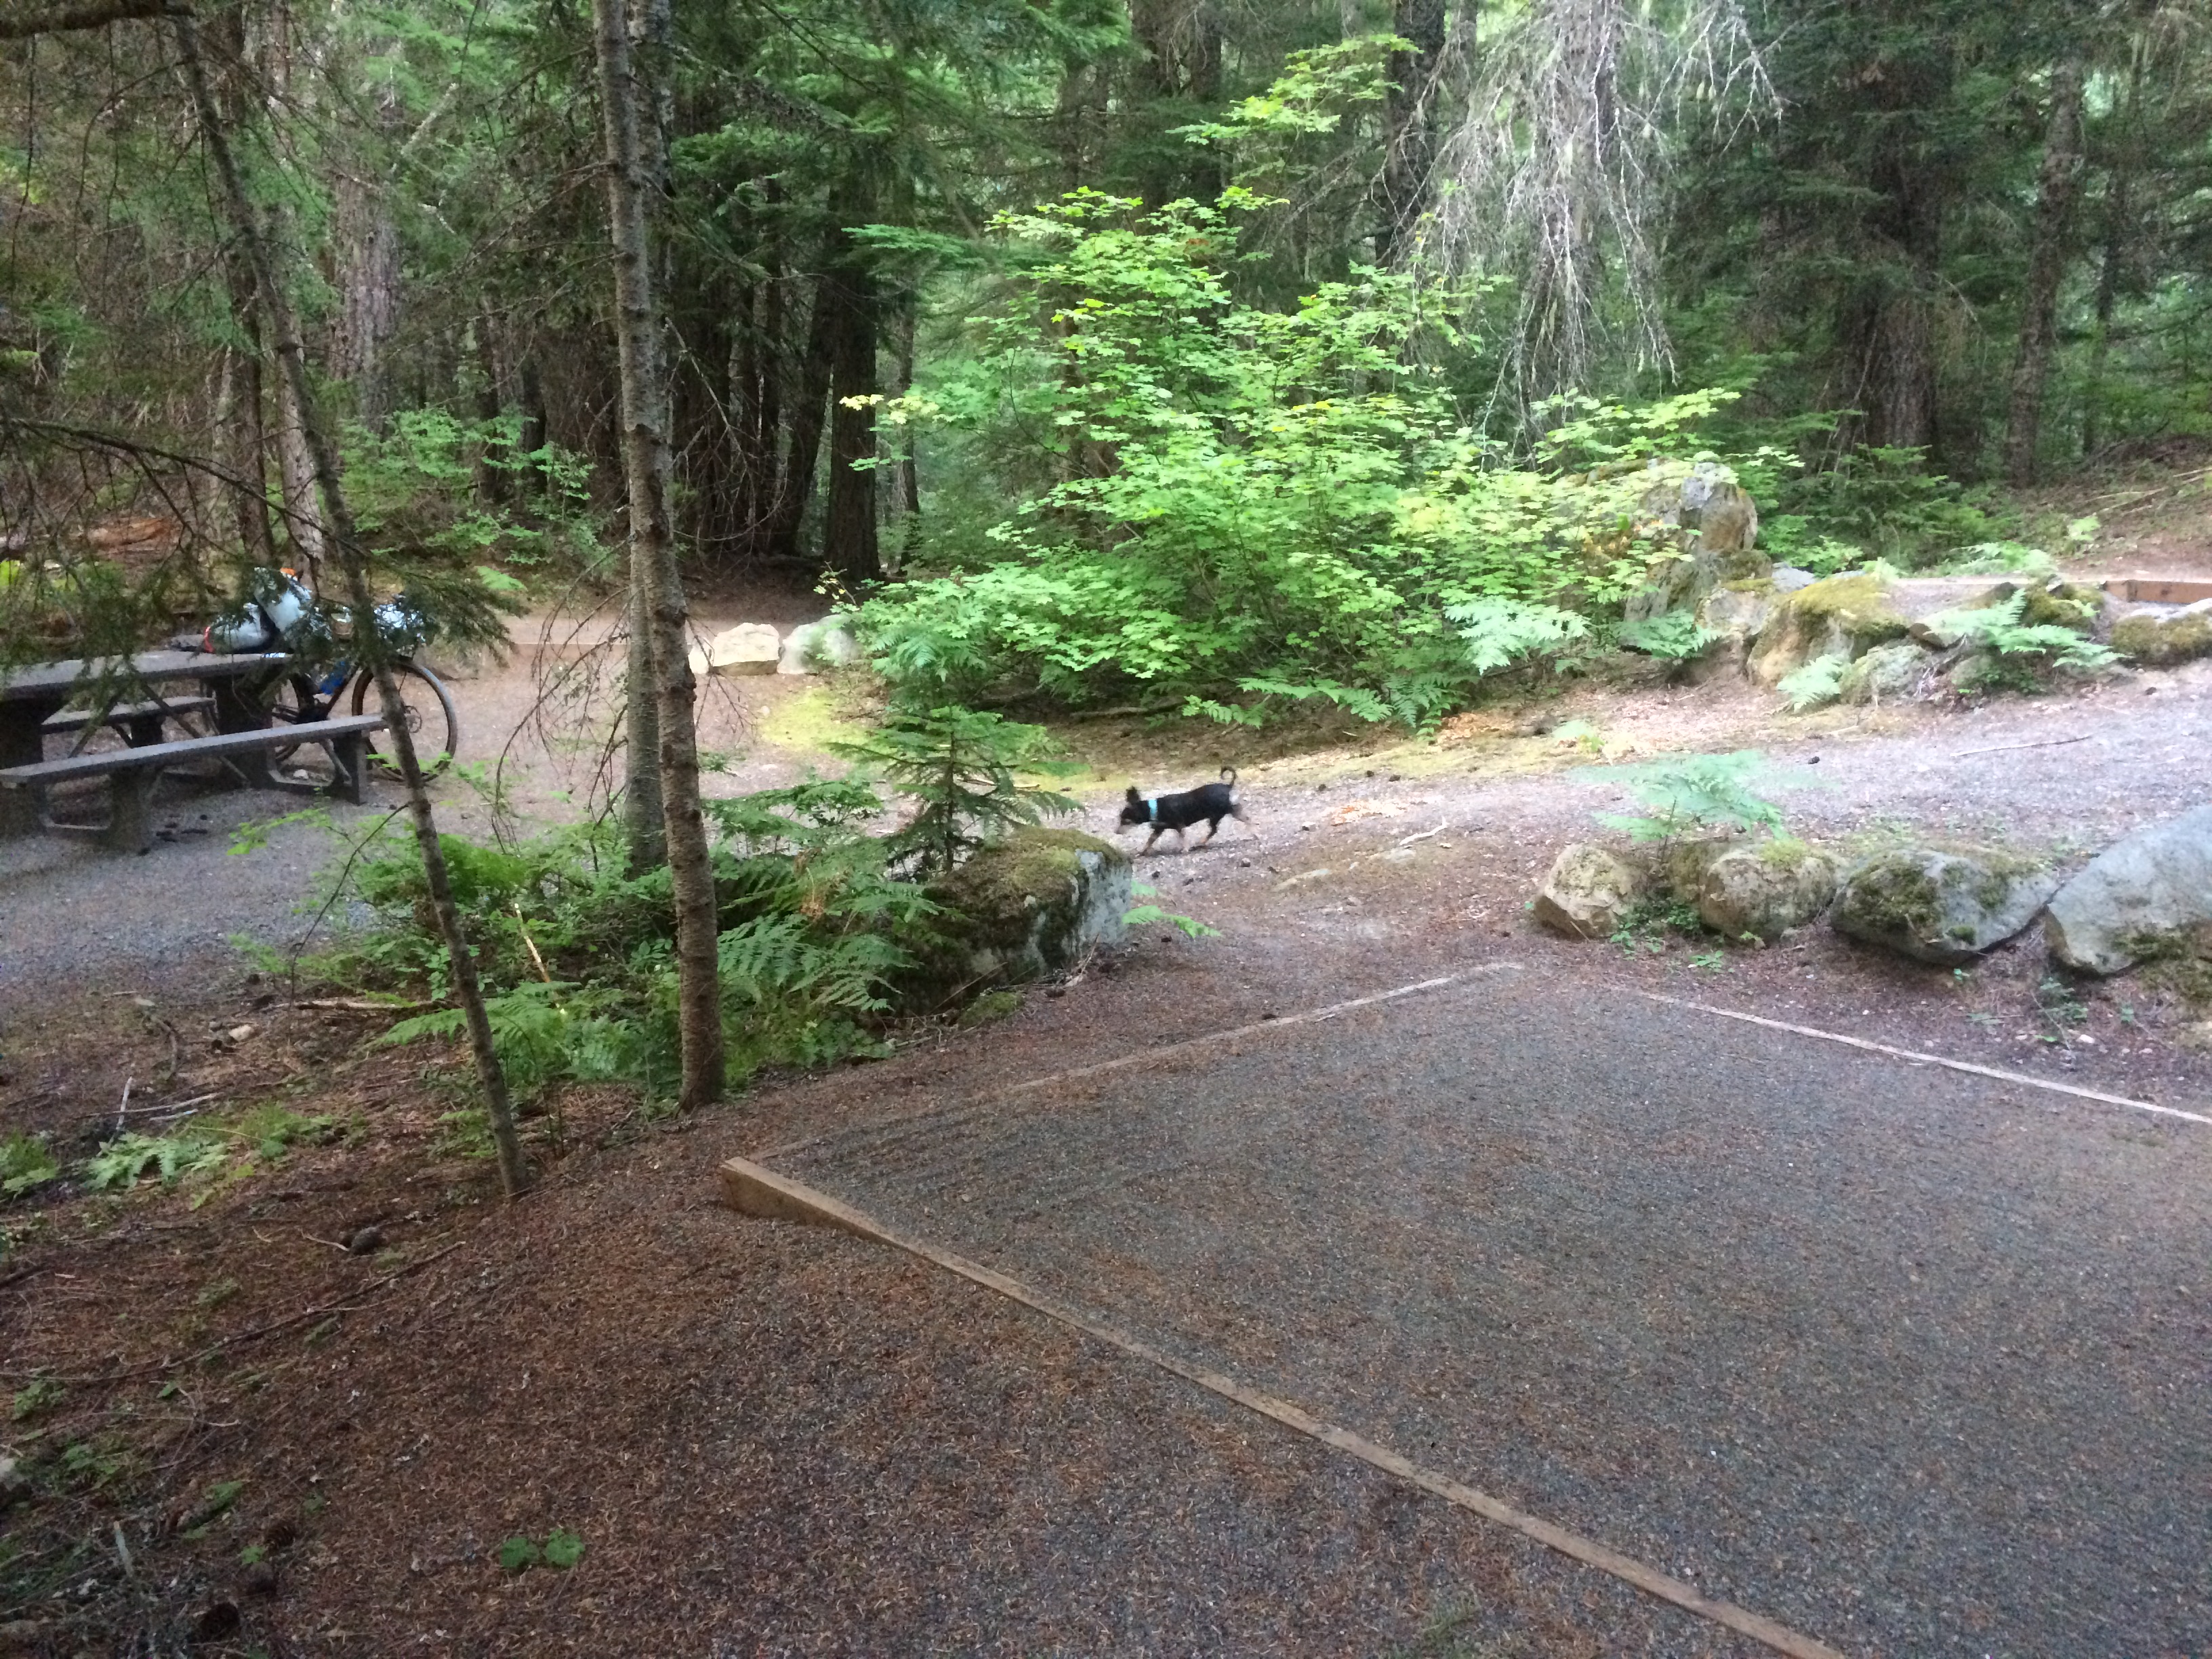
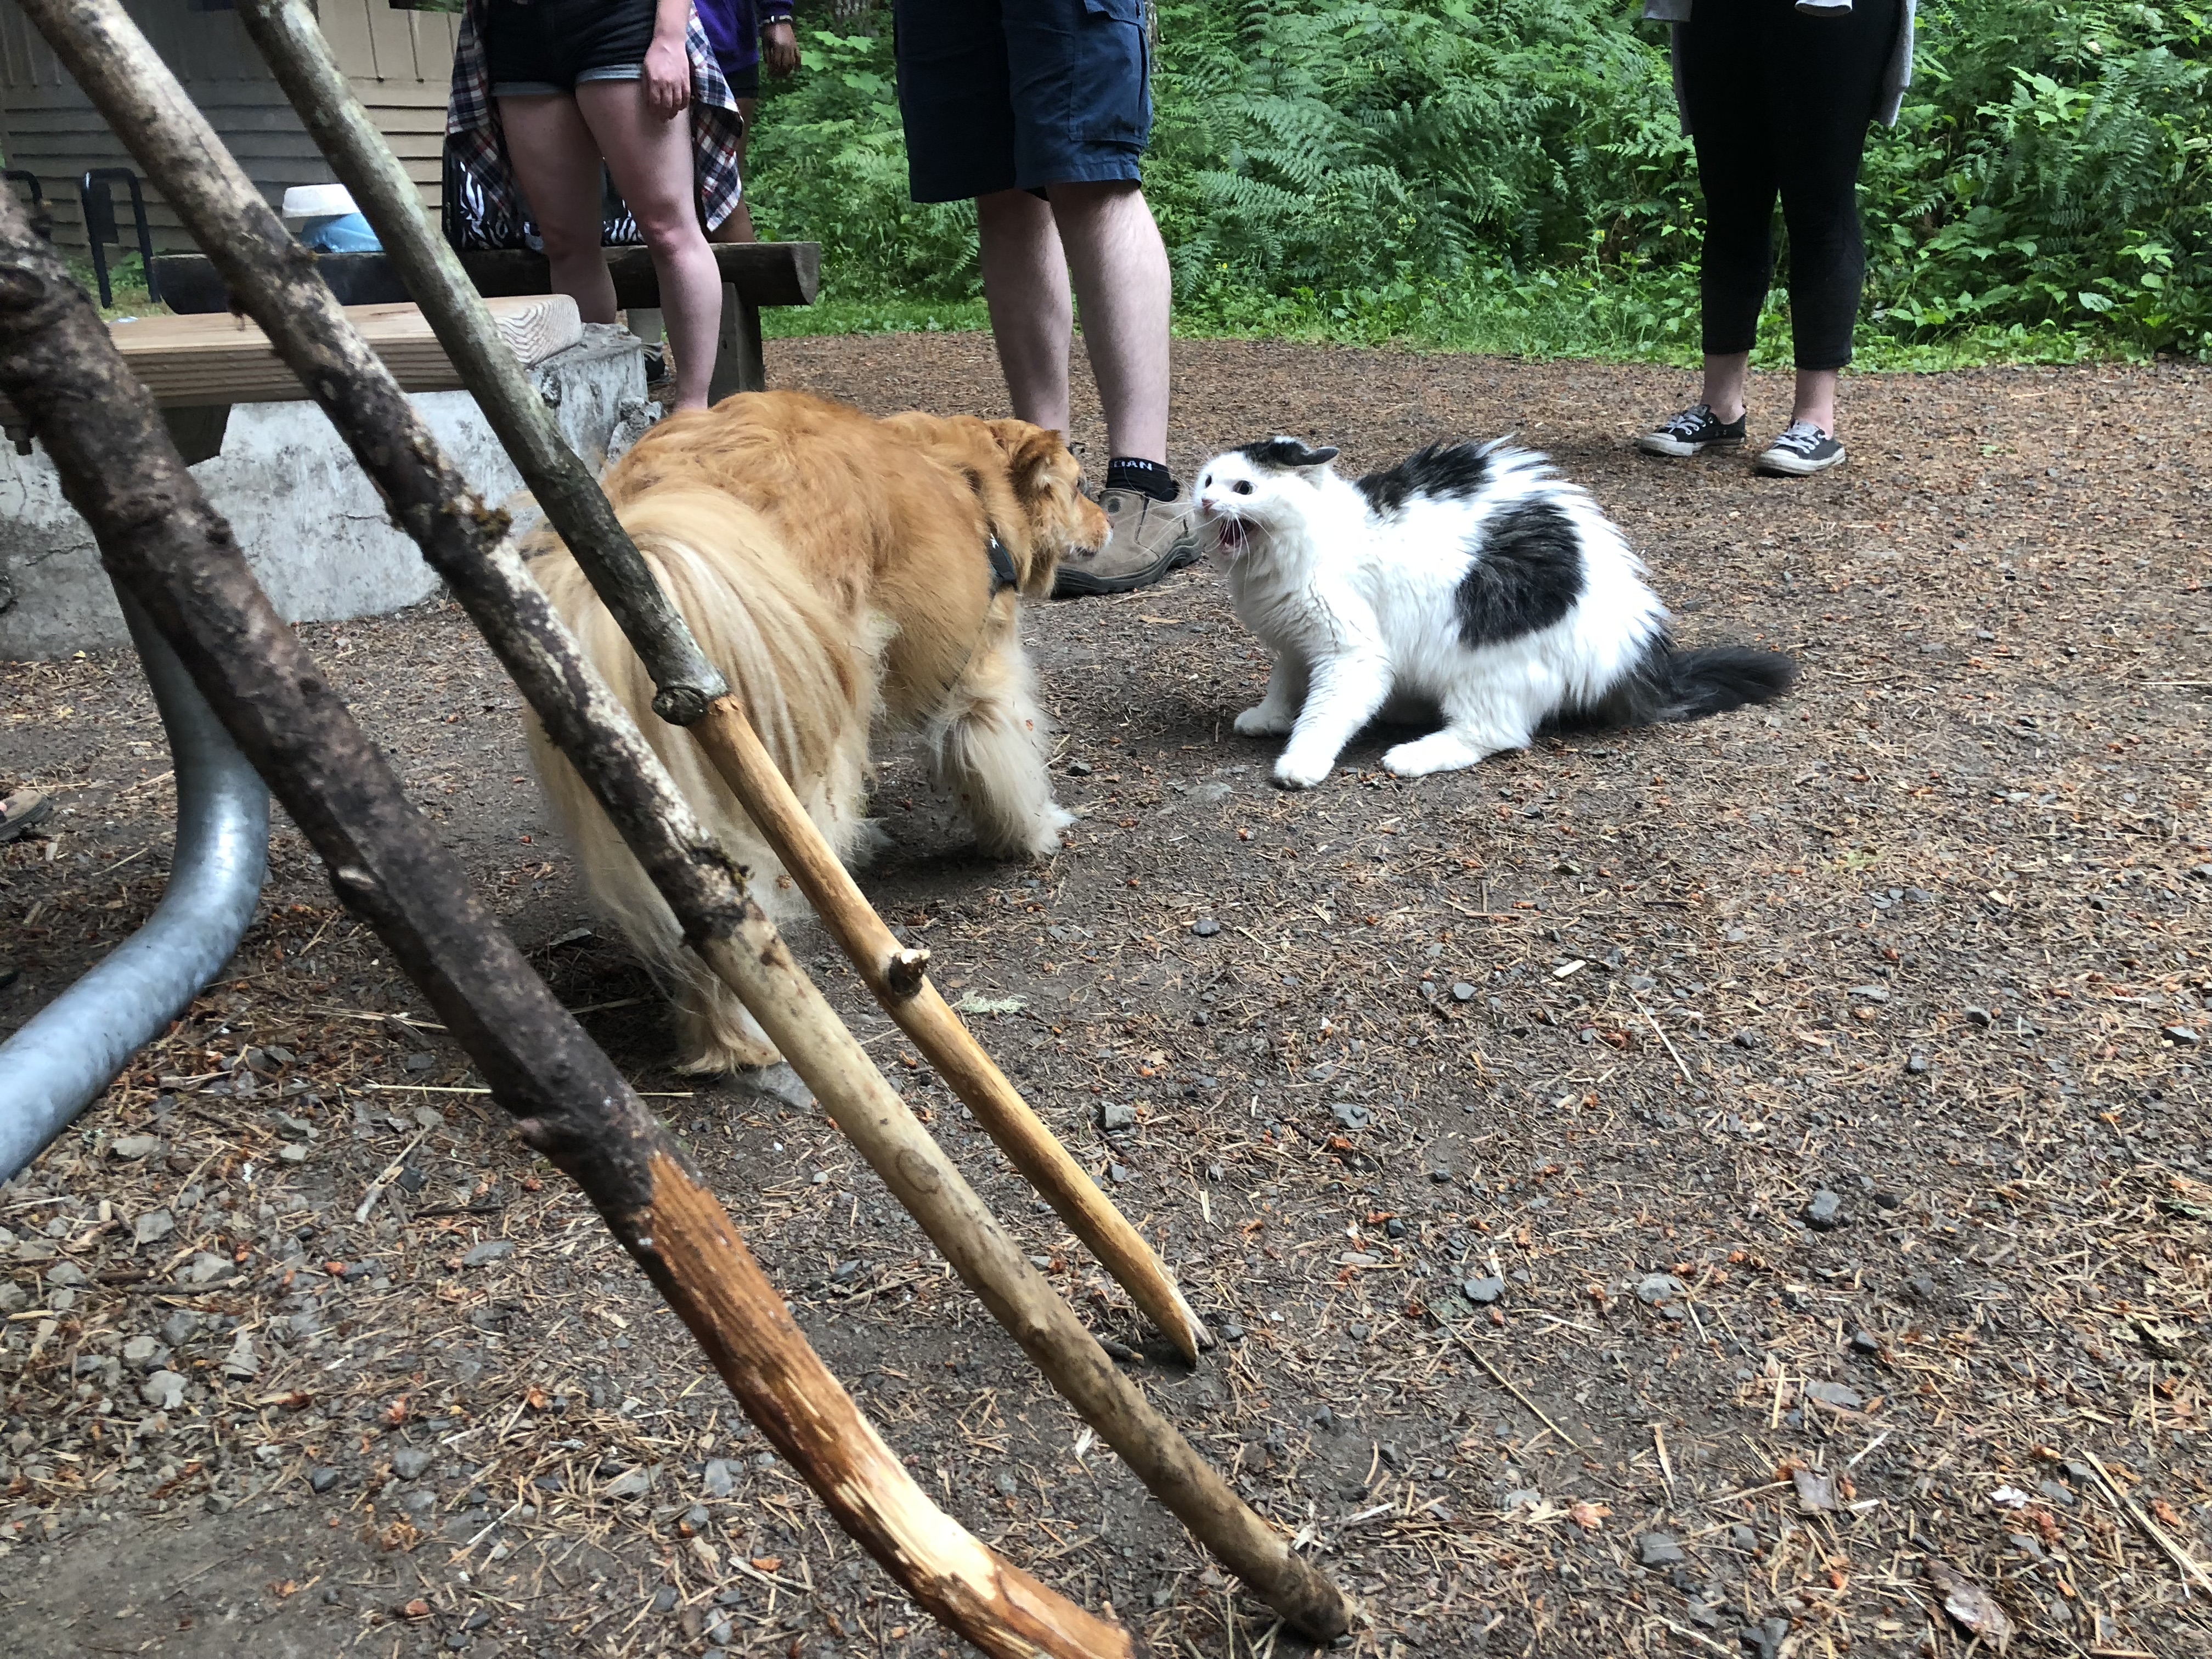
I chose site 20 to be close to one of the two restrooms, but not close to one of the two fire pits. I figured we’d want to go to sleep earlier than the people at the camp fires, but it’d be nice to visit and roast marshmallows earlier in the evening. And it was! We hung out with grownups with two dogs and then with three kids who’d been camping for a few days already and were excited to finally have some kid company. There was even a cat camping!
There were a lot of mosquitoes and the rain didn’t chase them away one bit. I had spray with us, but next time I’m bringing mosquito lotion to better slather on.
Also next time we might brave a site by a fire. The campfire we made our s’mores at was right next to a grassy field, a restroom, and water so it had everything! But the other fire pit has a cute cluster of sites around it…though not being near a restroom doesn’t appeal to me as much.
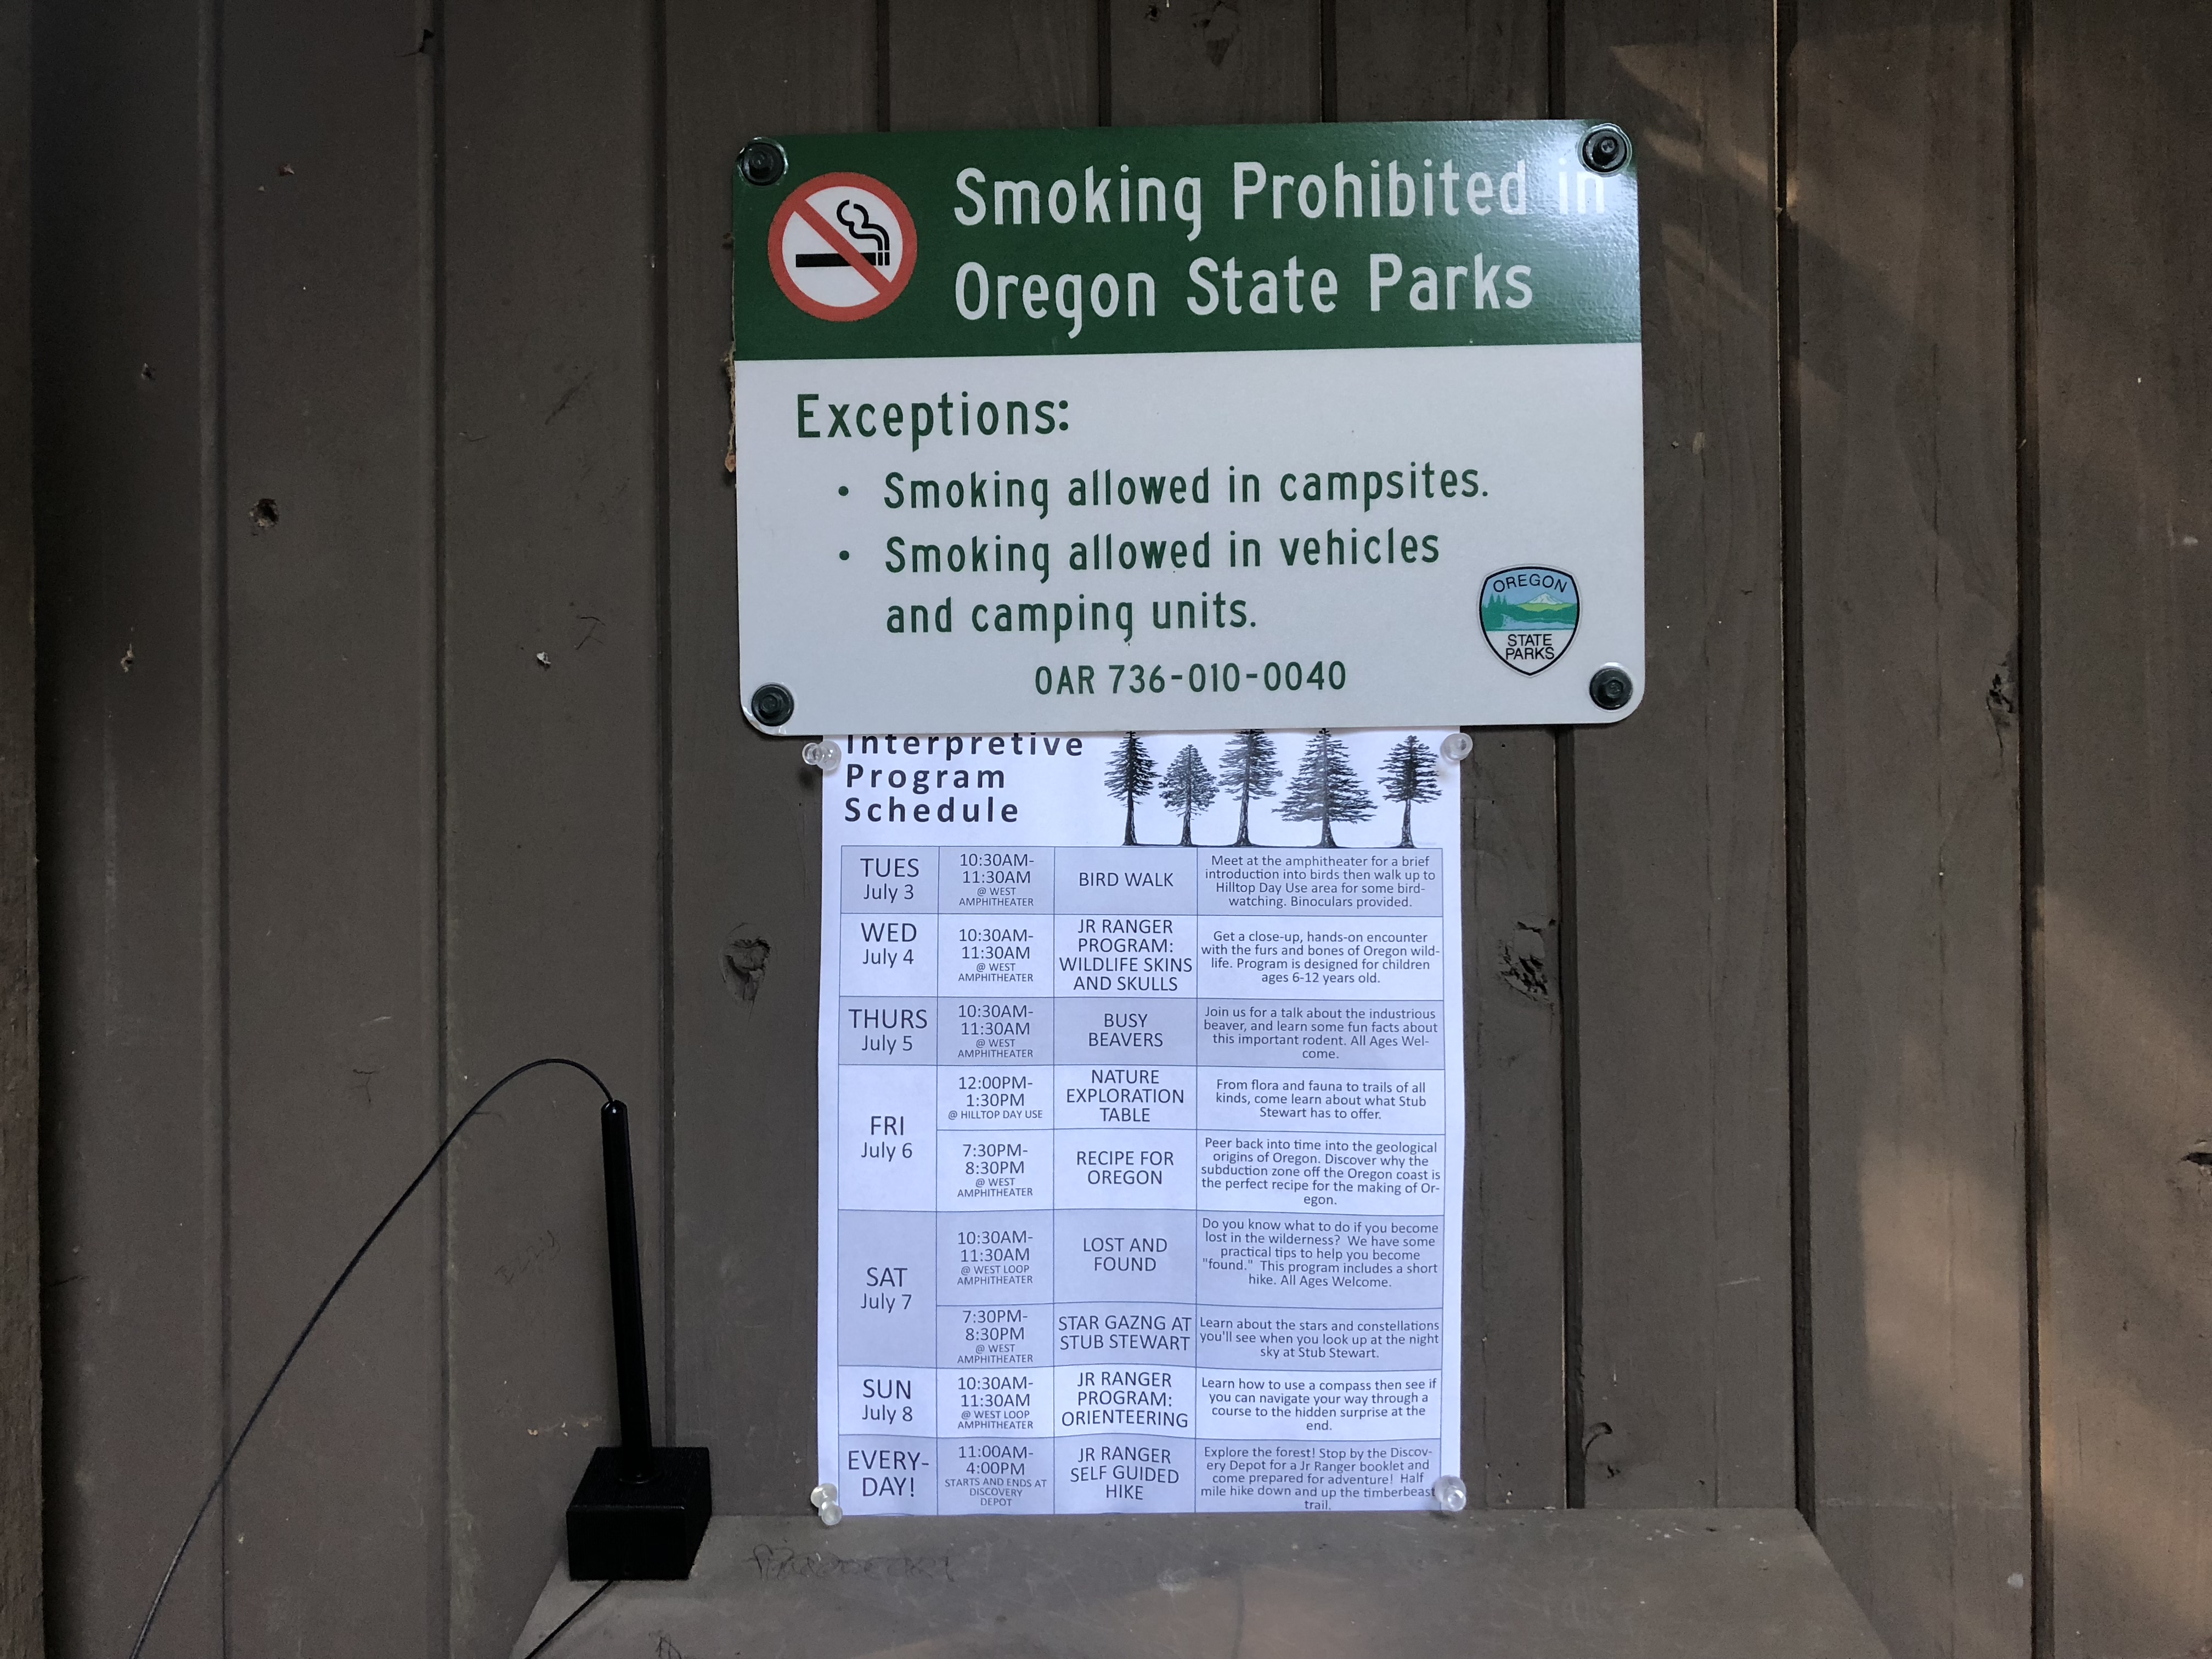
Our morning bike ride to the Visitor Center brought us by the self registration station and the activities calendar. Full of fun stuff!
The trip back
We hit the road at 9:55 (I had wanted to leave at 9:30) while it was cool and shady. After quickly navigating the switchbacks in the downhill direction, the Banks-Vernonia State Trail was also a quick downhill adventure. My younger son had a very sore loose tooth and I hadn’t thought to bring any sort of medicine (or bandaids even!) so we stopped at the Thriftway for Children’s Advil. Several people bade me “Be careful!” out front of the store so I returned the blessing. It was disconcerting after having been around so many cheerful people walking, jogging, and riding bikes to encounter this worry as soon as we were just a little bit away from the trail. I might try to stick to Main Street in the future.
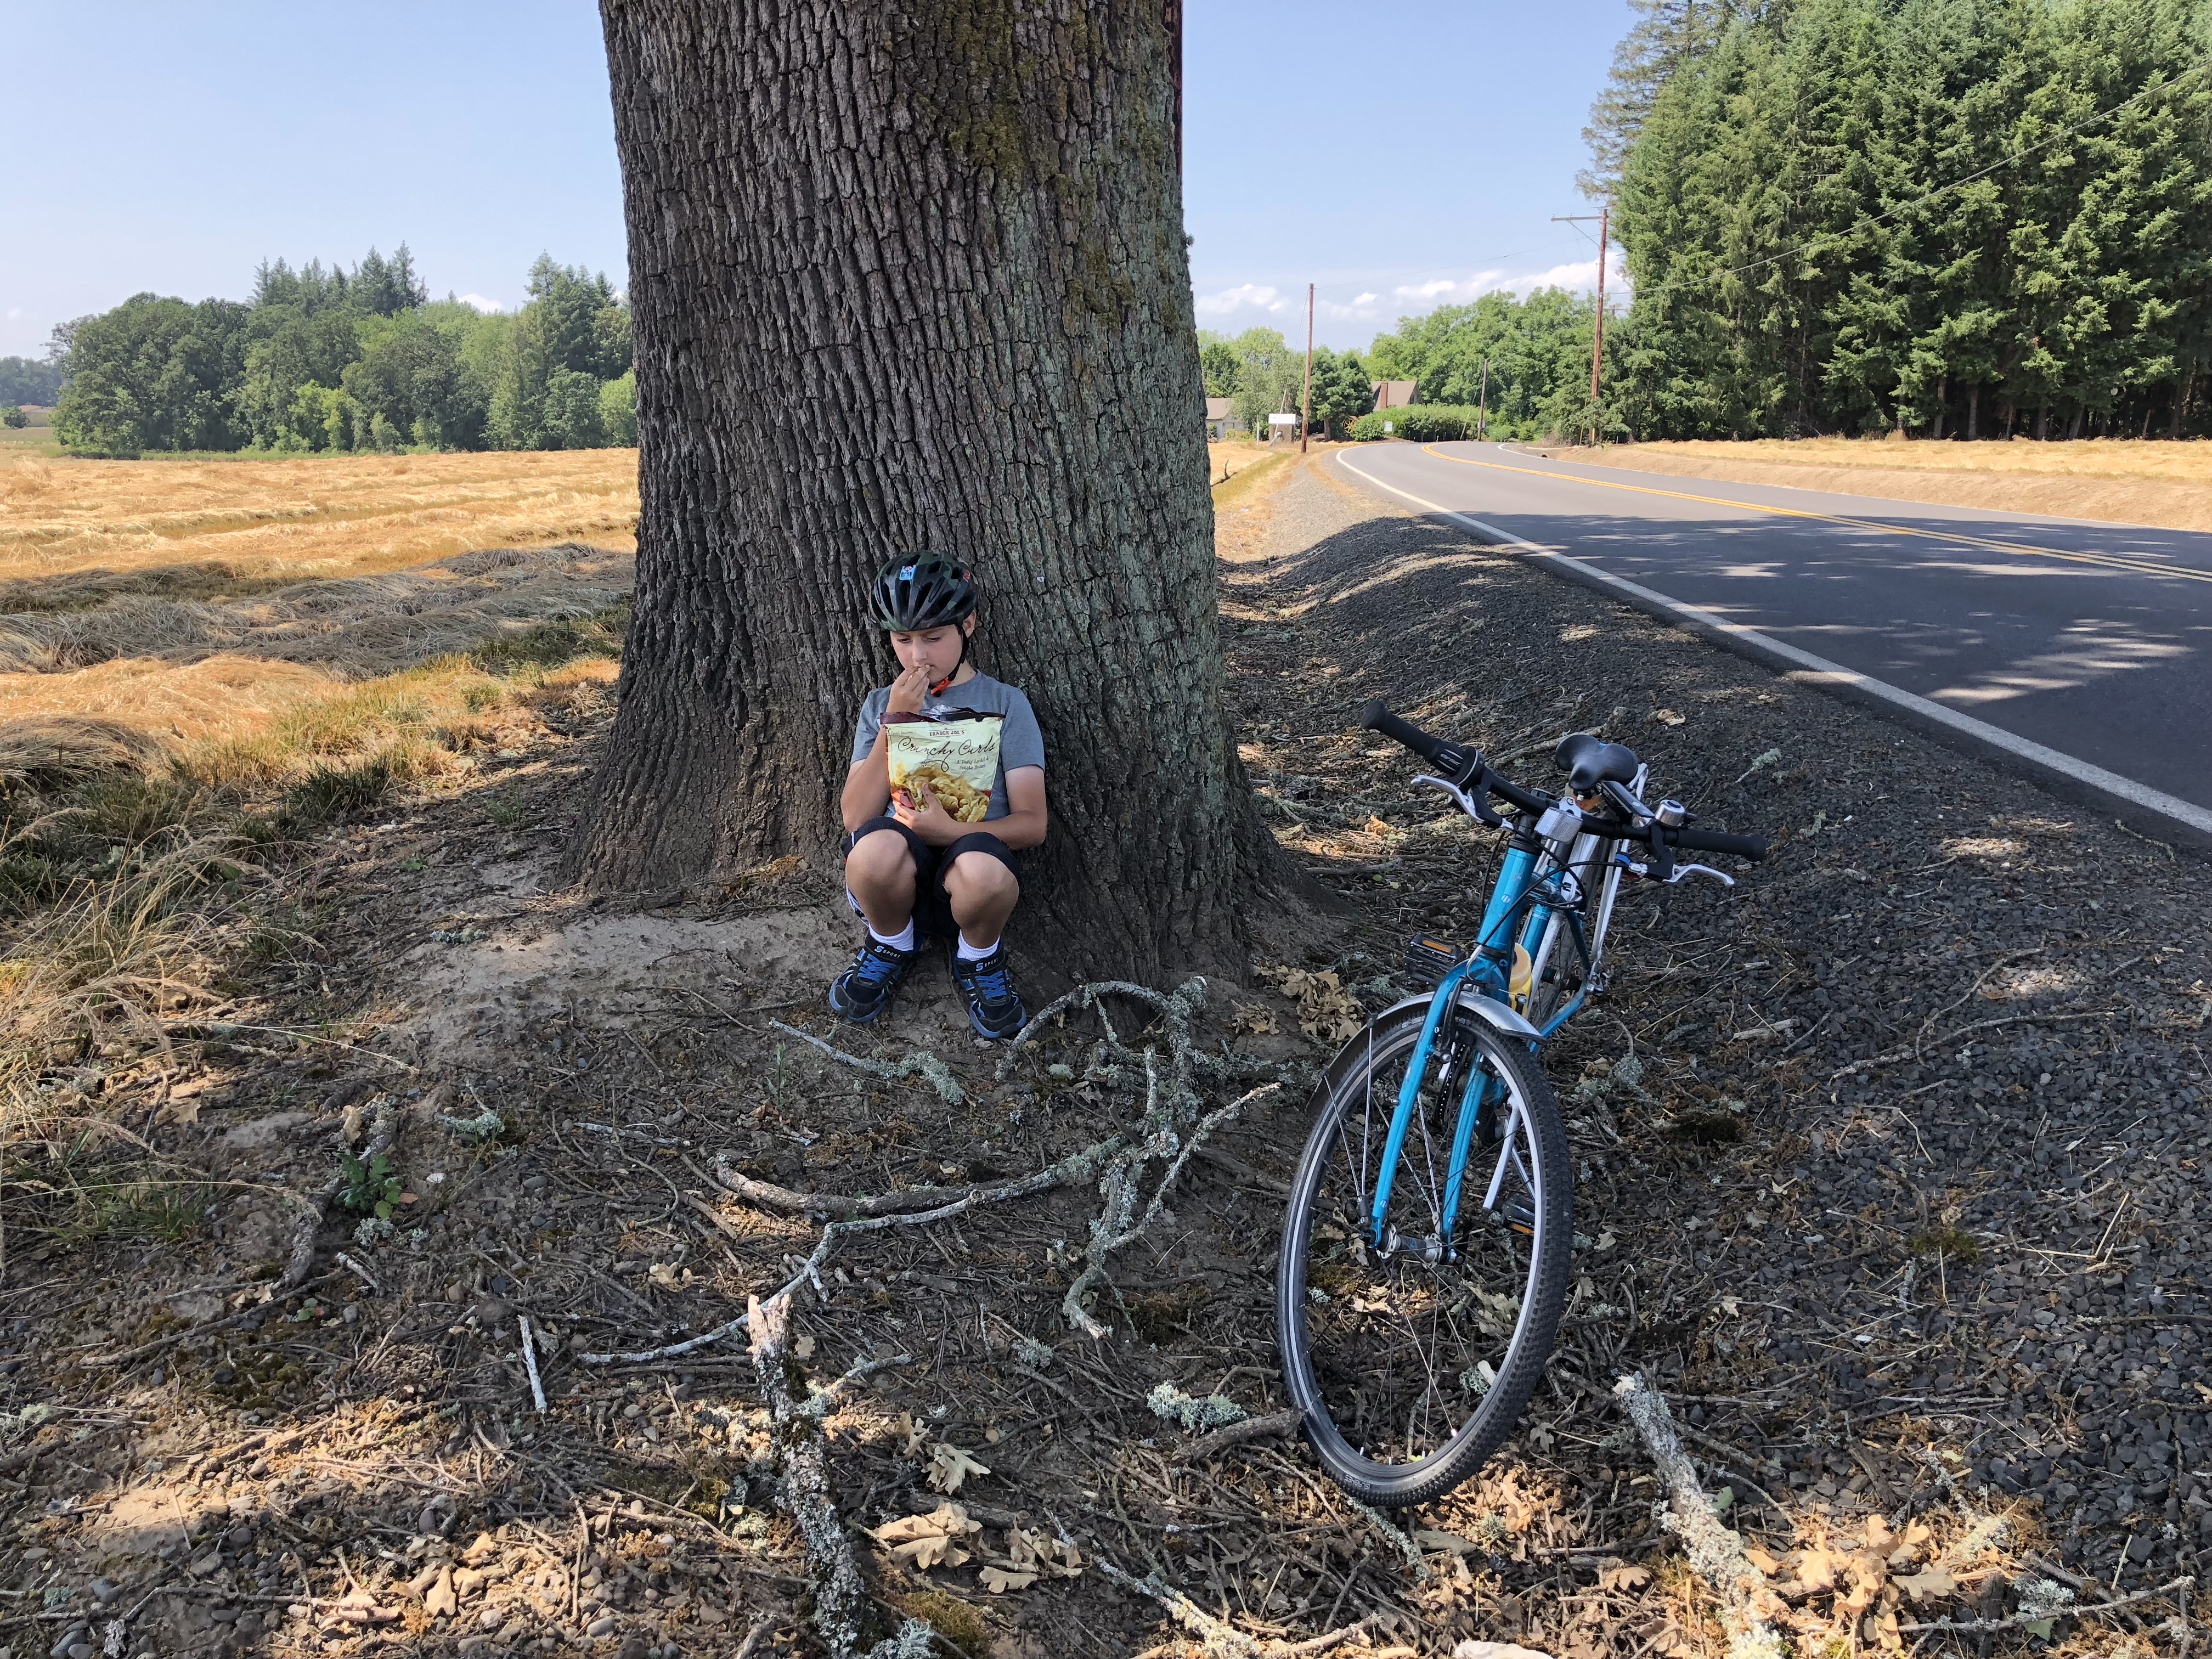
I don’t think it was hotter than the day before, but we were all tired and needed to stop more for water, snacks, and rests. Some of our stops were in shady spots, but some were exposed. I guess the thing about riding through the countryside is that there aren’t a bunch of playgrounds along the way. But it worked well enough. During one extended snack break in a shady spot at the edge of a field we oohed at numerous little twisters that flung dry grass around and watched a tractor putter by.
Once in Hillsboro we stopped at McKinney playground for a very long play break even though we were almost all the way to the MAX by then. The park has restrooms, drinking fountain, sheltered picnic table, and lots of grass. The kids complained that there weren’t other kids their age there, but they found the play equipment adequate.

It was nice getting on a parked light rail train at the beginning of its line as I had plenty of time to hang the bikes and get us settled into seats. However, getting off in the middle of the line this time was not as fun. The train was pretty crowded and I didn’t realize how short the time after the penultimate stop was so I tossed panniers out the door after the kids before unhooking my own bike. I warned the kids that if the second train was too full for bikes we’d have to bike all six miles home, but there was room for us. Phew! I don’t think any of us would have liked biking six not-perfectly-flat miles. Since this was the nine-minute ride I just stood with all three bikes while the kids sat down.
And soon enough we were home, just about seven hours again from flap to door.
Lessons learned/for next time
* Log into the Trimet Tickets app at home in the morning! I purchased our MAX tickets on my phone the night before our trip and it usually doesn’t ask me to log in, but I discovered I was logged out at the MAX station. So I had to purchase new tickets from the kiosk on the spot. The app tickets are still there for future use, but I was looking forward to not having to dig out my wallet, not having to worry about paper tickets falling out of my pocket, and not having to waste time buying tickets on the spot (though it didn’t make us miss any trains).
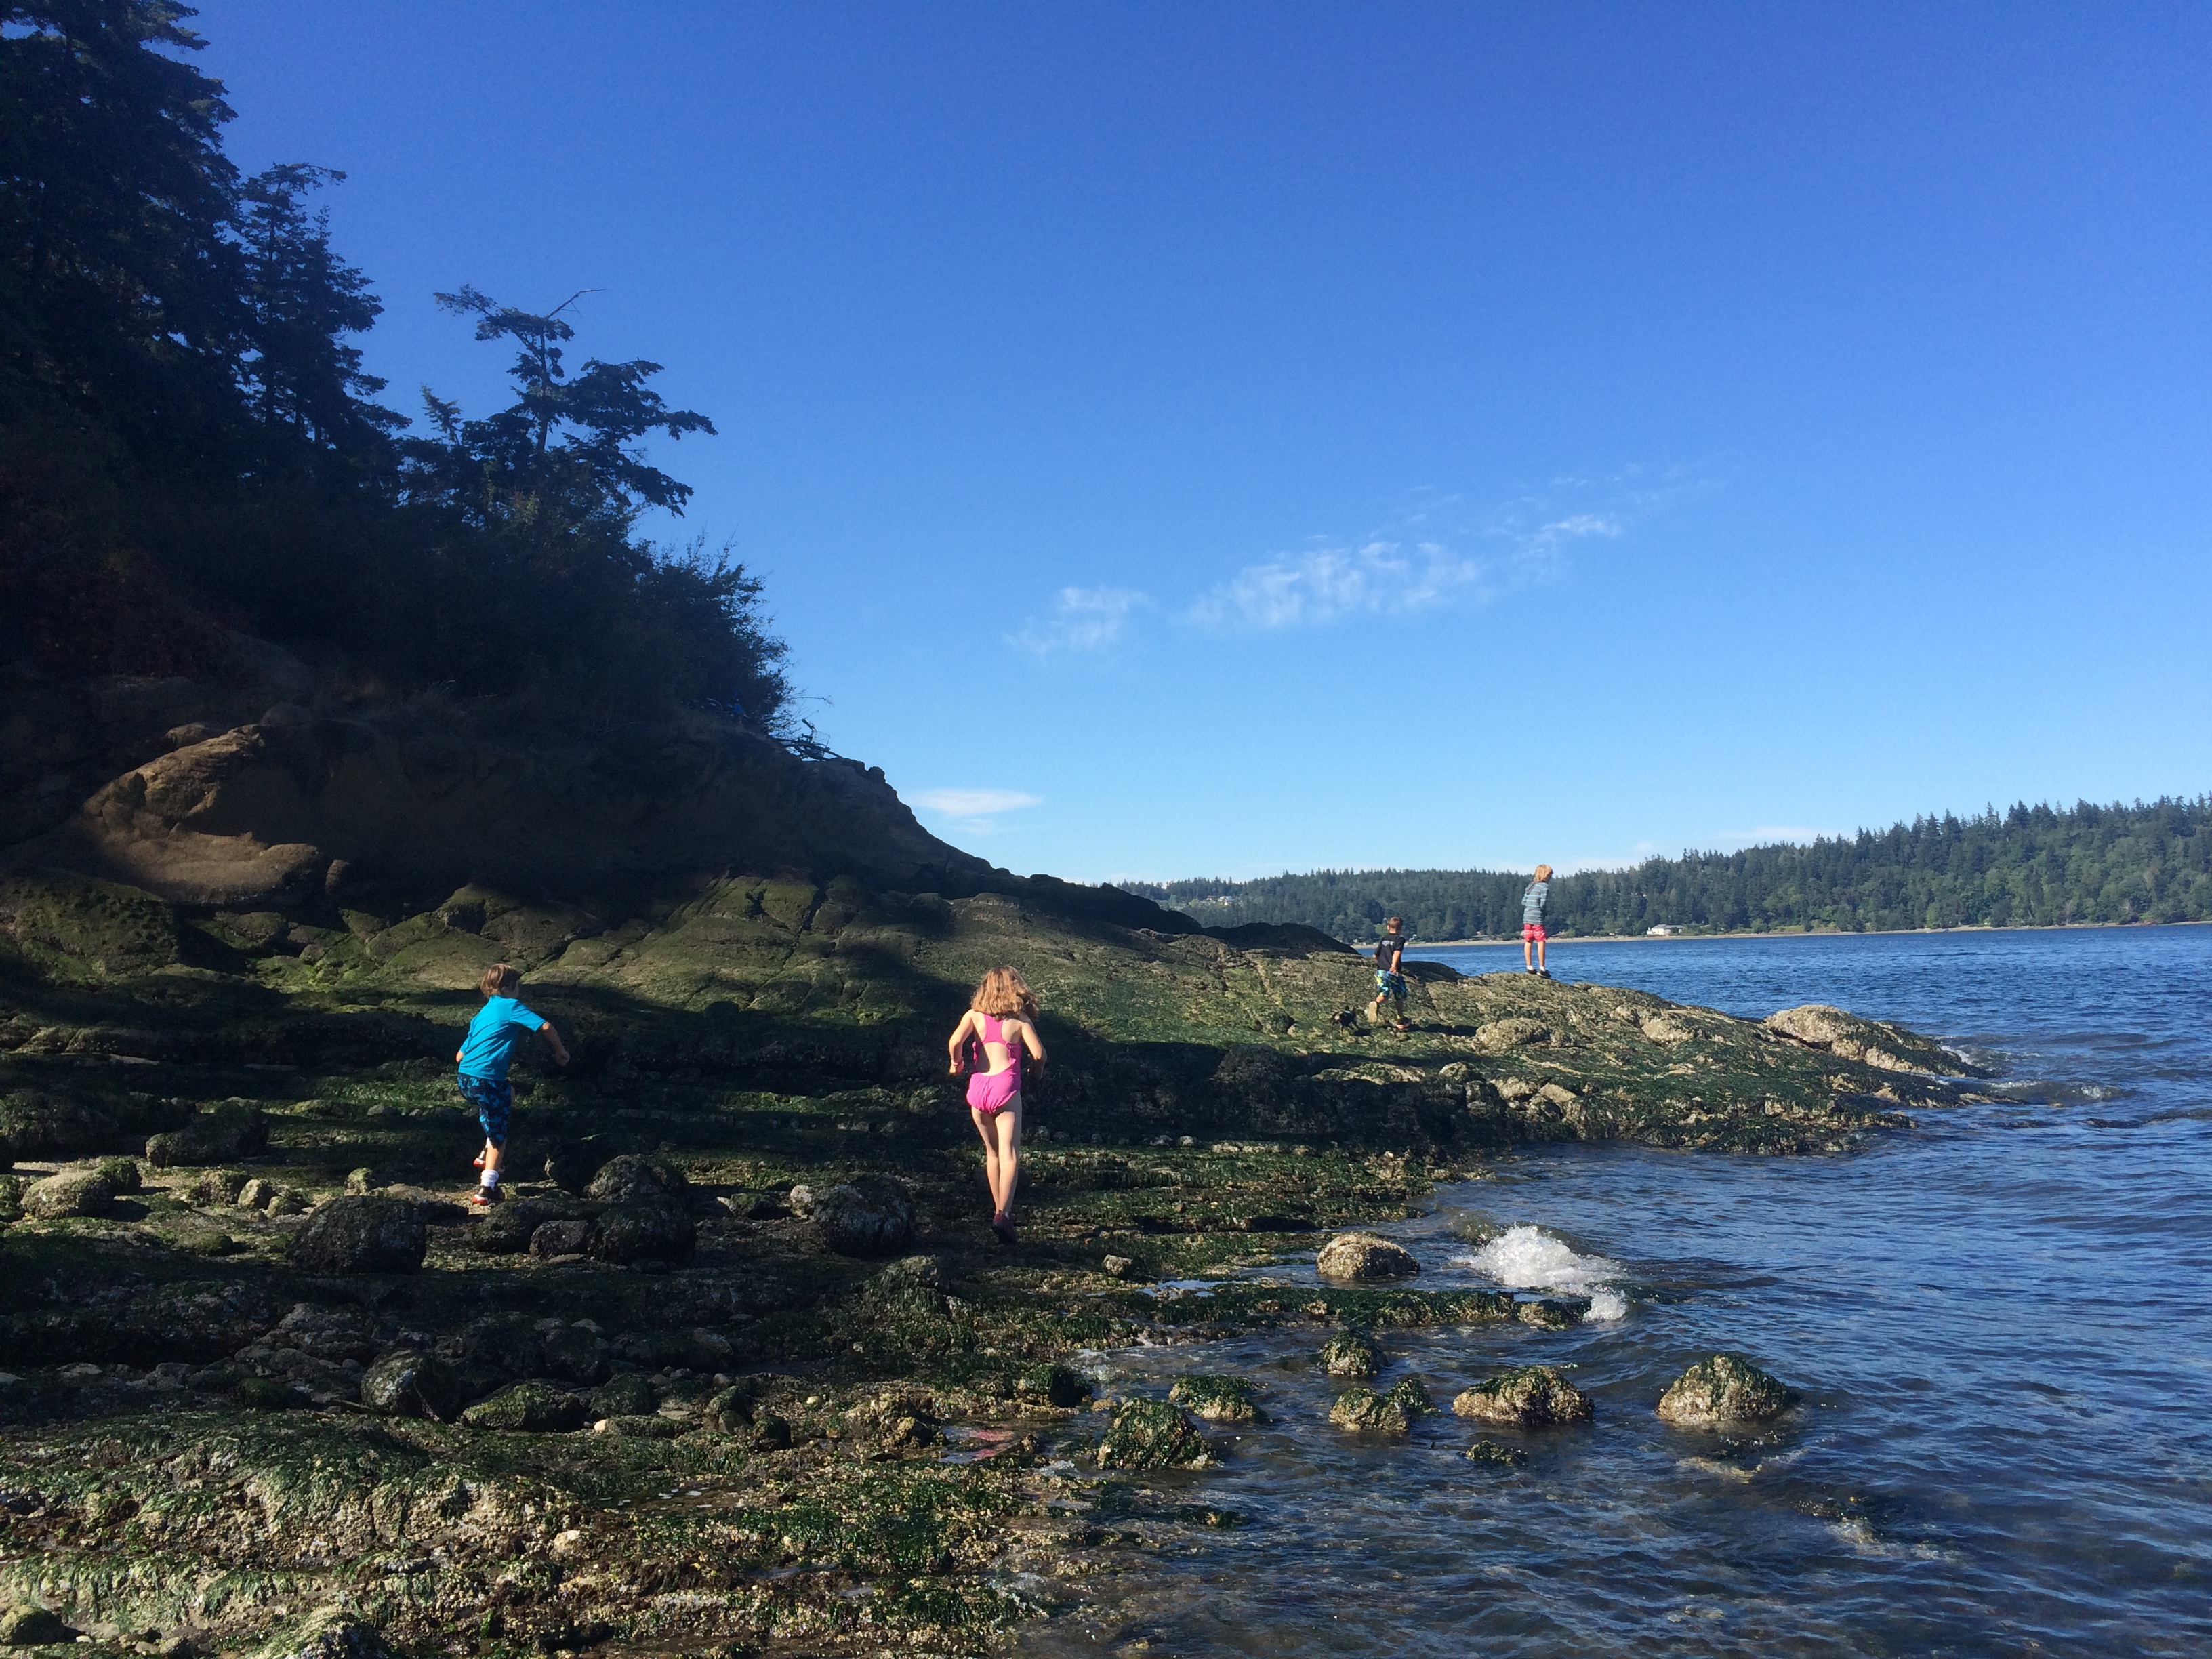
* Camp two nights next time! Having a day to play and rest next time will be fun. I don’t know that we’d go mountain biking, but not biking 20 miles two days in a row sounds good. We didn’t see any swimming this trip so that’d be something to look into.
* Leave earlier and/or stop less on the way back so we don’t have to take the MAX during rush hour.
* Bring two tents? We all fit in an REI Halfdome 2+, but only if I put my head by the kids’ feet. This is fine when we’re on flat ground, but when we’re on a slope it means my head is downhill and that’s not so fun. I didn’t sleep very well this time. My older sun got his first bloody nose (a real gusher!) as soon as we lay down to bed (I think brought on by his being too hot?) so we slept without the rain fly on for the first time. Thus my younger son got too cold in the middle of the night. They say you’re always supposed to camp for two nights since no one sleeps well the first night, ensuring great sleep the second night. I know if I had my own tent I’d sleep well both nights. I’m just not so sure the kids would ever go to sleep. And Pixie might have trouble choosing a tent and staying there. But there’s only one way to find out!
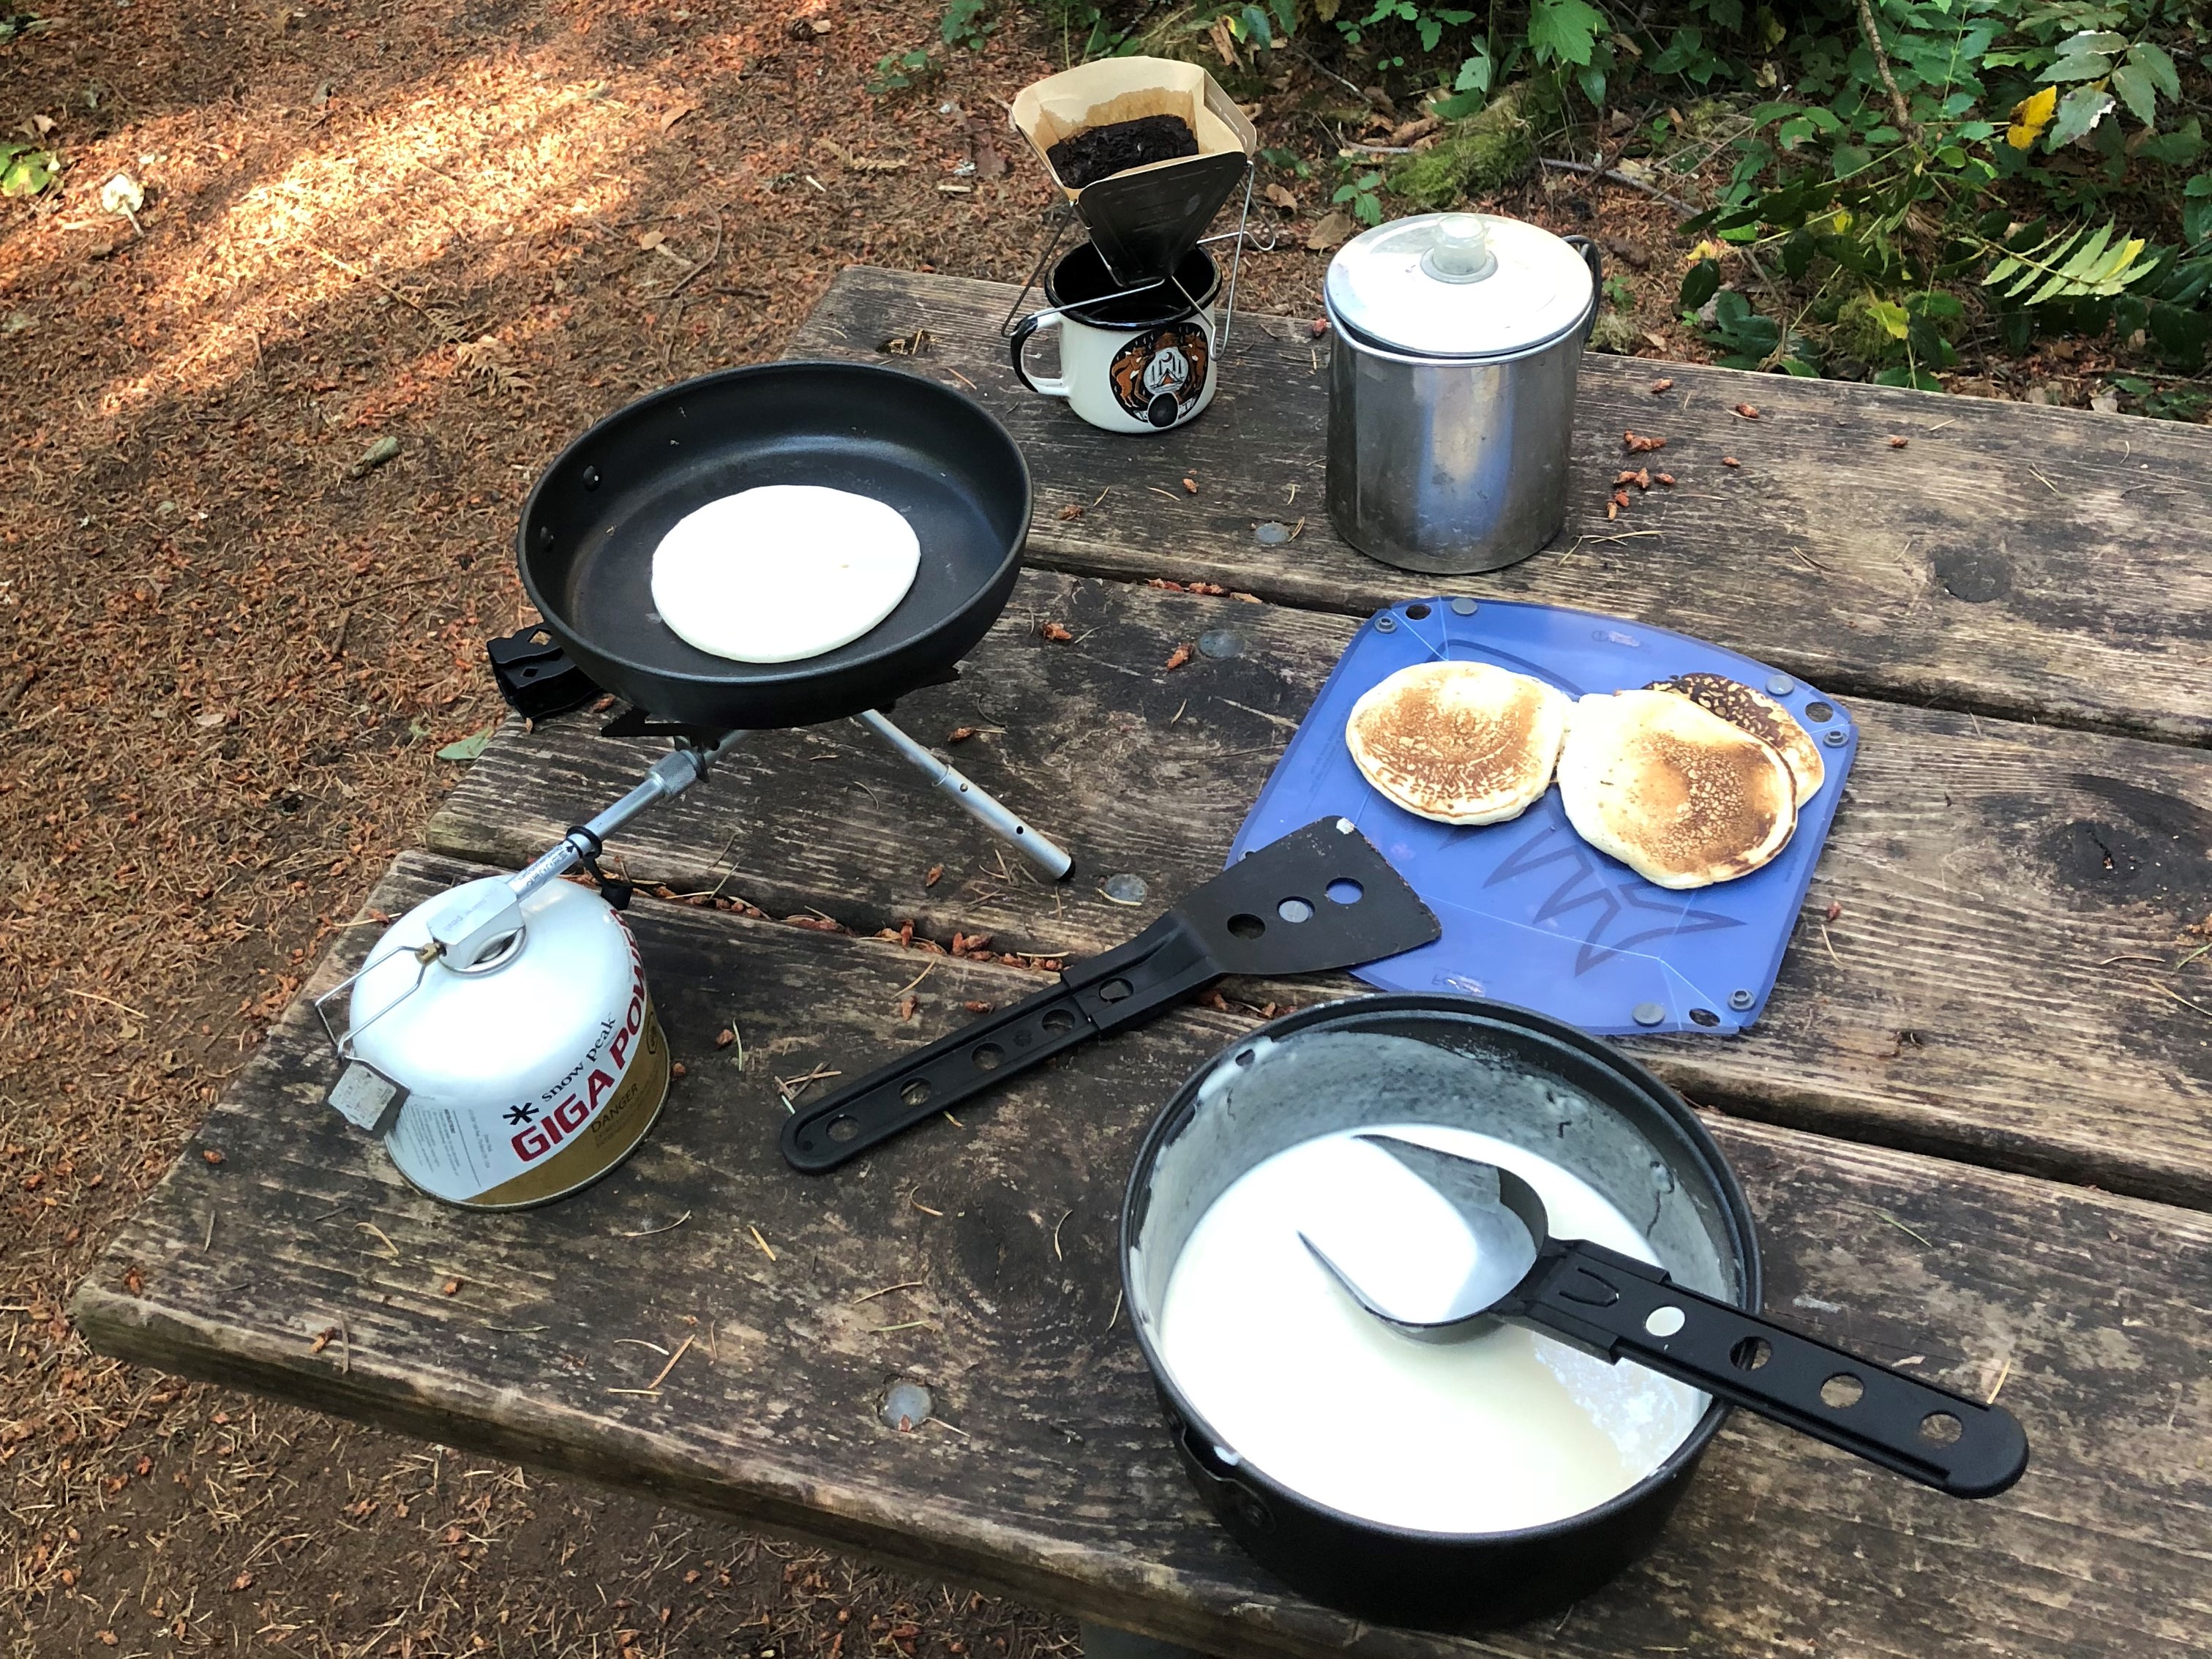
* We tried a new brand of just-add-water pancake mix (we usually do oatmeal for camping breakfast) from Birch Benders I got at our local New Seasons Market and the kids both liked them. I measured out the batter and water at home so I wouldn’t have to bring a measuring cup along and that worked well. For two breakfasts I’d probably bring the whole pancake mix container and not pre-measure a small container of water, though. That would save some room there!
We love Stub Stewart and can’t wait to come back!